
Introduction:
Today during this article we are getting to find out how to repair soldering iron, not heating. it's very easy to repair a hand tool. A hand tool features a component and a control Circuit for Adjusting the Temperature. So, we'll Discuss intimately how we will repair all this thing.
Watch Video:
Here is the video about how to repair the soldering iron heating element on YouTube and you will understand everything.
What Actually Happened in my soldering iron and why was hand tool not heating?
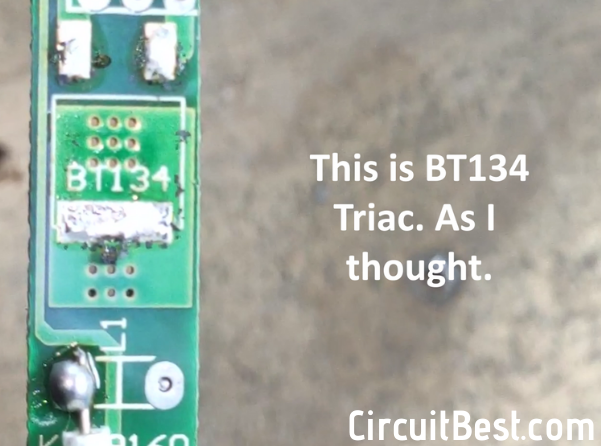
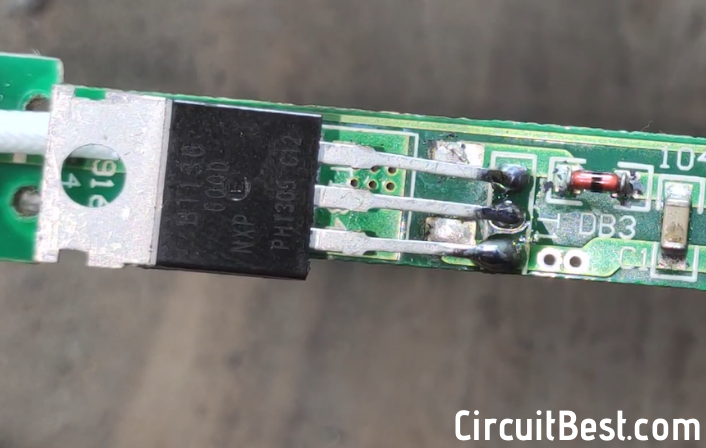
One I used to be performing on a project where I even have to solder a PCB. But that point a sudden sound came from the soldering iron. then, the RED Indicator LED of the hand tool has stropped working. I checked the Tip Temperature wasn't Increasing. So, I basically found that there's some quite defect that happened within the soldering iron, as a result, I had to repair It to continue my Working Project.
So, this is often what actually happened.
Conclusion:So, beat all, soldering iron is that the most vital thing for electronic enthusiasts. Here you'll see to repair hand tool filament I even have to use another soldering iron. So, I will be able to highly recommend you to stay 1 pair of soldering iron. One like this and another cheap $2 hand tool for the emergency purpose. In my case, I find a Physically Damaged IC so, it's very easy on behalf of me to search out the matter. So, finally, to repair soldering iron we'd like a soldering iron.
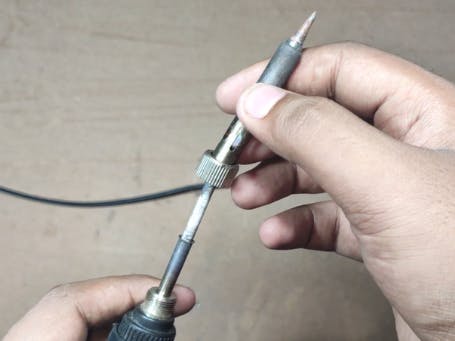
Step 1
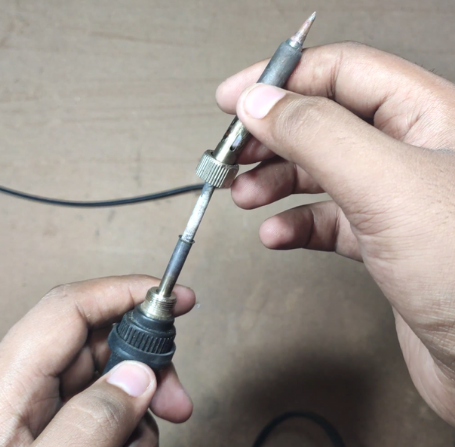
Step 2
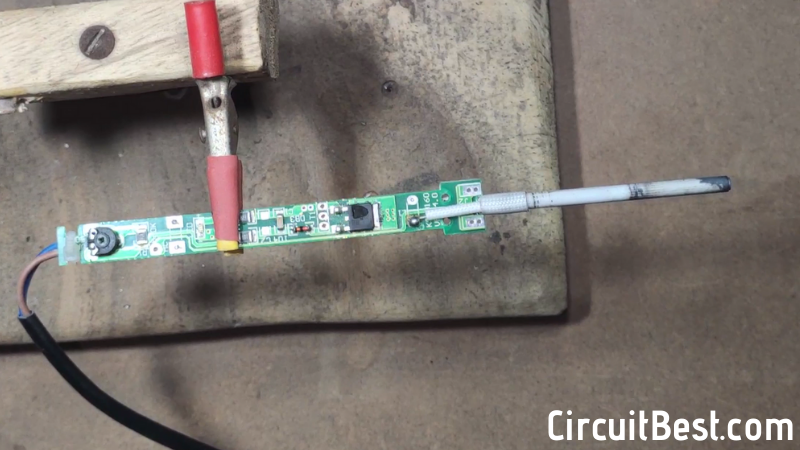
Step 3
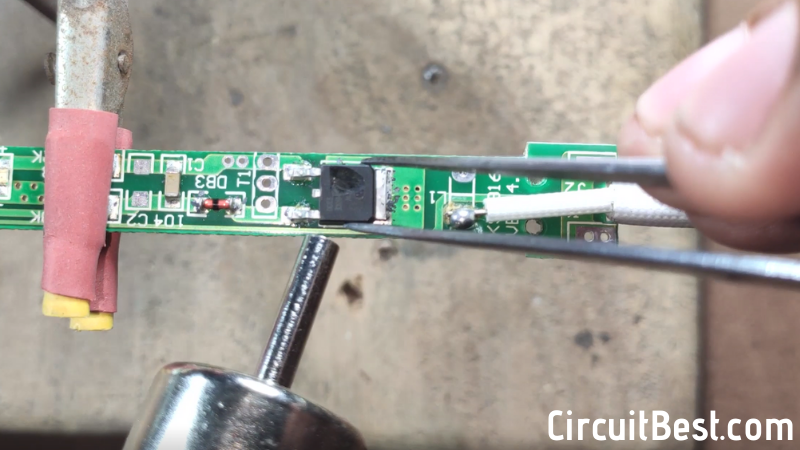
Step 4


Comments