

Hardware components | ||||||
_ztBMuBhMHo.jpg?auto=compress%2Cformat&w=48&h=48&fit=fill&bg=ffffff) |
| × | 1 | |||
 |
| × | 1 | |||
 |
| × | 1 | |||
In this project we are going to interface lm35 sensor with arduino and we will store that data to google spreadsheet.
So here is the story of our project
Step 1: Installation of Arduino IDEInstallation of Arduino IDE:
You can download the latest version of Arduino IDE from the below link-
https://www.arduino.cc/en/Main/Software
Step 2: Component Used:For this project you need :
1) Arduino UNO
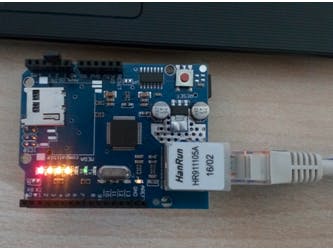
2) Ethernet Shield
3) Temperature Sensor (LM-35)
4) Jumper Wire
1) Arduino UNO:Arduino/Genuino Uno is a microcontroller board based on the ATmega328P (datasheet). It has 14 digital input/output pins (of which 6 can be used as PWM outputs), 6 analog inputs, a 16 MHz quartz crystal, a USB connection, a power jack, an ICSP header and a reset button.
2) Ethernet Shield:The Arduino Ethernet Shield 2 connects your Arduino to the internet in mere minutes. Just plug this module onto your Arduino Board, connect it to your network with an RJ45 cable and follow a few simple steps to start controlling your world pharmacy through the internet. As always with Arduino, every element of the platform – hardware, software and documentation – is freely available and open-source. This means you can learn exactly how it's made and use its design as the starting point for your own circuits. Hundreds of thousands of Arduino Boards are already fueling people’s creativity all over the world, every day.
3) Temperature Sensor (LM-35):The LM35 series are precision integrated-circuit temperature devices with an output voltage linearly-proportional to the Centigrade temperature. The LM35 device has an advantage over linear temperature sensors calibrated in Kelvin, as the user is not required to subtract a large constant voltage from the output to obtain convenient Centigrade scaling. The LM35 device does not require any external calibration or trimming to provide typical accuracies of ±¼°C at room temperature and ±¾°C over a full −55°C to 150°C temperature range. Lower cost is assured by trimming and calibration at the wafer level. The low-output impedance, linear output, and precise inherent calibration of the LM35 device makes interfacing to readout or control circuitry especially easy. The device is used with single power supplies, or with plus and minus supplies. As the LM35 device draws only 60 µA from the supply, it has very low self-heating of less than 0.1°C in still air. The LM35 device is rated to operate over a −55°C to 150°C temperature range, while the LM35C device is rated for a −40°C to 110°C range (−10° with improved accuracy). The LM35-series devices are available packaged in hermetic TO transistor packages, while the LM35C, LM35CA, and LM35D devices are available in the plastic TO-92 transistor package. The LM35D device is available in an 8-lead surface-mount small-outline package and a plastic TO-220 package.
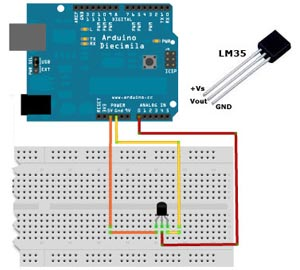
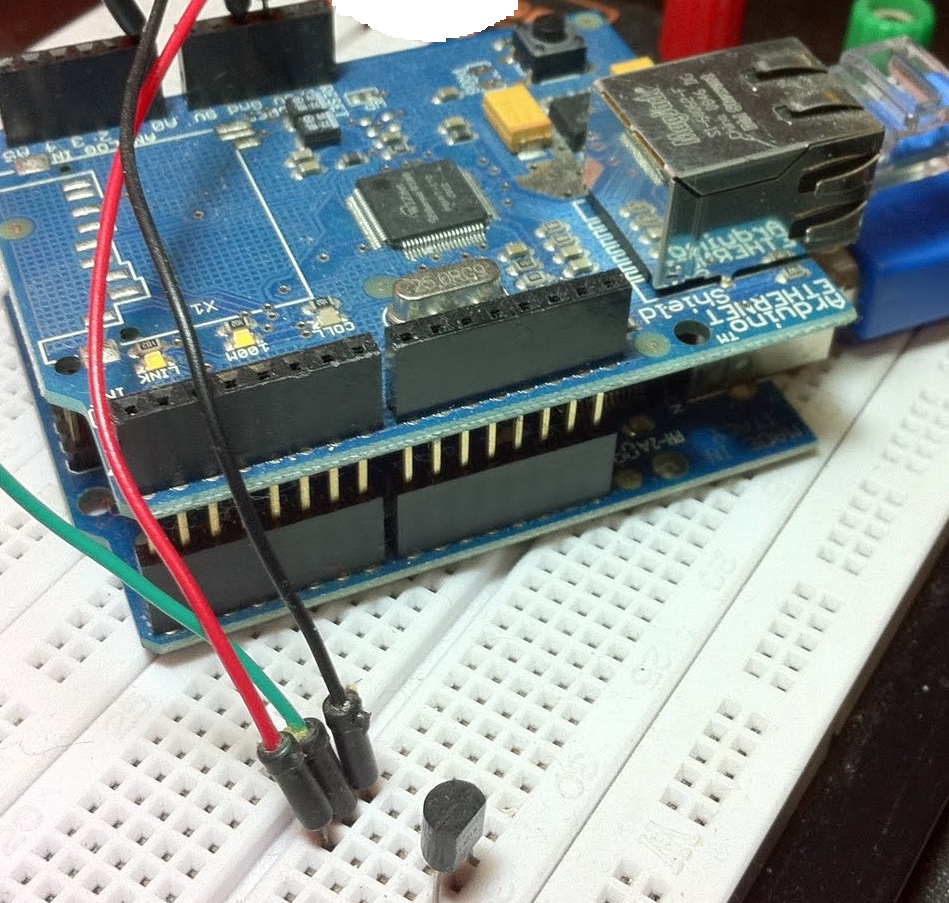
Step 3: Circuit DiagramHere is a Connection of LM35 to Arduino:
1) LM35 Pin 1 Connected to Vcc Of Arduino UNO
2)LM35 Pin2 Connected to A0 Of Arduino Uno
3) LM35 Pin3 connected to GND Of Arduino UNO
4) Mount Your Ethernet Shield On Your Board
Go to your google drive and then click on NEW and select google sheets and then you will be prompt in new window and you have to put name as shown in figure give name to your google sheets and then give some name to your two columns. As in figure I've given name sensor data to my sheet
After these steps you have to write the google script. that script we have attached with the name code.js in below steps. Just Download that script and then again you have to click on NEW and go to more and click on Google Apps Script as shown in figure and paste that script on this.
NOTE: Here you can add more sensors and you can add more columns for getting those sensors data for that you need to add some few lines of code on the script in "switch(param)" section of code
Here in var id part of script you have to add your own google sheet id and you can see in above figures which part you have to select and then you have to add that part in your script var id part
Now, you will get the option Deploy as web app in publish section of script. Here you just give permission to your script and you will get the url as shown in figure
Now you can put manually this url to your system browser and add this thing at the end of your url
?tempData=24 as I've given and hit enter then check your goggle sheet you will get one value in your google sheet
Now, here you have finished your google drive work.
Now one problem is there that you can not send request to this url from your arduino so for that you need some third party tool so here i'm using pushingbiox for making get request from arduino.
Step 5: Working on Pushingbox:Now it is time for pushingbox
go to pushingbox.com and login with google account now go to My services and then click on Add a service then go to Custom URL and then Select the service now you will get the figure like above give some name in "Name of your CustomURL configuration" Now copy from goggle script url as shown in figure and paste it in root url in pushingbox.
Now go to My Scenarios and add your services and Go to "Add an action with this services" and add this line
?tempData=$tempData$ as shown in figure
click on submit Now you will get a device id this deviceid you have to save you will use this in your arduino code
Now you can check manually by giving this URL in browser and then check your spreadsheet api.pushingbox.com/pushingbox?devid=A&tempData=29.78
Here you have finished all the steps now it's time for your Arduino code
Comments