


Hardware components | ||||||
 |
| × | 1 | |||
| × | 4 | ||||
 |
| × | 1 | |||
 |
| × | 1 | |||
 |
| × | 1 | |||
 |
| × | 1 | |||
Software apps and online services | ||||||
 |
| |||||
| ||||||
Getting ready in perfect time is important. For instance, waking up in the morning is a difficult task. For that purpose, we use a alarm clock or mobile phone alarm.This project is a solution to them who don't have that equipment.
Step 1: Software registrations
1. Register your bolt wifi module on bolt cloud.
2. For using online service of integromat we have to crate account on integromat.
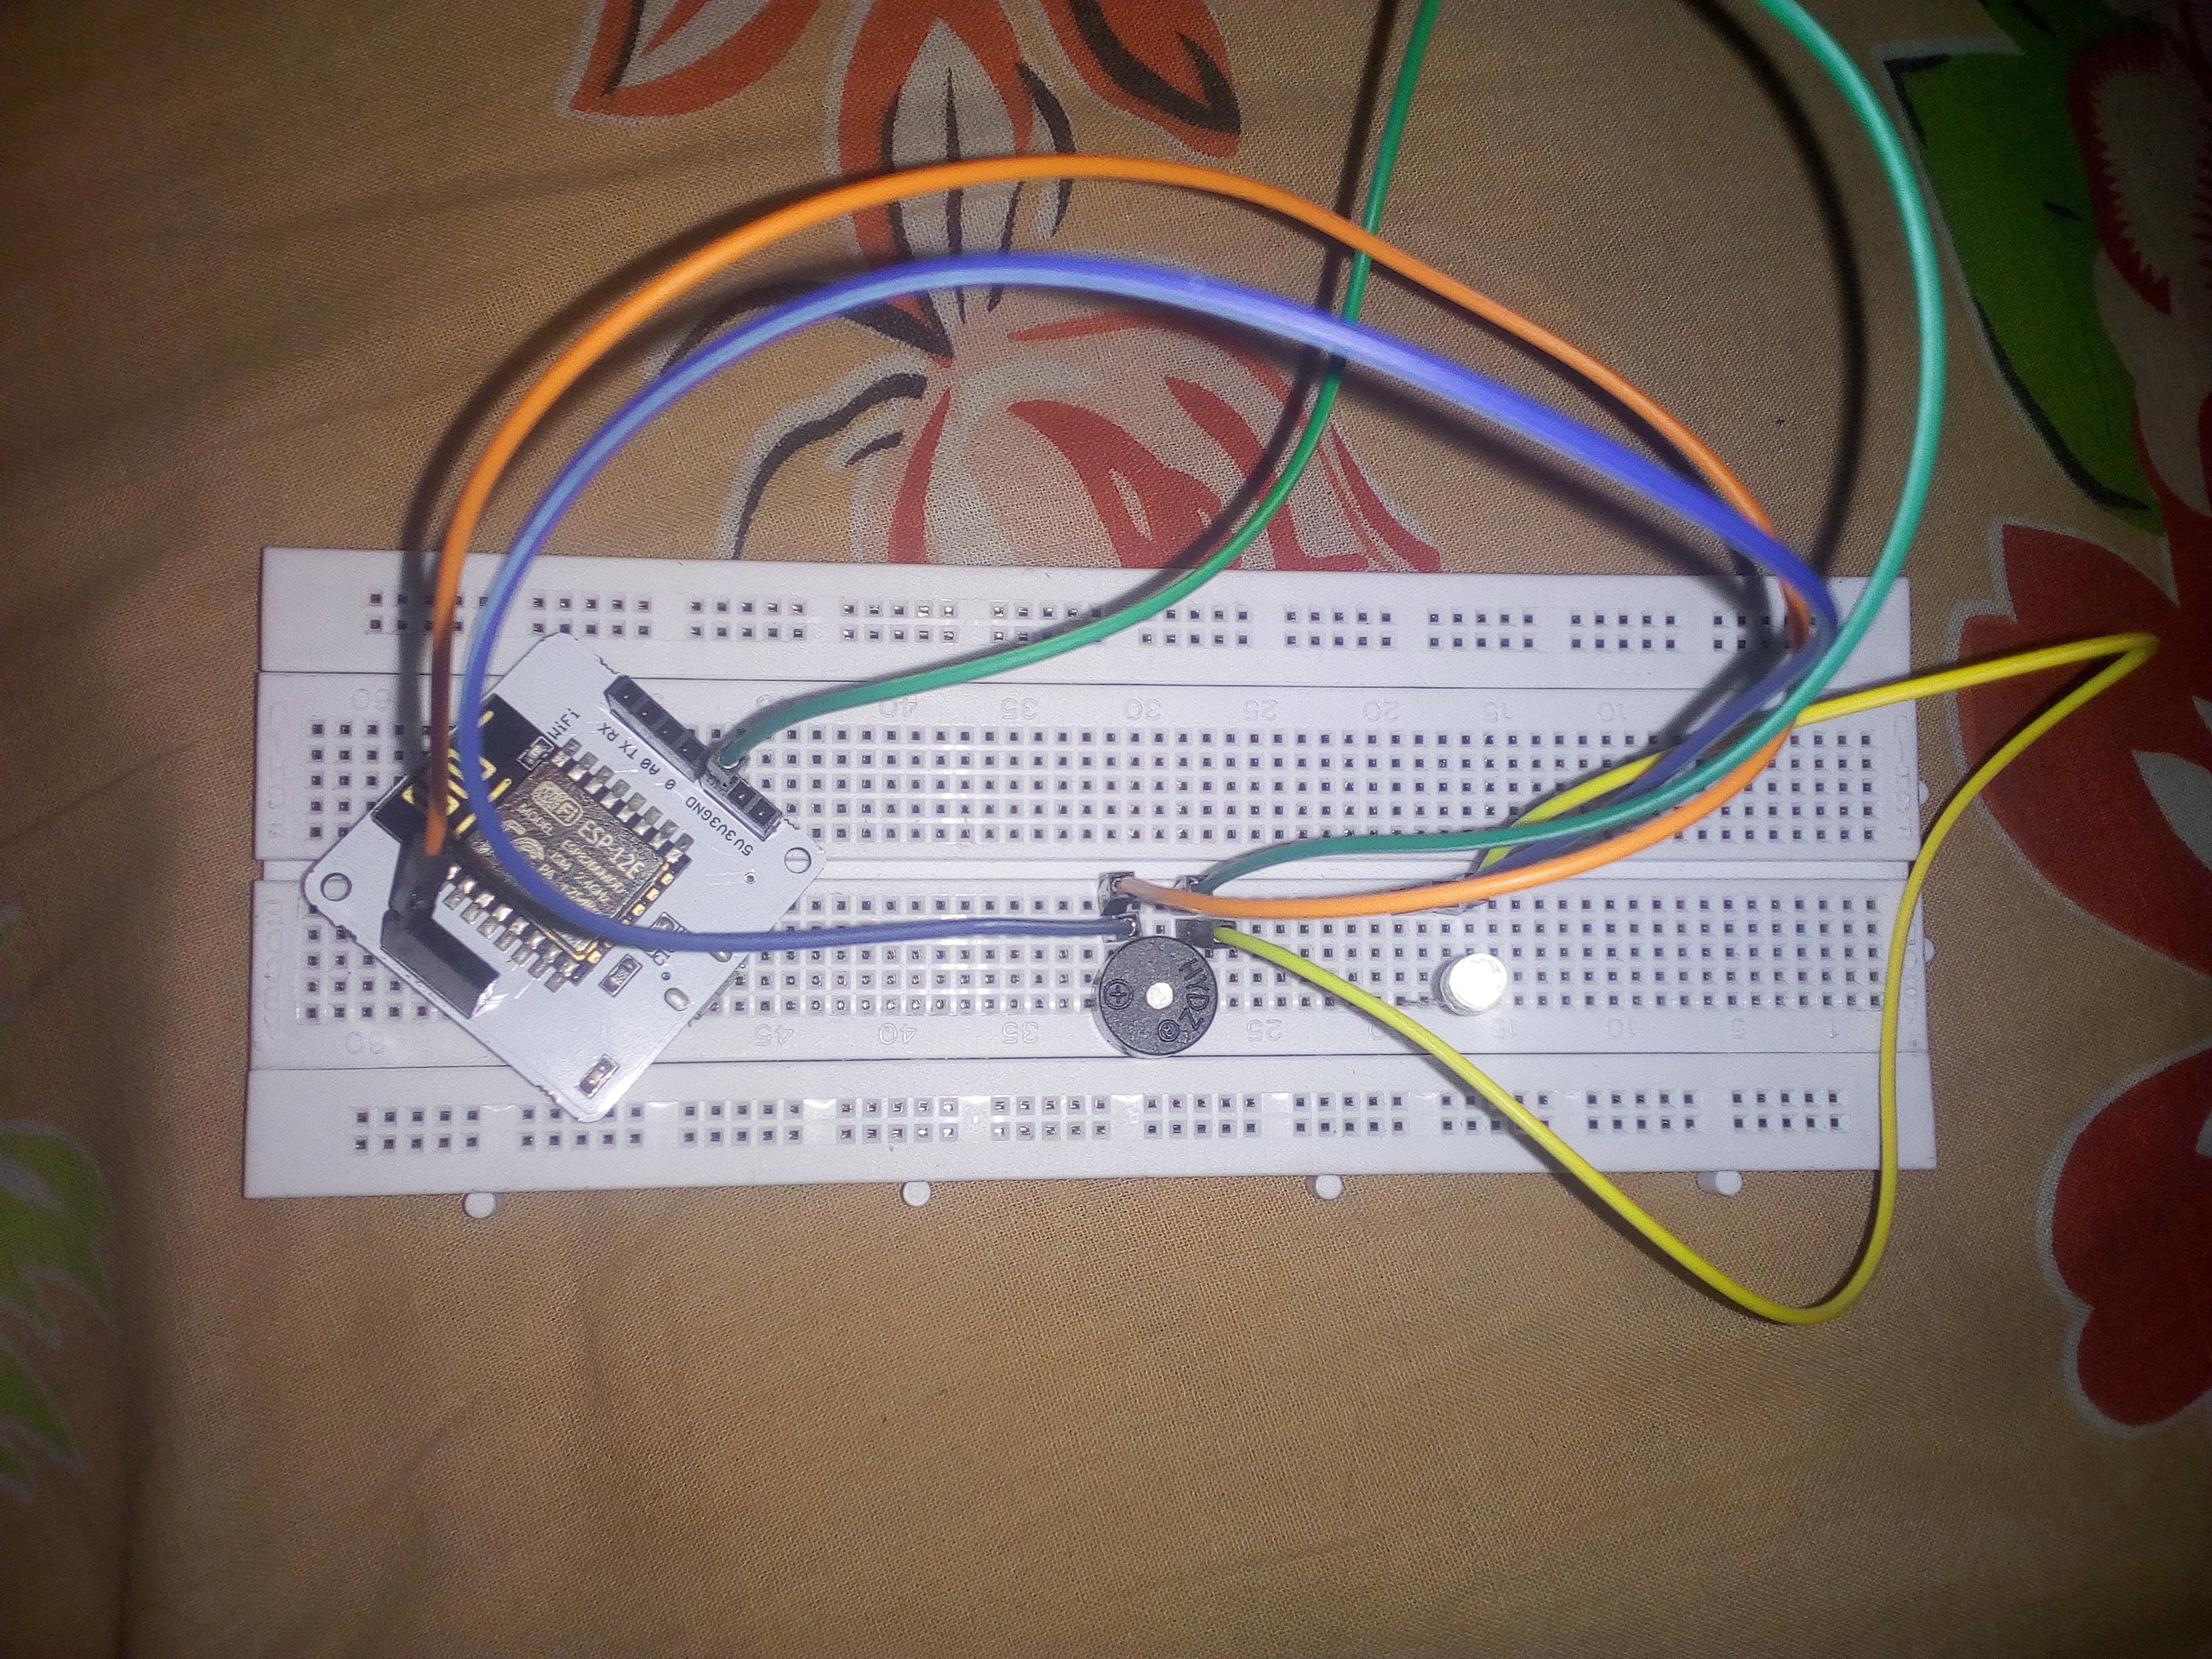
Step 2: Hardware connections.
1. Identify the positive and negative pin of buzzer and led.The longer pin of buzzer is the positive and shorter pin is negative.
2. Connect the positive pin of buzzer and led to either GPIO pin i.e. 0, 1, 2, 3, 4 with the help of male to female wires.I connected my positive terminal if buzzer to pin 1.
3.Connect the negative pin of buzzer and led to pin 'GND' with the help of male to female wire.
4. For powering on the bolt device, connect it to micro usb cable which is connected to suitable power adaptor or may use a power bank.
Step 3 : Integrating in Integromat
- Log in to your Integromat account and be sure to use the link given in training to get a standard premium free for one month of $29.
- Click on Create a new scenario.
- Search and select "bolt iot" and press continue.
- Enter your API key by clicking on the Add button as shown below. You can find your API key on your Bolt Cloud dashboard.
- Enter the Device ID and select pin 1 as the Buzzer will be connected to this pin.
- Choose the state as HIGH as we want the Buzzer to turn on.
Replace BOLTXXXX with your Bolt ID
- Next, we want the buzzer to ring for a few seconds at least. So we need to add a delay before switching off the Buzzer again.
- Click on the tools option and select sleep.
- Enter the number of seconds the buzzer should ring for in the input box. For me, 15 seconds of high intensity buzzer sound is enough to wake me up.
- Click on adding a new module and choose Bolt IoT again. Now, in this module, we are going to switch off the Buzzer by sending a LOW to the Buzzer.
Replace BOLTXXXX with your Bolt ID
- Enter the same Bolt ID and Pin, but this time, set the state as LOW.
- So far, we have set up the scenario to ring the buzzer. Now, we will give it some context in the form of the time to ring.
- Click on the little clock icon on the initial Bolt module. This is the scheduling option. Choose the time that you want the alarm to ring and click on OK.
- Thats it, we have successfully set up your alarm scenario. Don't forget to save your scenario.
- To test if the buzzer actually works, click on the "Run Once" button. The buzzer should ring for 15 seconds and then switch off.


Comments