


Several years ago I saw my first 1 TB disk array, and was in complete awe. The system configuration used 1000 x 1 GB disks and took up most of the floor space in one of our data centers. You can, of course, walk around with a 1 TB USB drive these days.
I have a range of 1, 2 and 4 TB devices, which are more than enough storage for my purposes, but, I would like to put together a 1 PB disk array. Initial cost, lack of space and running costs are all inhibitors to this goal. Then I saw a 128 TB USB drive for $25. Could my 1 PB disk array finally be within my reach for $200?
The ProjectThe short answer to my question is “no”. Although I bought 3 different types of drive, I knew going in they would be fake. I’ve seen plenty of other posts of people opening up such devices to see an SD Card glued to a carrier board. Until name brands offer high capacity drives in small form factors, off brand players advertising cheap, high capacity drives have to be suspect. There are some SSD drives that are 100 TB+, but also have a price to match ($10K+).
The goal of this project was to answer the following questions:
- What capacity the drives?
- How can you tell, quickly, that the drive does not support the advertised capacity?
- How do the drives fail? Do they silently discard data or is there a hard error?
- Can I use the drives to their actual capacity?
I purchased a 256 TB, 128 TB and 32 TB drive. I also used a 128 GB drive as a control. They all had the following requirements:
- The drives can only be formatted on Windows.
- The drives must be formatted with exFAT.
- The drives cannot be formatted using macOS or Linux.
- The drives cannot be used with any gaming console.
I assume this list prevents the true capacity, or other defects, being discovered quickly. Plugging one of these drives into Linux will tell you the backup GPT table is corrupt, and cannot be recovered.
Here are what the 30 TB, 128 TB and control drives look like:
These are all off brand drives.
The Time ConstraintBeing able to determine the true capacity of a drive quickly was one of the major goals of this project.
It is very easy to write a program, or use a utility like dd on Linux, to create a file and start writing data. When the file can’t take any more data, the true size of the device has been found.
The maximum file size for exFAT is 16 exabytes (EB), so creating a 128 TiB file should not be an issue for this file system. However, the following chart shows why this might not work:
If we had a transfer rate of 200 MiB/s to the drive, it would take ~187 hours to write a 128 TiB file, which is ~8 days. Realistically, the transfer rate will be closer to the 10 MiB/s to 50 MiB/s range which would put the completion time at 155 to 32 days.
Even at 8 days, plenty can go wrong to get in the way of the test.
The Linux TestI am more comfortable with Linux, so I ran some tests on that OS first. I started with the 256 TB drive, which I recycled before I decided to write this post.
The 256 TB drive presented itself as 2 x 128 TB volumes. I completely ignored the warning about only formatting the drive with exFAT on Windows and wrote a short C program that did the following:
- Selected an I/O block size of 1 MiB.
- Opened a block device e.g. /dev/sda,
- Started a loop, using 0 as an initial file offset.
- Wrote a 4 KiB buffer to the disk with a unique pattern.
- Read the unique pattern back.
- Move the file offset to the next 1 MiB block.
- Run until there is a file write or read error, or the unique pattern is not correct.
- Report the file offset where the error occurred.
I ran the test on both /dev/sda and /dev/sdb, which were the two block devices listed from running the command fdisk -l.
This test only took a few seconds to find that both drives were ~72 GiB.
I then decided to format the drive with ext4, which did not go well at all, and could not complete. I moved the drive over to Windows, and was unable to reformat with exFAT. That’s when I decided to recycle the drive.
Learning from my mistakes, I wrote a quick bash script that only read from the 32 TB and 128 TB drives using the dd utility.
This produced some interesting results. The 128 TB drive managed to read ~73 GiB. The 32 TB drive, however, reported the full capacity which was a surprise. So, you cannot just rely on reading from the drive to determine capacity.
Here’s the shell script:
#!/bin/bash

# Make sure we have the right number of arguments
if [ $# != 1 ]
then
  echo "Usage : "$0" <block device>"
  false
  exit
fi

# Make sure the block device exists
if ! test -b $1
then
  echo “Could not open “$0
  false
exit
fi

# Common size 1 KiB size
kib=1024

# Sector size
sector=$((kib * 4))

# Number of blocks in seek
seek=100000

# I/O block size
block=$sector

# Activity output size
activity=$((seek * 100))

# Loop until dd gets an error. This could mean dd reached
# the end of the disk or there is a real error
offset=0
while true
do
  # Show we are alive
  outnow=$((offset % activity))
  if [ $outnow == 0 ]
  then
    echo -n "#"
  fi

  # Do a short read
  dd if=$1 of=/dev/null ibs=$block skip=$offset count=1 1>read.log 2>&1

  # Did dd fail?
  if [ $? -ne 0 ]
  then
    # Yes - output where
    echo
    reached=$((offset * block))
    echo -n "Disk read reached offset "$reached
    # See if we have numfmt installed
    if [ -x "$(command -v numfmt)" ]
    then
      # Output a human readable version of the offset
      echo -n " = "
      numfmt --to=iec --suffix=B $reached
    fi

    # Clean up the output
    echo
    false
    exit
  fi

  # Next seek location
  offset=$((offset + seek))
doneAs there was such a strong recommendation to use Windows to access the drives, I decided to run some tests on that OS. I wanted to stay away from command line utilities that might not handle the drives correctly.
I wrote a couple of utilities in C using Visual Studio 2022 community edition:
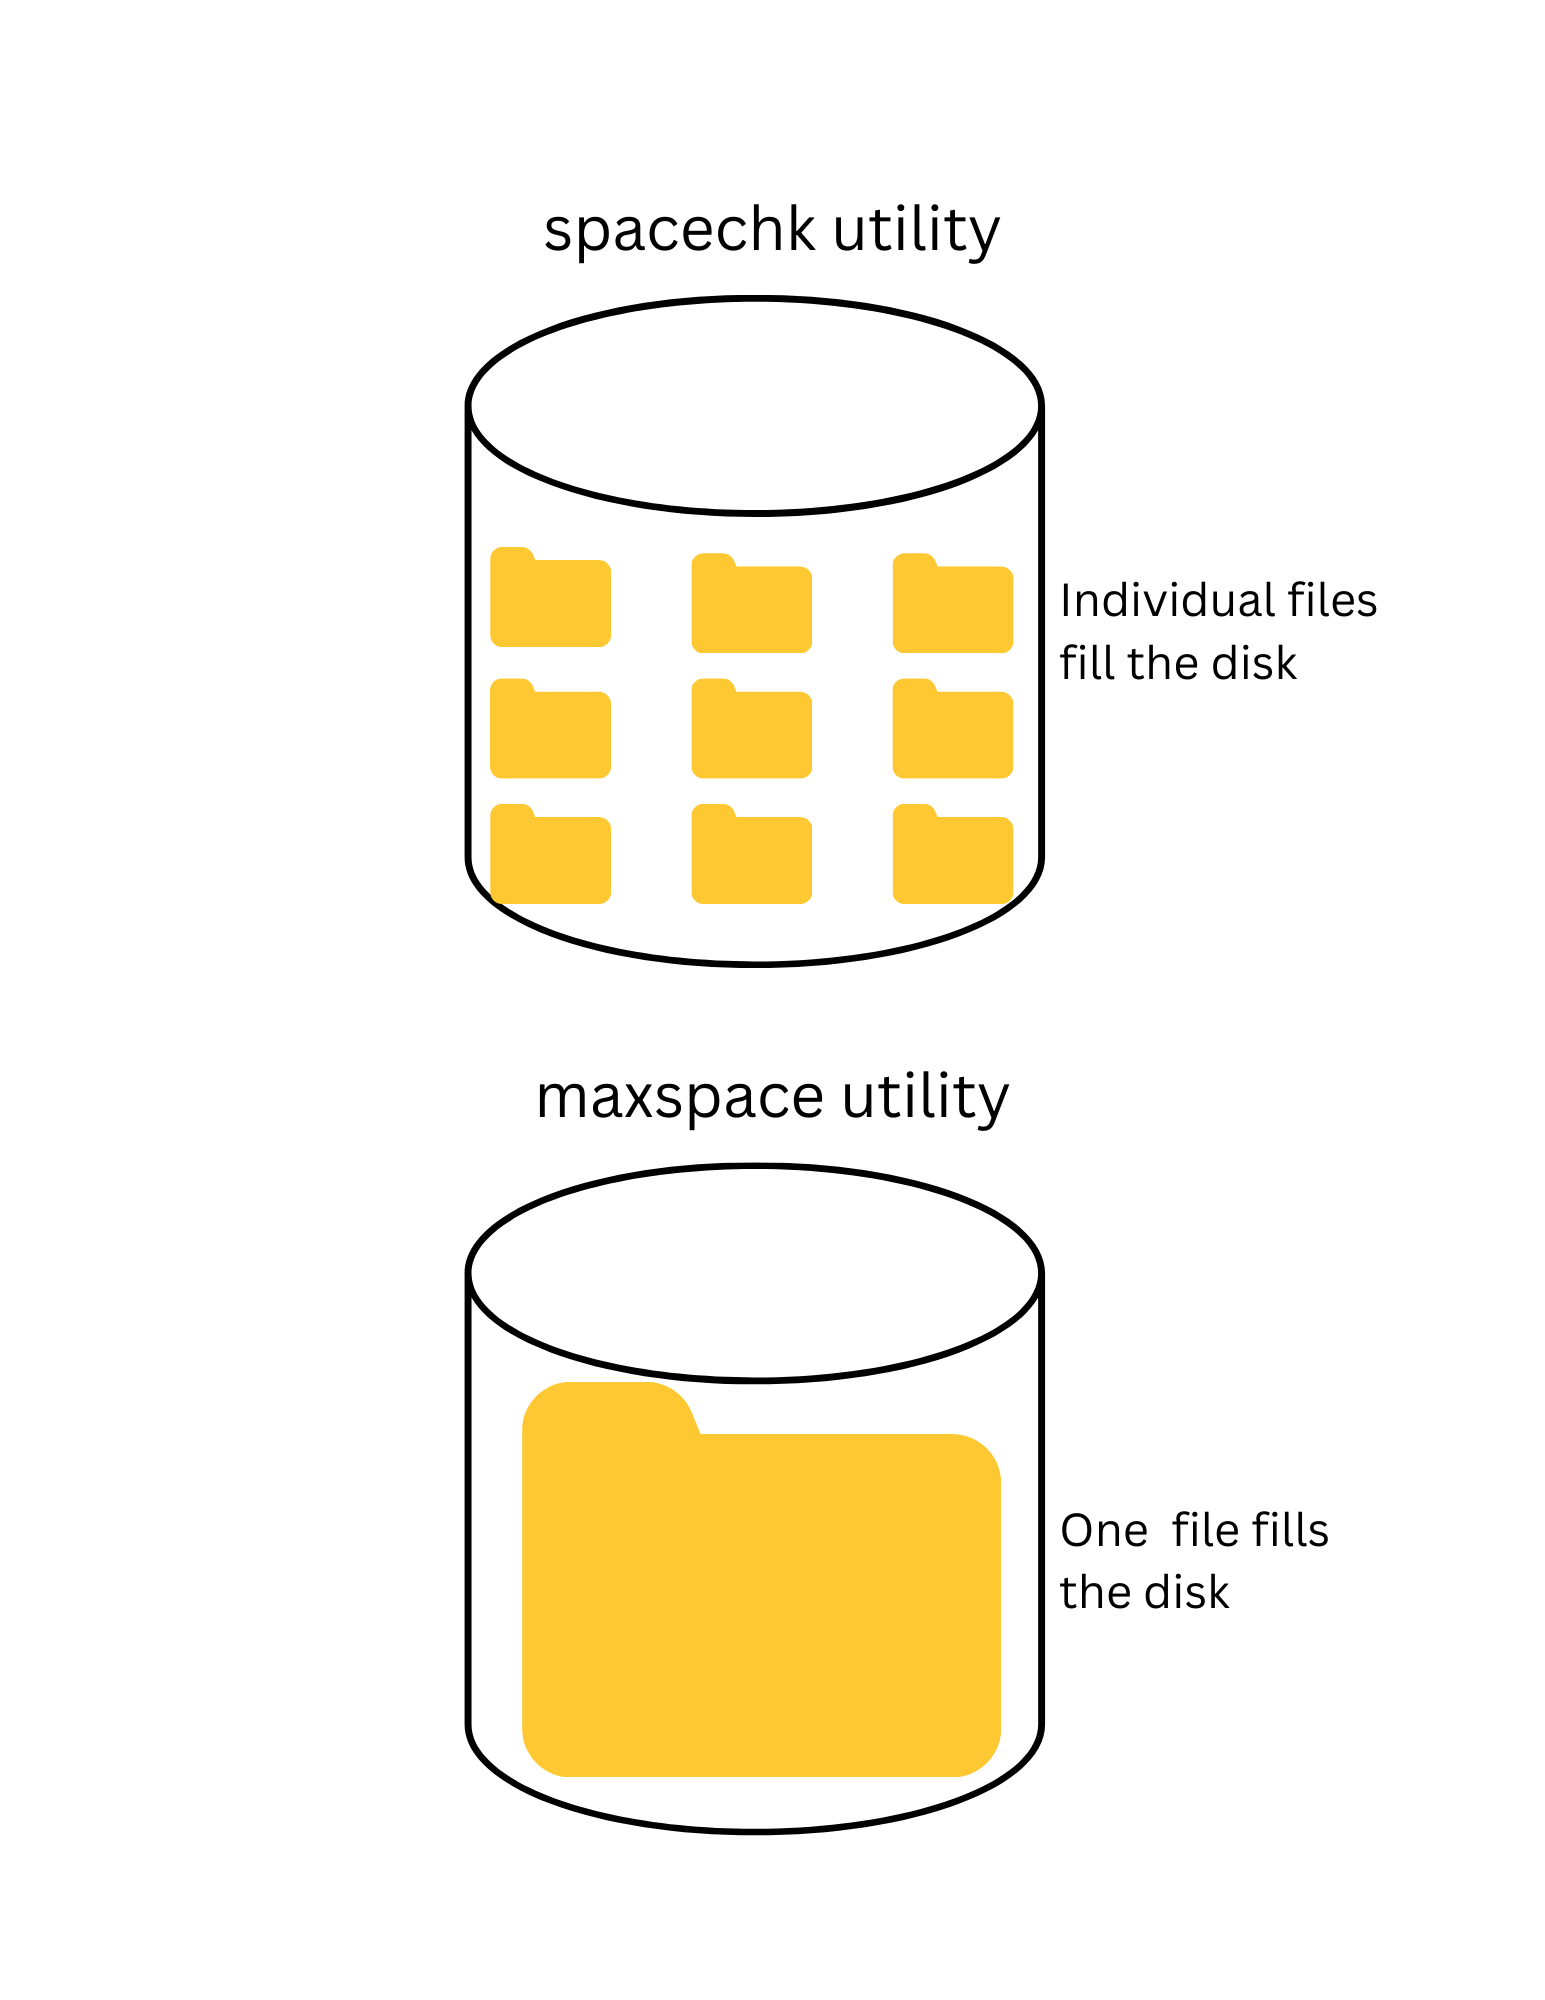
- The spacechk utility creates a series of files to fill the available disk space.
- The maxspace utility creates one file that is extended to fill the available disk space.
The spacechk utility does the following:
- The utility has separate options for file creation, verification, and deletion.
- When run with the creation option, the utility creates a series of 10 MiB files with a unique pattern that will fill the available space on the drive. If the file creation fails, the disk offset of the file is reported and that’s the total capacity of the drive.
- When run with the verification option, the utility will read back the created files and verify the unique pattern. If the pattern fails to validate, the disk offset of the file is reported and that’s the total capacity of the drive.
- The deletion phase just deletes the created files to clean up the disk space.
The spacechk utility has one main flaw, which is shown in the following diagram:
Files are created in sequence number order e.g. sp000000.bin through spffffff.bin. The sequence numbers are hex to pack as much information into an 8.3 format file name as possible. The utility uses 10 MiB sized files, and so a file with sequence number 0x1000 would mean ~40 MiB disk space has been used. However, placement of the actual data is left to the OS and device. So, it is quite possible for a file with a sequence number of 0x1 to be written to a disk offset of 20 GiB.
There is a secondary issue with this method. Files are verified using the FindFirstFile() and FindNextFile() APIs which are not guaranteed to return files in any specific order.
The maxspace UtilityThe maxspace utility was very close to my original Linux code and does the following:
- Uses a file seek size of 10 MiB.
- Quickly creates a very large file that takes up space of the entire drive.
- Starts a loop, using 0 as an initial file offset.
- Writes a 4 KiB buffer to the disk with a unique pattern.
- Reads the unique pattern back.
- Moves the file offset to the next 10 MiB block.
- Runs until there is a file write or read error, or the unique pattern is not correct.
- Reports the file offset where the error occurred.
Windows has a sparse file capability, but that is not available on exFAT volumes. To quickly create a large file on exFAT you have to:
Run the utility as Administrator. This is known as running at an elevated privilege. I was not thrilled about this, but it’s the only way I was able to achieve the goal.
The program has to obtain the SE_MANAGE_VOLUME_NAME privilege.
- Determine the amount of available space on the drive using the GetFreeDiskSpace() API.
- Create a new file using the CreateFile() API.
- Use the SetFilePointerEx() API to move the file pointer to the amount of space on the drive.
- Use the SetEndOfFile() API to create a new end of file marker.
- Use the SetFileValidData() API call to prevent Windows from writing zeroes from the start of the file to the full size of the file.
The following diagram depicts a potential security issue with this method:
This is a lot to take in, but worth understanding. To make certain disk operations faster like formatting and file deletion, very little information is written to disk. In the case of file deletion, the OS metadata about the file e.g. name, location on disk etc. is updated with a deleted status and the disk space belonging to the file is marked as free. The file data is still there. As a security feature, Windows forces zeroes into parts of a file that are not initialized e.g. have not been written to. This prevents old data being read from the disk.
The behavior we want bypasses this security feature. We want to create a large file with no data in it. We don’t want to inspect the original content of the disk, we just want a large file that we can use to determine the actual capacity of the drive.
The default Windows behavior also hinders us in a couple of other ways. Writing zeroes to the file to fill 32 TB or 128 TB takes a lot of time, and will not report exactly where any failure occurs.
The maxspace utility presents an additional challenge:
Although we want to scan the disk as quickly as possible, choosing a very large block size may report a false failure. For example, using a 1 TiB block size would only take 30 samples of the 32 TB drive (30 TiB formatted). If the drive reported a failure at 1 TiB, we might incorrectly assume the capacity was 1 TiB. If we use 1 MiB blocks, we have more blocks to scan which take longer, but may present an accurate picture of capacity. Through some experimentation, I ended up picking 10 MiB as a block size. This gave a balance between performance, accuracy and drive stability. The source code for the utility is available, so you can change the block size. However, this must be a multiple of the sector size otherwise the file system cache bypass will not work as expected.
File system cacheBoth the maxspace and spacechk utilities use files that bypass the Windows file system cache. This is important as we don’t want the utilities to read data that might be cached and give a false capacity reading. This is why the utilities use unique pattern buffer that are 4 KiB. The drives use sector sizes of 4 KiB (4096 bytes) and bypassing the file system cache requires buffers to be aligned on a sector boundary, and be a multiple of the sector size, otherwise the file transfer will fail.
Just out of interest, I added an option to the spacechk utility to allow caching to see if that changed the result.
The Control TestAs with any good test, there has to be a control. For the capacity testing, I used an off brand USB drive I have had for a while which I know works. The drive is 128 GB and 117 GiB after formatting.
Here’s the Windows Explorer properties for the drive:
Here are the results of the spacechk utility:
Here are the results of the maxspace utility:
As expected, the drive capacity was reported as 117 GiB by both utilities. The spacechk utility took a little over 4 hours for the creation, verification, and deletion phases. The maxspace utility only took ~3 minutes.
The 32 TB TestThe 32 TB drive is ~30 TiB once formatted:
Running the spacechk test produced some interesting results:
After ~7 hours, I decided to spot check one of the files which was sp-5900.bin. The file was all zeroes which I knew was incorrect as there should have been a sequence number in the first 8 bytes of the file. The creation test had managed to create 23, 275 files and took ~227 MiB disk space.
I stopped the creation test and ran the verification test which took ~46 minutes and failed at ~36 GiB. This is likely a result of the file content being placed at an invalid disk location, but the file sequence number being fairly low.
You will also note that this test was going to create ~3.2M files. The exFAT file system can only store ~2.7M files in one folder. I was not too concerned about this limit as I expected drives to report a failure prior to that limit being reached.
I moved onto the maxspace test:
In the last screenshot, you can see the size of the test file which is 30 TiB. The test that bypassed the Windows file system cache took ~1.75 hours and failed at 53 GiB. The test that used the Windows file system cache took ~3 hours and did not fail at all.
The 128 TB TestThe 128 TB drive is ~122 TiB after formatting:
Here are the results of the spacechk test:
Here’s the maxspace test:
With the Windows file system cache bypassed, the test took ~20 seconds and indicated the drive was ~48 GiB. With the file system cache, the test took ~13 seconds and the drive capacity was reported as ~71 GiB, which was pretty close to the Linux dd test.
ConclusionThe spacechk utility is a lot more accurate than the maxspace utility, at the cost of requiring Administrator rights.
The 32 TB drive, under normal conditions e.g. working with the Windows file system cache, failed in the worst way possible. This drive just ate data. You could copy a file to this drive and be unlucky enough to read the version in cache back, which would give you a false sense of security.
At least the 128 TB drive failed quickly and advertised the failure.
Each drive has a real capacity that is significantly below the advertised size – 0.157% and 0.0374% respectively.
The drives turned out to be highly unstable, which means I won’t be using them to their actual capacity. They would just disappear from Windows. On a few occasions, I had to reboot Windows to get the drives to be recognized again. I suspect this is due to heat issues with the device.
Other ToolsThe Sysinternals suite includes a contig utility (https://learn.microsoft.com/en-us/sysinternals/downloads/contig) which can quickly create a file with no data it in. This must be run as Administrator. Once the file is created, another program could be written to test random blocks in the file.
In researching this topic, I ran across a utility called ValiDrive (https://www.grc.com/validrive.htm). It looks like a really capable tool and I may try it out.
I could have used either tool, but the purpose of this project was to write some C code to better understanding the challenges involved when determining drive capability.


Comments