

Hardware components | ||||||
_copy_P5AWOdT4dX.png?auto=compress%2Cformat&w=48&h=48&fit=fill&bg=ffffff) |
| × | 1 | |||
| × | 1 | ||||
 |
| × | 1 | |||
| × | 1 | ||||
| × | 1 | ||||
| × | 1 | ||||
 |
| × | 5 | |||
What would it be like if you were able to sense objects around you? Meaning you could navigate around the space even if your vision was compromised?
Not just for people who are partially sighted, this idea could also be used by emergency services (namely the fire department) in smoke-filled environments.
Audio is not always the best and most discrete way to give instruction, haptic feedback, on the other hand, will be perfect.
The Basic IdeaI wanted to create a sensor that would be able to pick up obstacles, and then advise the wearer using haptic feedback how far away the object is, and whether it's coming from the left, right or dead ahead.
For this I'll need:
- A sensor that is able to see 3D space
- Haptic Feedback driver
- Haptic Feedback Actuator
- An External Battery
- A backpack for it to be strapped to.
Want to see through walls? Sense objects in 3D space? Sense if you are breathing from across the room? Well, you're in luck.
The Walabot is a whole new way for sensing the space around you using low power radar. This was going to be key to this project. I would be able to take the Cartesian (X-Y-Z) coordinates of objects in 3D space, these will be mapped to a series of haptic feedbacks to give the wearer a better understanding of the space around them.
Getting StartedFirst things first, you will need a computer to drive the Walabot, for this project I'm using a Raspberry Pi 3 (herein referred to as RPi) due to the built in WiFi and general extra oomph.
I bought a 16GB SD card with NOOBS preinstalled to keep things nice and simple, and opted to install Raspian as my Linux OS of choice (if you are unfamiliar with how to install Raspian, please take a moment to have a little read of this) OK, once you have got Raspian running on your RPi, there are a few configuration steps to take to get things ready for our project. Firstly, make sure you are running the latest Kernel version and check for updates by opening a command shell and typing:
sudo apt-get update
sudo apt-get dist-upgrade
(Sudo is added to ensure you've got administrative privileges eg. stuff will work.)This may take a while to complete, so go and have a nice cup of tea. 2.
You need to install the Walabot SDK for RPi. From your RPi web browser go to https://www.walabot.com/gettingstarted and download the Raspberry Pi installer package. From a command shell:
cd downloads
sudo dpkg -I walabotSDK_RasbPi.deb
We need to start configuring the RPi to use the i2c bus. From a command shell:
sudo apt-get install python-smbus
sudo apt-get install i2c-tools
Once this is done, you have to add the following to the modules file.
From a command shell:
- sudo nano /etc/modules
- add these 2 strings on separate lines:
i2c-dev
i2c-bcm2708
The Walabot draws a fair bit of current, and we'll also use GPIO's to control stuff so we need to set these up.
From a command shell:
- sudo nano /boot/config.txt
- add the following lines at the end of the file:
safe_mode_gpio=4
max_usb_current=1
The RPi is an excellent tool for makers, but it is limited in the current it can send to the Walabot. Hence why we're adding a 1Amp max current rather than the more standard 500mA.
PythonWhy Python? Well, as it's super easy to code, fast to get running, and there's loads of good python examples available! I'd never used it before and was soon up and running in no time. Now the RPi is configured for what we want, the next step is to configure Python to have access to the Walabot API, LCD Servo interfaces.
For the Walabot
From a command shell:
Sudo pip install “/usr/share/walabot/python/WalabotAPI-1.0.21.zip”
For the Haptic Driver
From a command shell:
sudo apt-get install git build-essential python-dev
cd ~
git clone
The Adafruit DRV2605 haptic driver board is great because you can send I2C signals to trigger tons of saved haptic profiles. Only downside was there was no Python library for this available. But fear not! I have written one as part of this project.
https://www.adafruit.com/product/2305
Autorunning the ScriptNow that this is all set up and configured, and we have the Python code ready, we can set things to auto run so we can ditch the keyboard and monitors.
There are a few things to do:
- Create a new script file to run out Python Program
- sudo nano walaboteye.sh
- Add these lines
#!/bin/sh
python /home/pi/WalabotEyeCLI.py
Make sure to save it. Next we need to give the script permission to run by typing:
Sudo chmod +x /home/pi/walaboteye.sh
And finally, we need to add this script to the /etc/rc.local file
Sudo nano /etc/rc.local
Add
home/pi/walaboteye.sh &
Be sure to include the "&". This allows the Python Script to run in the background Right! That's all the configuration and software sorted, next it's time to wire up the hardware.
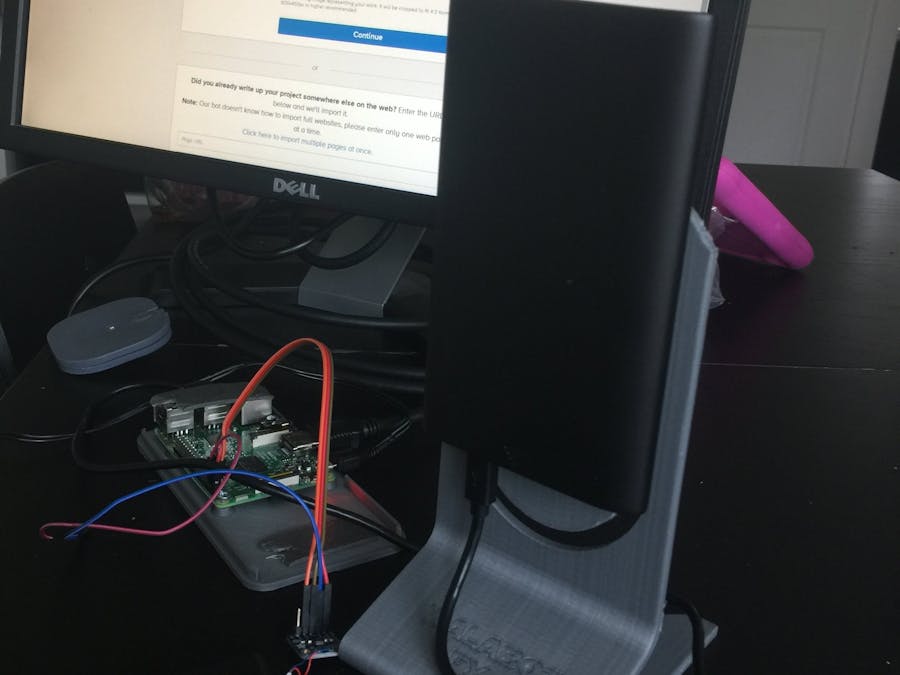
The HardwareThis is not my finest hour, but it does feel delightfully hacky! As you will see from three images.
The wiring up is super simple.
Connect RPi, SDA SCL VCC and GND pins to the DRV2605 corresponding pins. Connect your haptic motor to the driver board...that's it for that bit!
After that, all you need to do is connect the walabot USB to the RPi and get your finest sticky tape, and secure everything in place as shown:
The idea is very simple. Depending how far away the obstacle is depends how strong the buzz will feel on your shoulder. 2 meters away is a soft buzz, under 70cm is a very strong buzz and everything in between.
- The sensor is also able to tell you if the obstacle is dead ahead, coming from the left or coming from the right.
- The way it does this is to add a second haptic buzz, depending on where the object is.
- If the obstacle is dead ahead, it is a simple repetitive buzz, with the strength depending on how far way it is.
- If the obstacle is to the right, a ramp up buzz is added after the main buzz. Again, the strength depends on how far away it is
- If the obstacle is to the left, a ramp down buzz is added after the main buzz.
Simple!


Comments