


Hardware components | ||||||
 |
| × | 1 | |||
| × | 1 | ||||
Story.. .
In this tutorial I will teach you how to install a 3.5" LCD to the Raspberry Pi. This LCD is a Chinese knock off from the original LCD that's produced by main stream electronic companies. The driver that's offered from their website is not compatible to the cheap LCD that you can buy to the internet. Luckily, I found a driver that will work in both original and knock offs. I want to share this driver to all builders that can't afford the branded items. I believe that not having enough budget is not a hindrance to be a great builder and to do some awesome stuff.
Materials Needed
Hardware:
Raspberry Pi 3 | Get it here
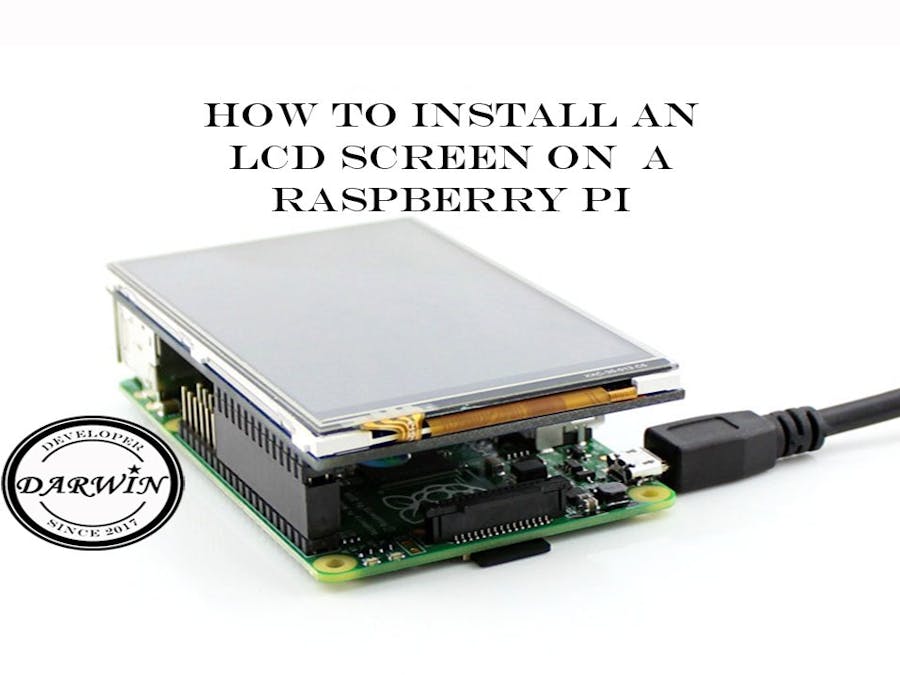
3.5 LCD Screen | Get it here
Software:
Preparation.
Connect the 3.5" LCD to the Raspberry Pi.
Then power up the Rpi that the LCD is connected to.
Then download the file and save it to a flash drive. Insert to the Raspberry Pi, then paste the driver file to home/pi/ directory.
Driver installationDescription: Supports the latest versions of Raspbian and Ubuntu Mate.
1. Open the terminal and type the following commands:
tar xvf LCD-show-151020.tar.gz
cd LCD-show/
2. This toggles the mode to LCD display:
sudo mkdir /etc/X11/xorg.conf.dsudo cp ./waveshare35a-overlay.dtb /boot/overlays/sudo cp -rf ./etc/X11/xorg.conf.d/99-calibration.conf-35 /etc/X11/xorg.conf.d/99-calibration.confsudo cp -rf ./usr/share/X11/xorg.conf.d/99-fbturbo.conf /usr/share/X11/xorg.conf.dsudo cp ./cmdline.txt /boot/sudo cp ./inittab /etc/sudo cp ./boot/config-35.txt /boot/config.txtsudo reboot
3. After system rebooting, the RPi LCD is ready to use.
..........
To give support on this channel.
Donate.
Paypal: paypal.me/5
Bitcoin: 3HHaJVzMhAKX5NUc6cayo7xcCdKJov5MDg
Ethereum: 0xa0aec3a006af6ff7e5850f982b21bcfe3e3a1a73
Like and Follow.
Twitter: twitter.com/dardelacruz
Facebook: facebook.com/darwindelacruzofficial

Comments