



Hardware components | ||||||
 |
| × | 1 | |||
Software apps and online services | ||||||
 |
| |||||
The ESP32 is one of the most popular Wi-Fi and Bluetooth-enabled microcontrollers for IoT, robotics, smart home automation, and embedded systems. It offers significantly more processing power and built-in wireless connectivity than traditional development boards, making it an excellent choice for beginners and professionals alike.
In this project, you'll learn how to set up an ESP32 development board, install the required software, upload your first program, and prepare your board for future IoT projects.
Why Choose ESP32?The ESP32 combines powerful hardware with built-in Wi-Fi and Bluetooth, making it suitable for a wide range of electronics projects.
- Dual-core 32-bit processor
- Built-in Wi-Fi
- Built-in Bluetooth
- Multiple GPIO pins
- Analog and digital interfaces
- PWM support
- SPI, I2C and UART communication
- Low power operation
- Compatible with Arduino IDE
- ESP32 Development Board
- USB Cable
- Computer or Laptop
- Arduino IDE
- ESP32 Board Package
Download and install the latest Arduino IDE from the official Arduino website.
After installation, launch the Arduino IDE.
Step 2 – Install ESP32 Board PackageOpen:
File → Preferences
In Additional Boards Manager URLs, add:
https://raw.githubusercontent.com/espressif/arduino-esp32/gh-pages/package_esp32_index.json
https://raw.githubusercontent.com/espressif/arduino-esp32/gh-pages/package_esp32_index.json
Now open:
Tools → Board → Boards Manager
Search for:
ESP32
Install the latest board package published by Espressif Systems.
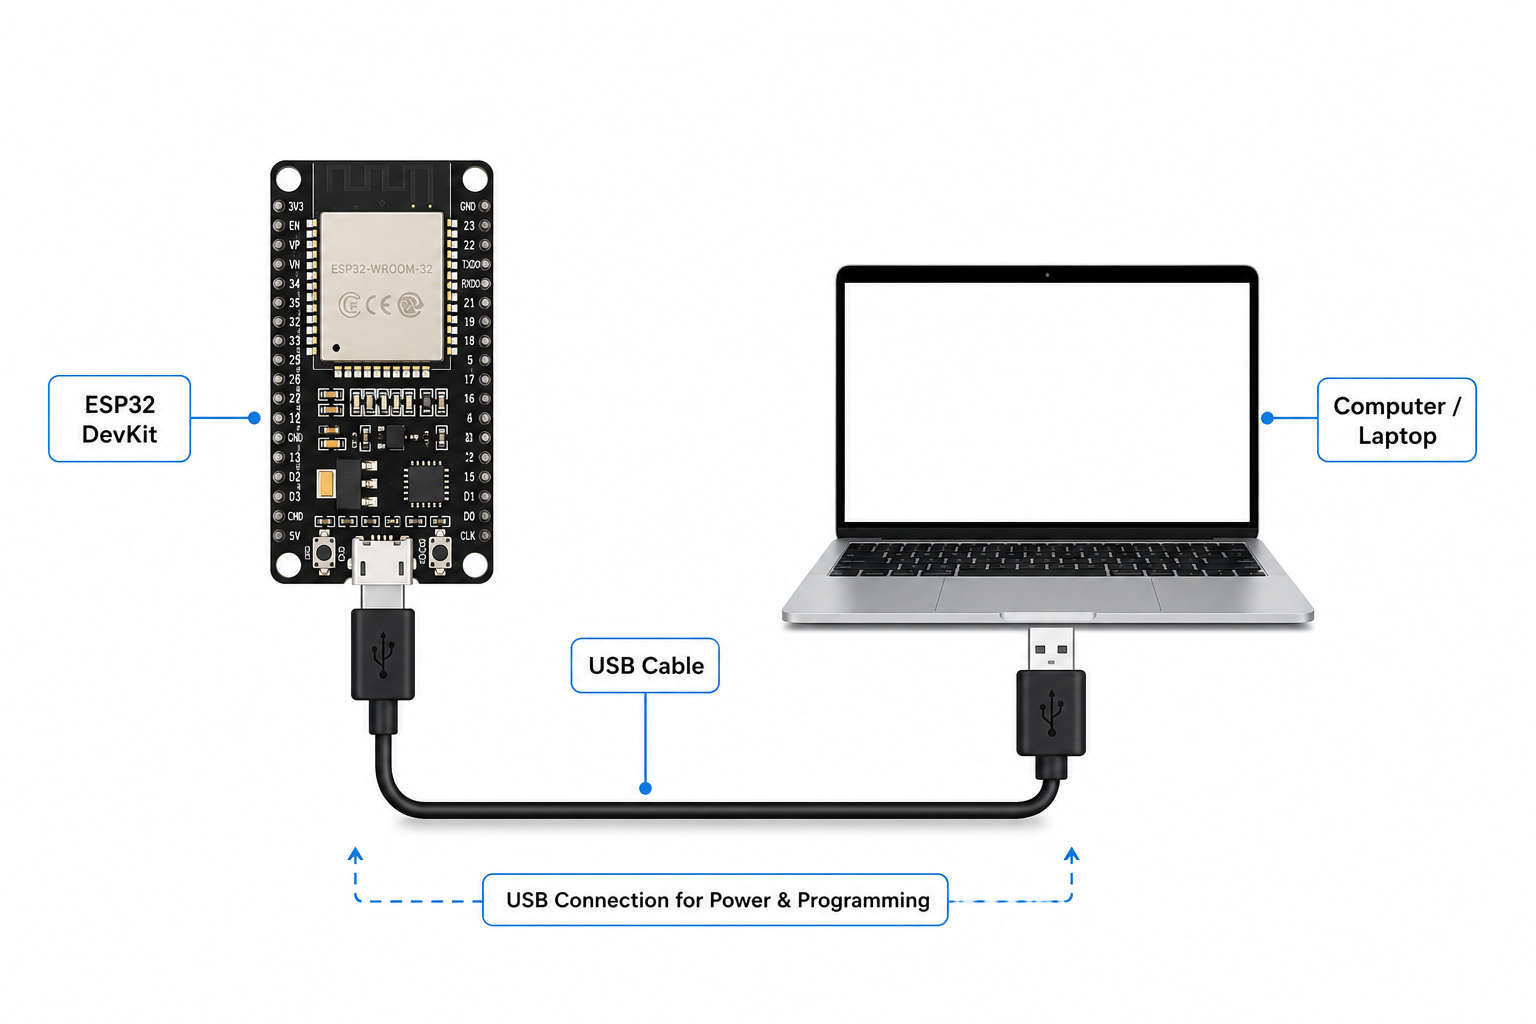
Step 3 – Connect Your ESP32Connect the ESP32 to your computer using a USB cable.
Select:
- Board: ESP32 Dev Module
- Correct COM Port
from the Arduino IDE.
Step 4 – Upload Your First ProgramOpen the Blink example:
File → Examples → Basics → Blink
Modify the LED pin if required by your ESP32 board.
Click Upload.
If everything is configured correctly, the built-in LED should start blinking.
Step 5 – Start Building IoT ProjectsOnce your first program is running successfully, you're ready to build projects such as:
- Smart Home Automation
- Wi-Fi Sensors
- Weather Stations
- IoT Monitoring Systems
- Robotics Projects
- Industrial Automation
- Remote Monitoring Solutions
If uploading fails:
- Verify the correct COM port.
- Ensure the correct ESP32 board is selected.
- Install the latest USB drivers if required.
- Press and hold the BOOT button during upload on some ESP32 boards.
The ESP32 is an excellent platform for learning embedded systems and IoT development. With built-in wireless connectivity and strong community support, it's one of the best development boards for beginners and advanced makers.
If you're looking for genuine ESP32 development boards, Arduino modules, Raspberry Pi accessories, sensors, and other electronics components in Pakistan, explore the complete collection at Chip.pk.
Website:https://www.chip.pk
ESP32 Collection:https://www.chip.pk/search?q=esp32
Knowledge Hub:https://www.chip.pk/blogs/chip-pk-knowledge-hub
ESP32 Development Board USB Connection Diagram


Comments