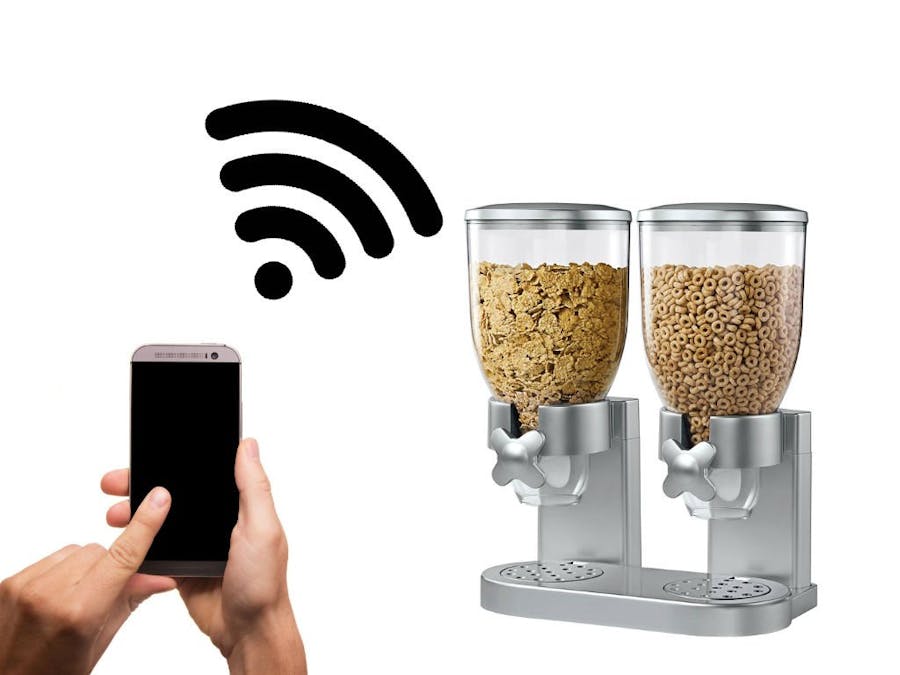
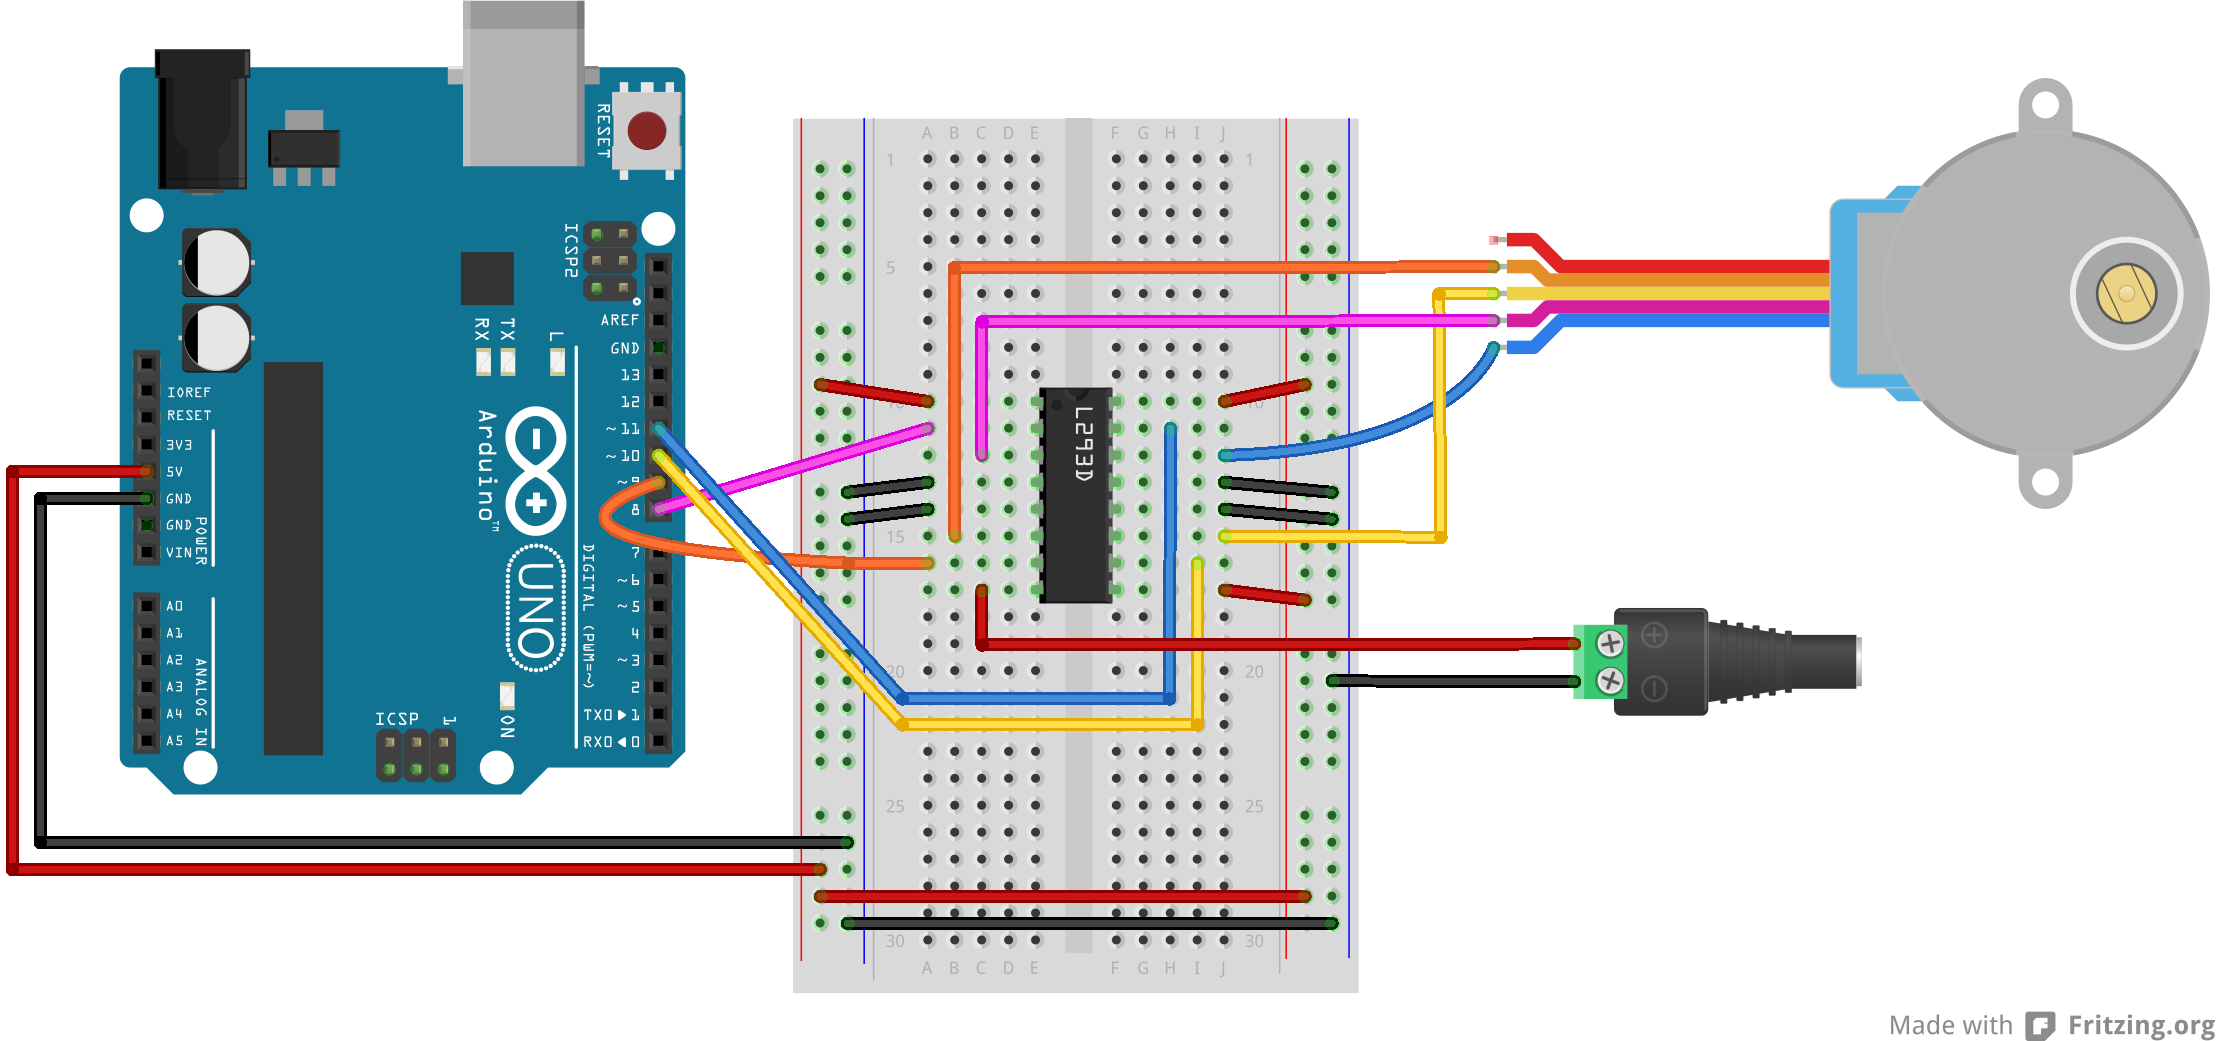
Charlie Medina
Published © GPL3+

Lane Tech HS - PCL - Automated Food Dispenser

This project was part of the Lane Tech HS Physical Computing Lab course. I created this project as part of the Home Automation/IoT project.

BeginnerShowcase (no instructions)2 hours1,460
Lane Tech HS - PCL - Automated Food Dispenser

Things used in this project

Hardware components

Photon
Particle Photon
×1
Adafruit Small Reduction Stepper Motor - 5VDC 32-Step 1/16 Gearing
×1
Solderless Breadboard Full Size
×1
Dual H-Bridge motor drivers L293D
Texas Instruments Dual H-Bridge motor drivers L293D
×1
Adafruit Square Force-Sensitive Resistor (FSR) - Interlink 406
×1
Jumper wires (generic)
×1

Software apps and online services

Blynk
Blynk

Story

Read more

Schematics

Controlling a Stepper Motor with an H Bridge

This is from New York University's ITP Lab. This shows how to connect a unipolar stepper motor to a microcontroller using an H-Bridge

Code

Food Dispenser Code

C/C++
This is the whole code for the Food Dispenser
#define BLYNK_PRINT Serial// This #include statement was automatically added by the Particle IDE.
#include <blynk.h>

// This #include statement was automatically added by the Particle IDE.
#include <Stepper.h>


//#include <Stepper.h>
 char auth[] = "b6e6d2da0de14ea48f4d1070c99384d2";
 
const int stepsPerRevolution = 512;  // change this to fit the number of steps per revolution
                                     // for your motor
int pressurePad=D2;
int LED=D1;
int pressure;
 
// initialize the stepper library on pins 8 through 11:
Stepper myStepper(stepsPerRevolution, 3,4,5,6);      

 
    void setup() {
  // set the speed at 60 rpm:
     myStepper.setSpeed(3);
  // initialize the serial port:
  //Serial.begin(9600);

    pinMode(pressurePad, INPUT);
  pinMode(LED, OUTPUT);
  Blynk.begin(auth);
  Serial.begin(9600);
      Serial.println("Start");
    }
 
 
void loop() {
    
    //digitalWrite(LED, HIGH);
    
    Serial.println("light on");
    
    Blynk.run();

    pressure= digitalRead(pressurePad);
  Serial.println(pressure);
  
      if(pressure== HIGH)
    {
        digitalWrite(LED, HIGH);
         // step one revolution  in one direction:
   //Serial.println("clockwise");
   myStepper.step(stepsPerRevolution);
       // delay(500);
    }
        else
        {
            digitalWrite(LED, LOW);
        }
    
    
}

BLYNK_WRITE(V1) {
    if (param.asInt() == 1) { // On button down...
    
    Serial.println("Blynk Recieved");
            digitalWrite(LED, HIGH);
         // step one revolution  in one direction:
   //Serial.println("clockwise");
   myStepper.step(stepsPerRevolution);
       // delay(500);
        // Tweeting!
        // Note:
        //   We allow 1 tweet per minute for now.
        //   Twitter doesn't allow identical subsequent messages.
       // Blynk.tweet("My Particle project is tweeting using @blynk_app and it’s awesome!\n @Particle #IoT #blynk");

        // Pushing notification to the app!
        // Note:
        //   We allow 1 notification per minute for now.
        //Blynk.notify("You pressed the button and I know it ;)");
    }
}
  // step one revolution  in one direction:
  // Serial.println("clockwise");
  //myStepper.step(stepsPerRevolution);
 // delay(500);
 
   // step one revolution in the other direction:
//  Serial.println("counterclockwise");
  //myStepper.step(-stepsPerRevolution);
  //delay(500);

Controlling a Stepper Motor with an H Bridge

C/C++
This Code is from New York University and it helped me get the motor working.
#include <Stepper.h>
 
const int stepsPerRevolution = 512;  // change this to fit the number of steps per revolution
                                     // for your motor
 
// initialize the stepper library on pins 8 through 11:
Stepper myStepper(stepsPerRevolution, 8,9,10,11);            
 
void setup() {
  // set the speed at 60 rpm:
  myStepper.setSpeed(10);
  // initialize the serial port:
  Serial.begin(9600);
}
 
void loop() {
  // step one revolution  in one direction:
   Serial.println("clockwise");
  myStepper.step(stepsPerRevolution);
  delay(500);
 
   // step one revolution in the other direction:
  Serial.println("counterclockwise");
  myStepper.step(-stepsPerRevolution);
  delay(500);
}

Credits

Charlie Medina

Charlie Medina

2 projects • 3 followers

Comments