
M5stickv and the subsequent unit-v are the visual sensor modules of m5stack.com (眀栈科技) based on Kendryte K210, which can perform high-speed convolution neural network calculation under ultra-low power consumption. Use scenarios such as target detection and image classification tasks based on convolutional neural network, face detection and face recognition, multi class object detection and recognition, etc.So we choose the classic game of wechat jump as a carrier of target detection test.
1. Object Detection
In this concept, I have carried a passage from "YOLO principle and Implementation of object detection" by Xiaobaijiang
object detection is a more practical and challenging computer vision task, which can be seen as the combination of image classification and location. Given a picture, the object detection system should be able to identify the object of the picture and give its location. Because the number of object in the picture is uncertain and the exact location of the object should be given, object detection is more complex than classification task.
A practical application scenario of object detection is driverless. If an effective object detection system can be loaded on the driverless vehicle, the driverless vehicle will have eyes like the human, and can quickly detect the pedestrians and vehicles in front, so as to make real-time decision.
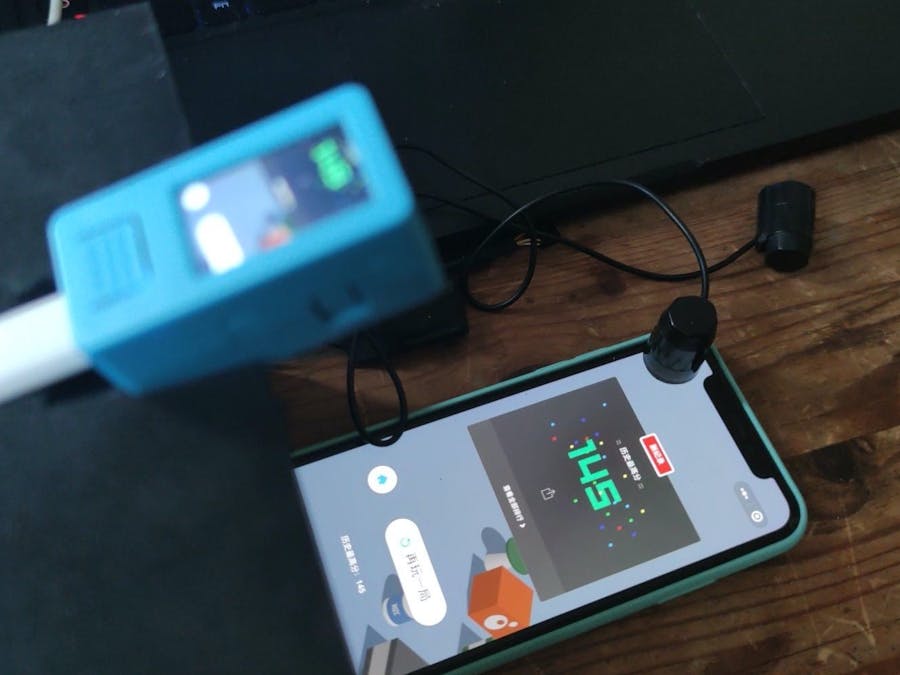
Well, let's apply this phrase to the scene of "wechat jump", that is, we use m5stickv to classify the puppets in the "jump" screen and the platform (identify which is the puppet and which is the platform), and then determine the specific location between the puppet and the platform to be reached (obtain the center point coordinates). Because the number of jumps in the field of vision is uncertain (there are already skipped, there is the next target jump), we need to get the exact location of the target. Obviously, target detection is more complex than a single classification task.
2, yolo3
As the author will explain, Yolo algorithm, its full name is you only look once: unified, real time object detection. The name of the algorithm is very good, basically summarizing the characteristics of Yolo algorithm:
You only look once means that only one CNN operation is needed. Unified means that this is a unified framework that provides end-to-end prediction, while real time means that Yolo algorithm is fast.
M5StickV (Unit-V) Design Guru smile more grounded: K210 is mainly to provide a simple method for users who do not understand AI to use, inside running is the neural network structure of Google's MobilenetV1, plus the detection structure of YoloV3. The core of Yolo is you only look once, which directly gets the position and class of the target through a picture. A single operation can predict hundreds of targets at most, and the detection time will not increase with the number of targets.
Knowing these two concepts, we as players know that m5stickv (unit-v) can provide us with target detection services, so that we can identify the puppet and the platform and get their exact positions in the wechat hop.
Flow chartStep 1
shoot more than 100 samples. It is recommended that the shooting should be consistent with the angle environment you actually use (cell phone, light conditions, shooting angle, etc.) as close as possible.According to Hanxiao's suggestion, I modified a simple automatic shooting program. I took a picture every 3S and saved it in the / train directory. It needs to run under the firmware m5stickv ﹣ firmware ﹣ 1022 ﹣ beta.kfpkg. Attached.
Step 2
mark the object.
Step3
upload zip file to http://v-training.m5stack.com/
Step 4
after the server training, receive the feedback model, firmware and boot.py file
CangHai
 vany5921
Comments