

Hardware components | ||||||
| × | 1 | ||||
| × | 1 | ||||
 |
| × | 1 | |||
 |
| × | 1 | |||
| × | 1 | ||||
| × | 1 | ||||
| × | 2 | ||||
| × | 1 | ||||
Software apps and online services | ||||||
 |
| |||||
The Wisconsin winter was settling in and my 2005 Buick LeSabre was destined to become an icicle once again. I pondered constructing a remote car starter using the venerable ESP8266 module. It’s been done many times before with various MCUs, and well-documented tutorials exist. But as I read several forum posts regarding this topic, I began to form a new opinion about the age old tradition of “warming up the car." Instead of running the engine for heat, I thought, why not use a small electric space heater? Not a breakthrough idea by any stretch, but one that had not occurred to me before.
Things I considered:
- Information from several sources suggested that idling a car’s engine at cold temperatures promotes oil breakdown and excessive mechanical wear.
- Idling your engine for 20 minutes or more multiple times a day (just to have a comfortable cabin temperature) is bad for the environment.
- I have access to outdoor power (120v) and WiFi at home and at work; the two places my car spends most of its time.
- I already owned a small 1500W electric heater.
With all that in mind, a remote controlled electric heater seemed like the perfect alternative, with the caveat that I’d have to plug it in every time I exit the car. But I can live with that...
After experimenting with the heater by itself on a few cold mornings, I was encouraged by the results. The small heater was able to warm the car’s cabin to a comfortable temp and defrost the windows in about the same amount of time that the car’s engine heat would take.
*Safety: I chose to place the heater on the floor of the passenger seat. After heating for 30 minutes, I checked the area around the heater for hot spots and was not worried about melting or burning any part of the car’s interior. The output of the small heater is simply not hot enough to cause damage or risk fire. Furthermore, this model heater has built-in thermal protection and a tip-over kill switch that will cut power if the device overheats or falls over.
The Build:There are many approaches to consider with a project like this. Should it use WiFi, BLE, connect to internet or not, broadcast an AP, connect to a local network? I had some past successes with the ESP8266 and wanted to gain more experience with web development, so I chose to build the device to connect to my local WiFi network and serve up a simple webpage, avoiding any need to connect to the internet. I stumbled upon Mikael Söderström’s blog and decided this was a perfect place to begin.
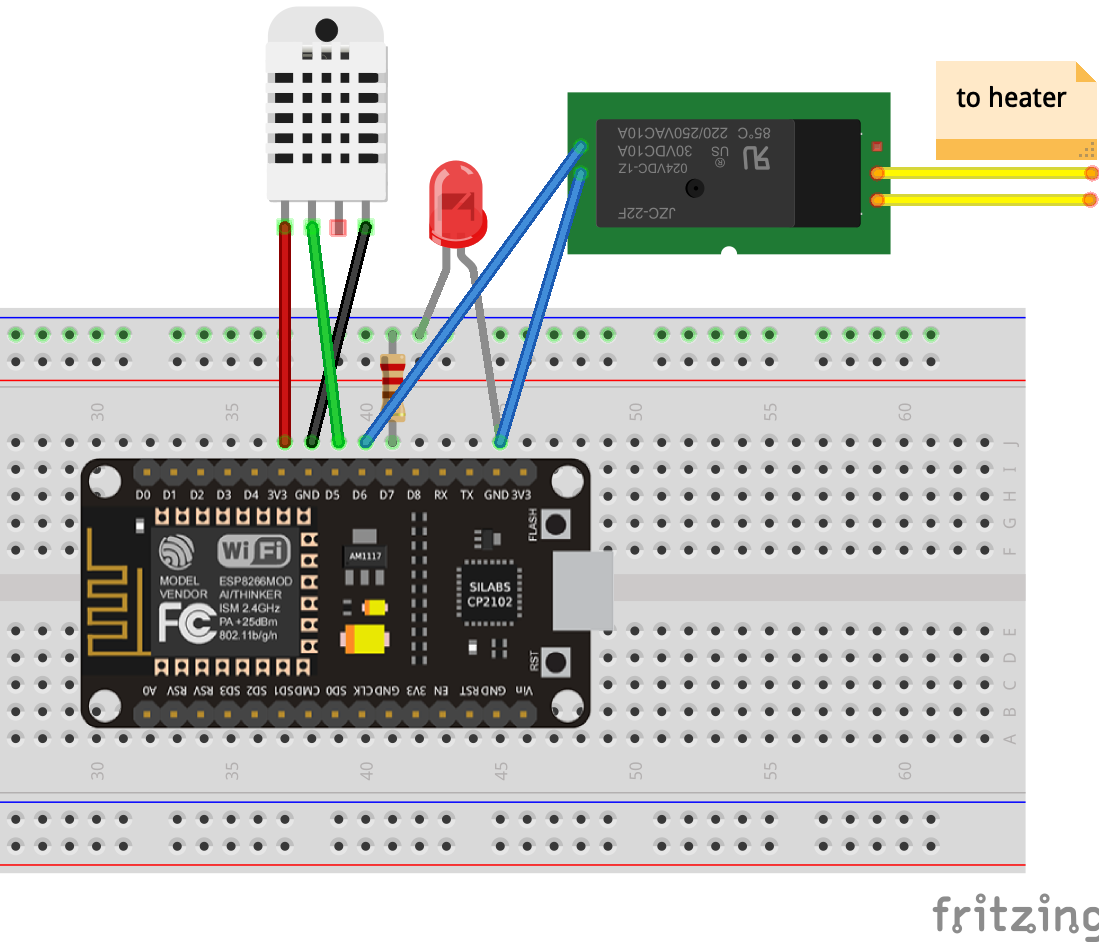
The hardware is minimal:
- ESP8266 development board
- 5V/30A relay module to control the heater
- Temperature sensor
- LED to indicate status
- 5V power supply
- Plastic enclosure
- Rubber grommets
- Extension cable
I already had a water-resistant DS18B20 temperature sensor, but instead decided to use a DHT22 as it had a faster response to temp changes and provided adequate thermal separation from the other components. For power, I disassembled a spare 750mA USB wall charger.
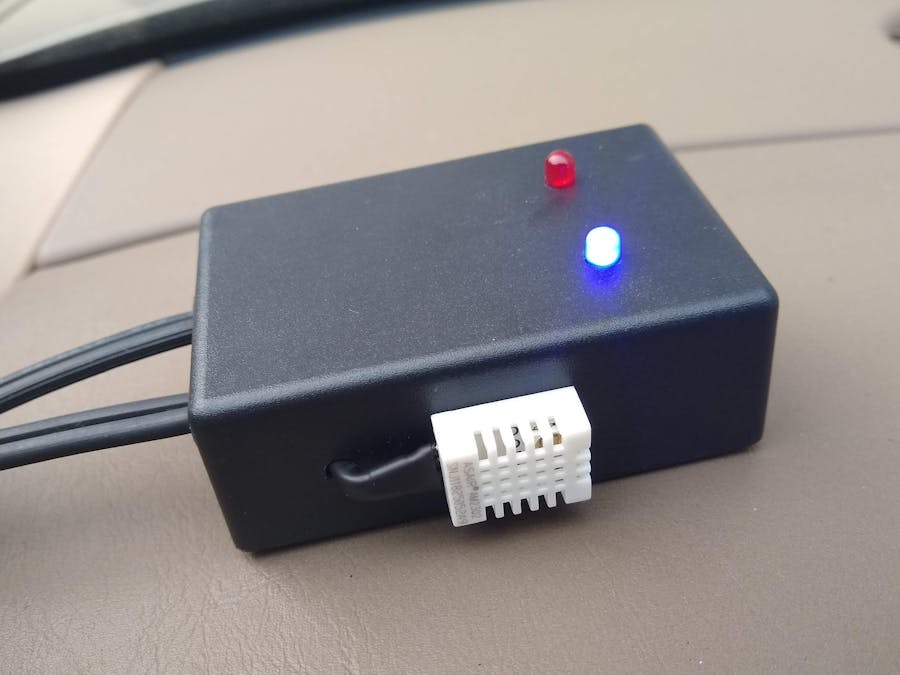
Assembly was a bit tricky because I chose a small enclosure. Modifying both the power supply and the relay module was necessary to get it all to fit. The result turned out well, with a nice tight fit ensuring that the low and high voltage components would stay safely separated.
The Code:I made several additions to Mikael’s code to achieve the desired functionality. I really liked the looks of his simple, yet colorful webpage to display the temperature. I started by adding the ESP8266WifiMulti library to store both my home and work WiFi networks. I added the mDNS library to avoid having to always know the device’s (potentially changing) IP address.
In my implementation, the client is polling the server for both the temperature and the relay state once per second. In this way, the web UI is always able to adapt to the state of the device. This is not a very efficient method, as it is creating lots of network traffic, but it works for me at the moment. I didn’t feel the need to mess with websockets or another method of data transfer for this first version. Perhaps the next version will be cloud-connected and use MQTT...
I also added a couple of functions for safety: a heat timeout, and an over-temp cut off. If I accidentally leave the heat on, it will shut off after 1 hour. If the temp in the car reaches 90 degrees F, the heat will shut off. (Or whichever happens first)
The webpage has a lot of dynamic content. The temperature will update automatically, and the background color gradient will change in response to the temperature range. The button toggles the heater on and off, and will only change state upon a successful response from the device. The button will also toggle its state when either the safety timeout or over-temp limit is reached. Additionally, an over-temp message will appear on the screen and the button will temporarily deactivate while the temp limit is surpassed. Reloading the page will not affect how the user interface looks or functions.
Since the web code was becoming a bit lengthy, I switched from a string concatenation method, to loading the page data from a char array stored in PROGMEM. Not only is this more efficient for the MCU to process, but it separates the web code nicely from the device code and makes the program much more readable.
There is plenty of room for improvement. Currently, there is little error handling or input validation implemented. I’m just sort if relying on the TCP/IP stack to handle network errors, and assuming the device will function the way I want it to. Here’s hoping!


Comments