


Hardware components | ||||||
_ztBMuBhMHo.jpg?auto=compress%2Cformat&w=48&h=48&fit=fill&bg=ffffff) |
| × | 1 | |||
 |
| × | 3 | |||
 |
| × | 1 | |||
| × | 1 | ||||
 |
| × | 14 | |||
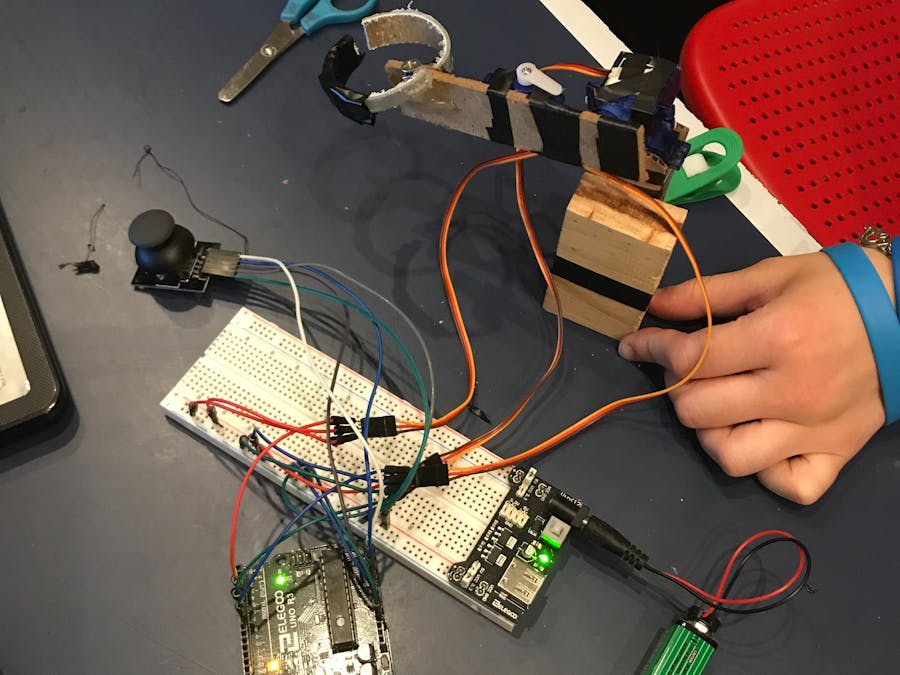
The other day I bought a pack of 6 mini servos online and I wanted to make something out of it. Soo SBEEM a mini robotic arm! Enjoy!
I build the structure with cardboard pieces and a block of wood, all tied up with tape and hot glue.
Here's a little demostration of how it works(it's still a little bit wobbly)


Comments