

Hardware components | ||||||
 |
| × | 1 | |||
| × | 1 | ||||
Software apps and online services | ||||||
| ||||||
 |
| |||||
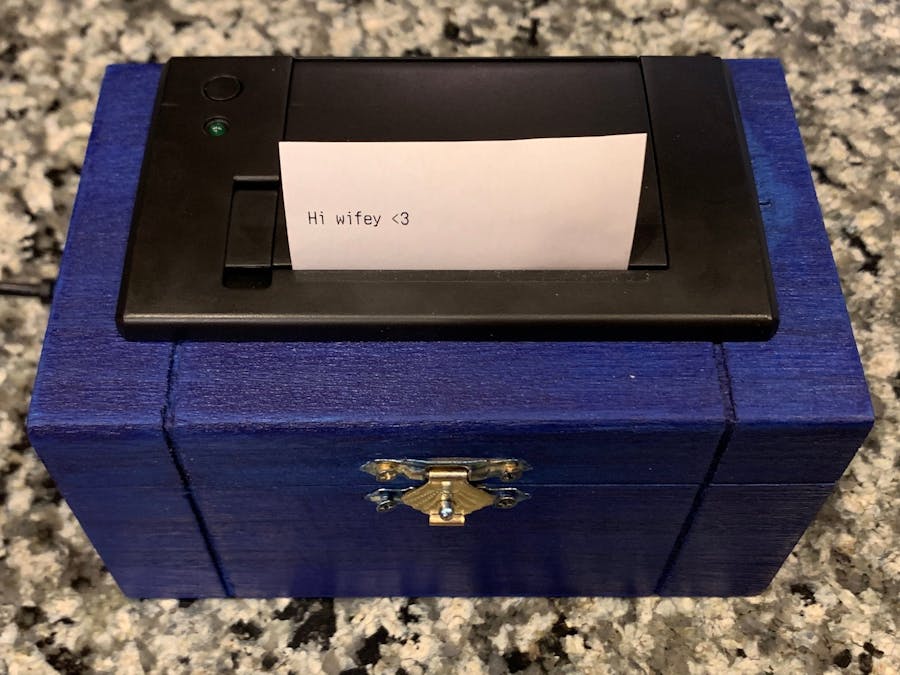
My wife goes out of town for work regularly, and I wanted an extra way to send her something special while she was travelling. I came up with the idea to make Love Notes, a small box that she could plug in at her hotel which I could use to send her little messages during the day.
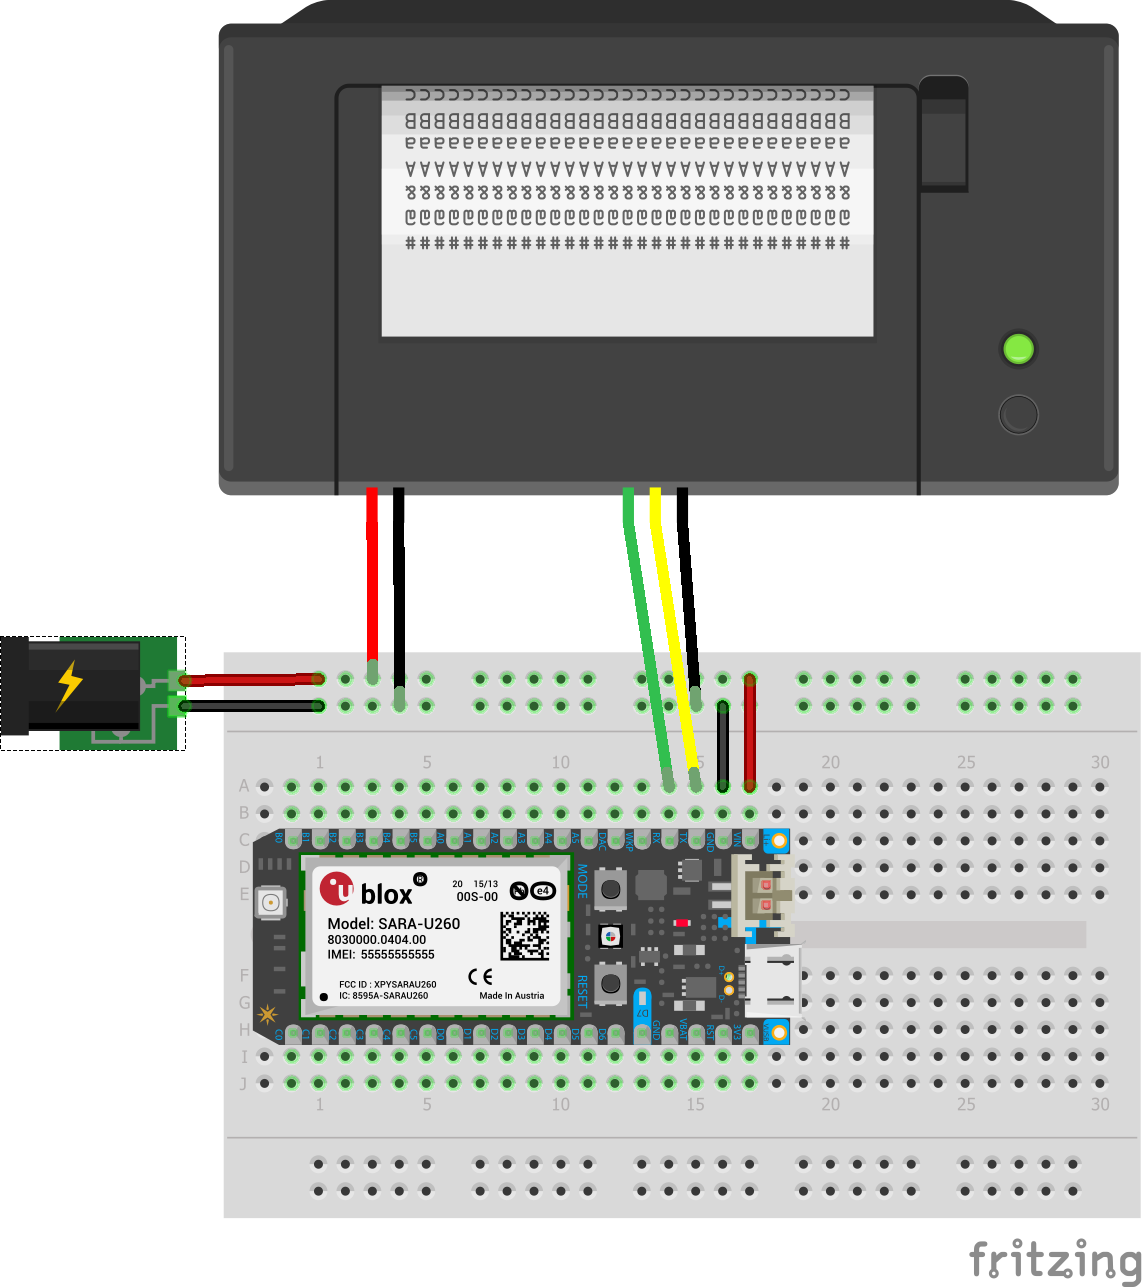
Cut a hole in the box and place the thermal printer inside. Follow the schematic at the bottom of this project to connect the thermal printer to the Electron and to power. Plug the Soracom SIM into the Electron.
Setup - SoftwareThere are two main parts to this system: 1) Printing a message sent to the Electron and 2) sending a message via SMS to the Electron. For part 1, we'll set up the Particle Electron to print messages it receives via webhook. For part 2, we'll use Twilio Functions to handle receiving SMS texts and sending them to the Electron.
Software Part 1: Print Text - Electron FirmwareIn the Particle Web IDE, first find your account Access Token from the "Settings" Gear icon in the lower left corner, as well as the Device Id of the device you're using in the "Devices" Crosshair icon. You'll need those in the next section.
Create a new app and add the Adafruit_Thermal library to it. The rest of the code goes as follows:
// This #include statement was automatically added by the Particle IDE.
#include <Adafruit_Thermal.h>
// This is necessary for using our own SIM card
#include "cellular_hal.h"

Adafruit_Thermal printer;
// Connect to the Particle Cloud when we say so, so that we can set up
// cloud variables and functions and only connect once
SYSTEM_MODE(SEMI_AUTOMATIC)

// Soracom.io Credentials
STARTUP(cellular_credentials_set("soracom.io", "sora", "sora", NULL));

// This variable is for double checking the device is communicating
bool ready = false;

// This function will print whatever message is sent to it
int receiveMessage(String msg) {
   // For debug purposes, send an event saying we received a message
   Particle.publish("message-received", msg, PUBLIC);
   // Print the message with some ascii borders (32 characters wide)
   printer.println("XOXOXOXOXOXOXOXOXOXOXOXOXOXOXOXO");
   printer.println(msg);
   printer.println("XOXOXOXOXOXOXOXOXOXOXOXOXOXOXOXO");
   // Done printing, feed it some paper to move above the tear line
   printer.feed(2);
   // Reset
   printer.setDefault();
   // When the function is done, return 1 so the sender knows it worked
   return 1;
}

// This is called when the Electron powers up
void setup() {
   // Set up the Particle variable and function, then connect
   // to the Particle Cloud
   Particle.variable("ready", ready);
   Particle.function("message", receiveMessage);
   Particle.connect();
   // Serial1 is configured to the RX and TX pins on the Electron
   Serial1.begin(19200);
   // Start communicating with the printer via the Serial1 pins
   printer.begin(&Serial1);
   ready = true;
}

void loop() {
   // Unused in this implementation
}
In the Devices tab, click the star to choose which device to flash the firmware, set the Device OS target to 1.2.1-rc.1 and hit the flash button in the top left. This will send your code to the device and restart. Use the Particle Console to see the status of your device.
Software Part 2: Handle SMS - Twilio FunctionsFirst we need to add two environment variables. Go to the Twilio Functions Configure Page and add a `PARTICLE_ACCESS_TOKEN` and `PARTICLE_DEVICE_ID` Environmental Variables. Next, add the `request` package version 2.88.0 to the Dependencies section.
Next, hit "Manage" in the Functions menu and hit the "+" button to add a function. Choose Blank for the template, Add this code:
const request = require('request')
exports.handler = function(context, event, callback) {
   // Send the message to the Particle Electron's 'message' function
   request
       .post('https://api.particle.io/v1/devices/' + context.PARTICLE_DEVICE_ID + '/message')
       .form({
           access_token: context.PARTICLE_ACCESS_TOKEN,
           args: event.Body
       })
       .on('response', function(response) {
           // Tell the sender if it worked
           let responseText = response.statusCode == 200 ? "Success!" : "Failure!"
           let twiml = new Twilio.twiml.MessagingResponse();
           twiml.message(responseText);
           callback(null, twiml);
       })
};
Great! Now, go to Twilio's Phone Numbers page and buy a new number (if needed). Then, point the number at the Function you made.
That's it! Plug in your device, wait for the status light to "breathe blue", then send a text message to your Twilio number. You'll get an SMS response of "Success!" and your printer will print your message!
Here are a few ways a creator could build off this project.
- Allow SMS to be saved until the box is ready by using a database. Change the Function to send a record to a database, then have the Electron poll the database and remove received entries.
- Instead of using SMS, send a transcribed message by creating an Alexa Skill that posts to the same URL you used in the Twilio Function.
- With a little more work, use MMS to convert and print black and white bitmaps!
There will be a hardware portion and a server portion of production. For the hardware portion, the producer will provide a kit with a Particle Boron microcontroller (a production Electron unit), a Thermal Printer, a plastic enclosure of the consumer's selected color, and a printed circuit board with indicated spots for mounting the microcontroller and thermal printer. For the server portion, the producer will build and manage a database which stores what printer receives messages from what phone numbers. To add entries to the database, when the device first starts up, it will connect to the server to receive a temporary pairing code, then print out instructions to pair the phone to the device ("Text {{TemporaryPairingCode}} to 1-888-LUV-NOTE"). Sending an initial SMS with the pairing code associate the phone to the printer in the server. Every follow up SMS from that phone number will be directed to the associated printer.
Scalability: As parts are purchased in bulk, the cost of the device will go down. For example, Particle sells Borons at a discount in bulk. The cost per device can also be reduced by using plastic rather than wood (as noted above).
Authentication and Configuration: Since consumer identities are not saved, authentication is not necessary besides basic pairing of phone numbers to devices as described above. Configuration will be very basic at launch, for example only allowing the simplest of fonts.
Reliability: If a device gets into trouble in the field, Particle's Device Cloud makes it easy to debug devices remotely. The Particle Cloud Console keeps detailed analytics about each device in the fleet.
Security: A device's pairing code should be kept strictly hidden to prevent unwanted messages. If this does happen, this could be solved through resetting a user's device, which is simple through the Particle Console. Mass firmware updates over the air can be used to fix other security holes as they are found.


Comments