


Hardware components | ||||||
_baVEVgguW1.jpg?auto=compress%2Cformat&w=48&h=48&fit=fill&bg=ffffff) |
| × | 1 | |||
 |
| × | 1 | |||
 |
| × | 1 | |||
Software apps and online services | ||||||
| ||||||
 |
| |||||
| ||||||
| ||||||
 |
| |||||
Hand tools and fabrication machines | ||||||
 |
| |||||
 |
| |||||
Why tackle the Smart Home problem?
Why did we decide to make it?
Working
Hardware and Equipment used:
Read moreNowadays, people have smartphones with them all the time. So it makes sense to use these to control home appliances. Presented here is a home automation system using a simple Android app which you can use to control electrical appliances with voice commands. Using the app you can control all the appliances like TV, fans, light etc. It’s like a Siri which can be controlled using voice (command given by user). You can give the command to switch on or off the devices (like light, fan etc) and also manipulate them like fan speed, light intensity. Commands are sent via a Bluetooth module to Arduino. So there is no need for you to get up to switch on or switch off the device while watching a movie or doing some important work.What’s new?
We are also using an AR-augmented reality app (self made) to control the appliances and manipulate them. If we want to switch on the electrical appliance we just need to focus the camera and it will start it and using a virtual button we can switch it off .
If we want to know the electricity unit consumed by our appliances along with the cost of units we just need to send a text message to the device (Arduino) through our phone. The Arduino would be connected to the network through a GSM module which would reply with another text message containing the electricity unit and the total cost consumed by the appliances. This will help the user to get update on the electricity bill and they can decide whether to use the appliances on a regular routine or reduce it usage to save electricity.
The Digital Energy Meter
In the energy meter, a LDR (Light Dependent Resistor) is used to take the blink speed according to the load. The blink per second value is fed into the Arduino for further calculation units and the value of energy consumed. These are sent to the user via the GSM module.The user can then comprehend which appliance is consuming more power and take action accordingly.
1 / 2
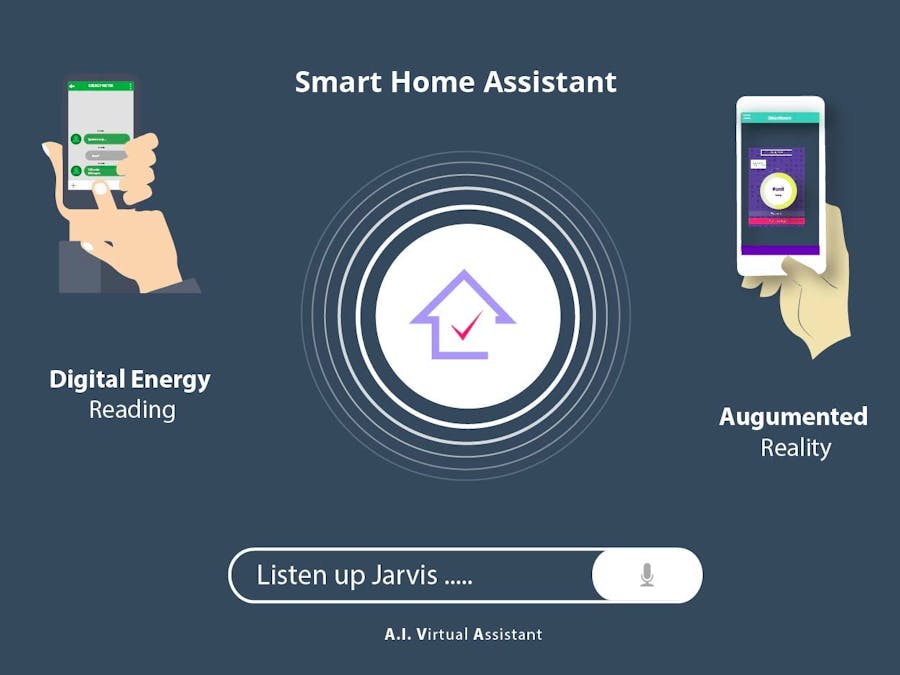
The AI Virtual Assistant
The AI Virtual Assistant works using an android app which is installed on the user’s android phone. The user activates the agent using the wake up command, ‘Listen up Jarvis’.
The android app is connected to the Arduino 101 via Bluetooth which is inturn connected to the relay and hence the electrical appliances.
The flow of signals is as follows:
- 1. Voice Input to Android App
- 2. Processing on Android App
- 3. Sending encrypted data to Arduino via Bluetooth.
- 4. Processing on Arduino 101
- 5. Digital signals to relay
Pins connections:
- Pin 8 -- > PulseIn [Digital Input]
- Pin 6 -- > IN1 -- > Fan Output
- Pin 4 -- > IN2 -- > Light Output
- Pin 5 -- > IN3 -- > Coffee Maker
1 / 5
1 / 2
Connections of Energy meter:
- Connect the meter to the supply.
- Cover the energy meter with a black tape, preventing the LDR inside the energy meter from outside light.
- Connect the neutral wire directly to the loads and the phase wire to the relay.
- Take the wires from the LDR outside the meter to the counter circuit.
- Now take the output from the counter circuit to the assigned pin 8 pulsepin as in the code.
- Connect the TX, RX pin of the Arduino 101 to RX, TX pin of the GSM module.
- Now power up the boards after burning the code.
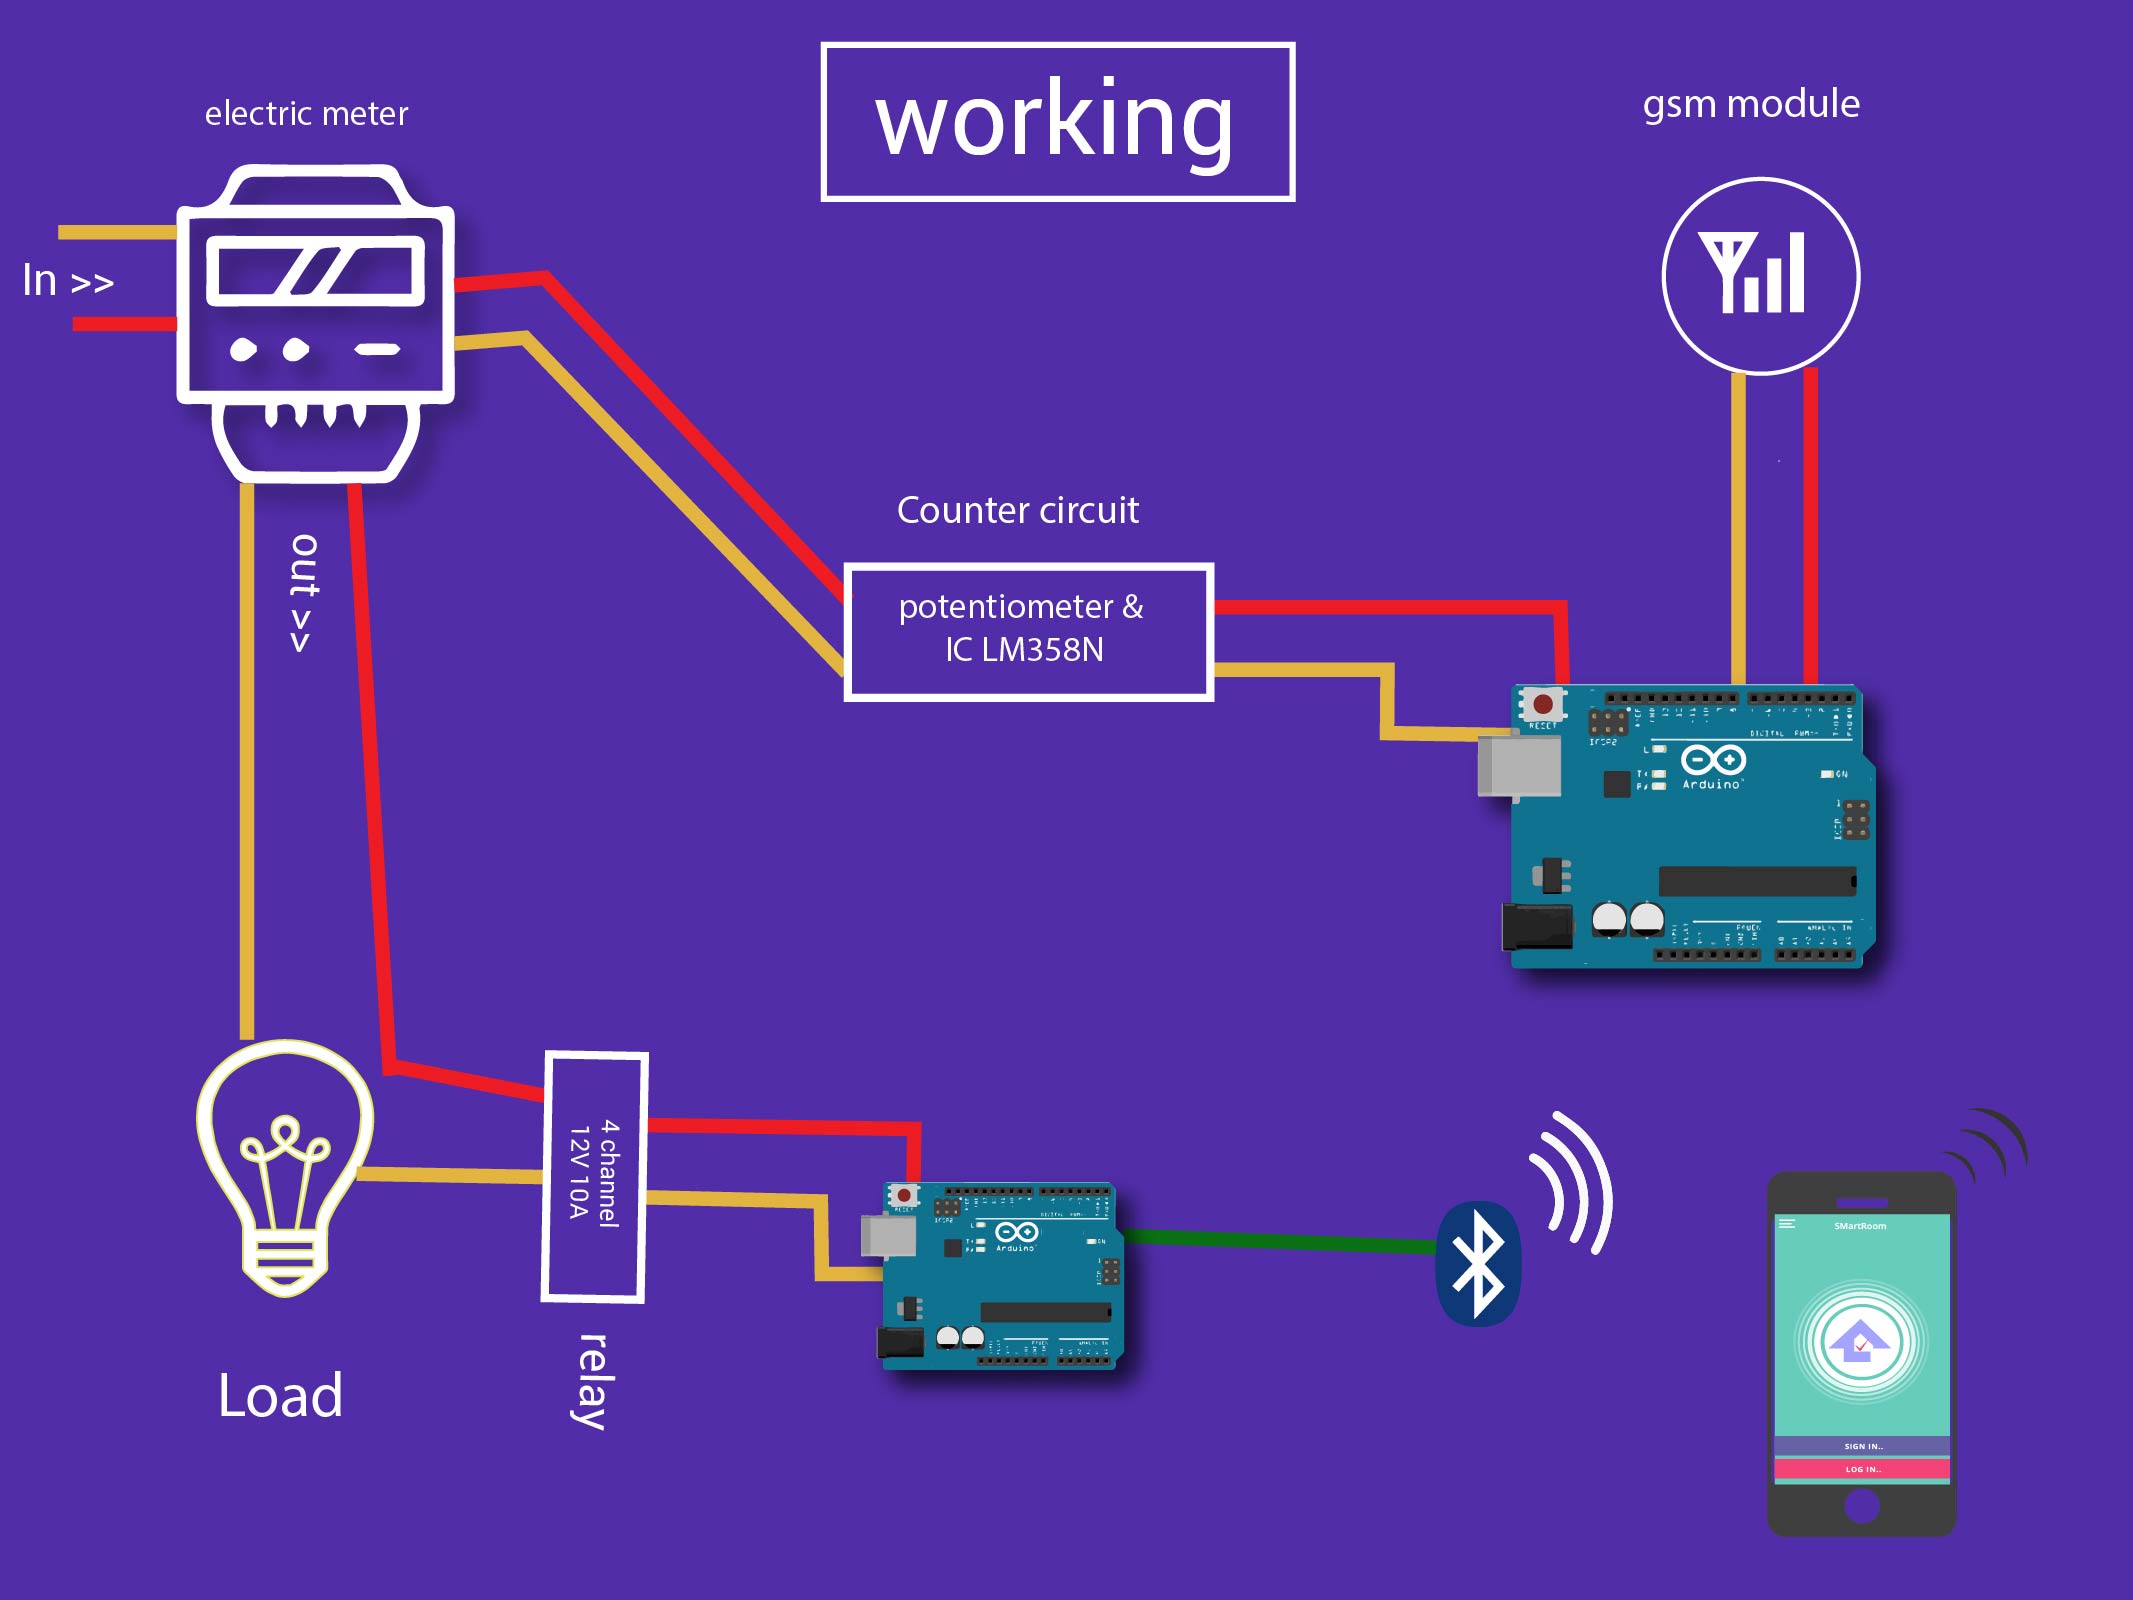
Circuit Diagram Of Energy meter and AI Virtual Assistant
- Inside Energy meter: LDR Light Dependent Resistor
- GSM module
- Counter circuit: potentiometer, IC LM358N
- Arduino 101
- BlueTooth-HC05 module
- 4 channel 12V 10A relay control board module with optocoupler for PIC AVR ARM
Programming Platforms
- · For programming the Arduino 101, we have used the default Arduino IDE.
- · We have developed our Android app using Android Studio (JAVA and XML).
- · Database connectivity is done using Google's Firebase.
- · For augmented reality we have used Unity along with the Vuforia SDK.
- All the components are giving readings to the Arduino, where we are converting these readings into character code in order to send the bytes efficiently and quickly to the computer. Inside a never ending loop, every reading corresponds to a character.
- A code should run on the computer in order to receive the data that is being sent by arduino via serial ports.
- For developing the android app we are using android studio and to convert voice to text we are using the standard google api.
- For speech recognition we are using acoustic-phonetic speech parameters for speaker-independent speech recognition in the android app.
- We have the AI (artificial intelligence) virtual assistant which uses deep learning techniques like CNN (Convolutional Neural Network) using python to implement the natural language processing.
- For the augmented reality app we are using Unity IDE and VuforiaSDK (It is an Augmented Reality Software Developments Kit (SDK) for mobile devices that enables the creation of Augmented Reality applications).
1. Augmented Reality App Development : https://library.vuforia.com/articles/Solution/Compiling-a-Simple-Unity-Project
2. Android App Development : https://developer.android.com/training/index.html
3. ChatBot using neural network : http://www.wildml.com/2016/04/deep-learning-for-chatbots-part-1-introduction/


1 project • 23 followers
I have good problem solving and creativity with analytical thinking.


Comments