

Now, in the current world of such a hectic and rapidly growing world HOME AUTOMATION has became an important need !
In this project we will not only learn automate yourn home appliances in cheaper way with more and more knowledge.
in this sesstion we shall learn about:
- Electronics involved
- the code
- how to use bolt iot and it's API
since it's controlled via internet it can be controlled from any corner of world , while its in your home, office, factory,etc. to control your appliances
so lets start it:
components:- Bolt iot module
- bc547 transistor - transistoris basically an electrically controlled switch. The BC547 is a NPN transistor meaning when power is applied to the base (control pin) it will flow from the collector to the emitter. Typically NPN transistors are used to “switch ground” on a device, meaning, they are placed after the load in a circuit.
- 1n4007 diode (schottky diode) - 1N4007 is a PN junction rectifier diode. These types of diodes allow only the flow of electrical current in one direction only. So, it can be used for the conversion of AC power to DC. 1N 4007 is electrically compatible with other rectifier diodes and can be used instead of any of the diode belonging to 1N400X series.
- 5v 10a relays
- 5x7cm zero pcb
- terminal connectors
- 330e resister - 330 ohms may be used by some people as a "get you going" value that works "well enough" in many cases. The purpose of the resistor is to "drop" voltage that is not required to operate the LED, when the LED is operating at the desired current.
- 2 pin ac socket
- ac bulb holder
- bulb
- soldering iron, flux and solder wire
- thick multistrand copper wire
go through the link and watch up the video by Mr Soni (note : do not go for the offer at the end)
step 2. enbaling api on bolt:on your dashboard click on the camera like icon and enable API
step 3. create new product:create a new product
select as output device and GPIO
step 4. configurelink your product with your device and click on configure button
select GPIO 0 and give a variable
(note: this is a compulsory step even though no use)
step 5. the code:at the coding section select file extension as .html with a suitable name and code is as follows:
you can change the styles as per your own asthetics
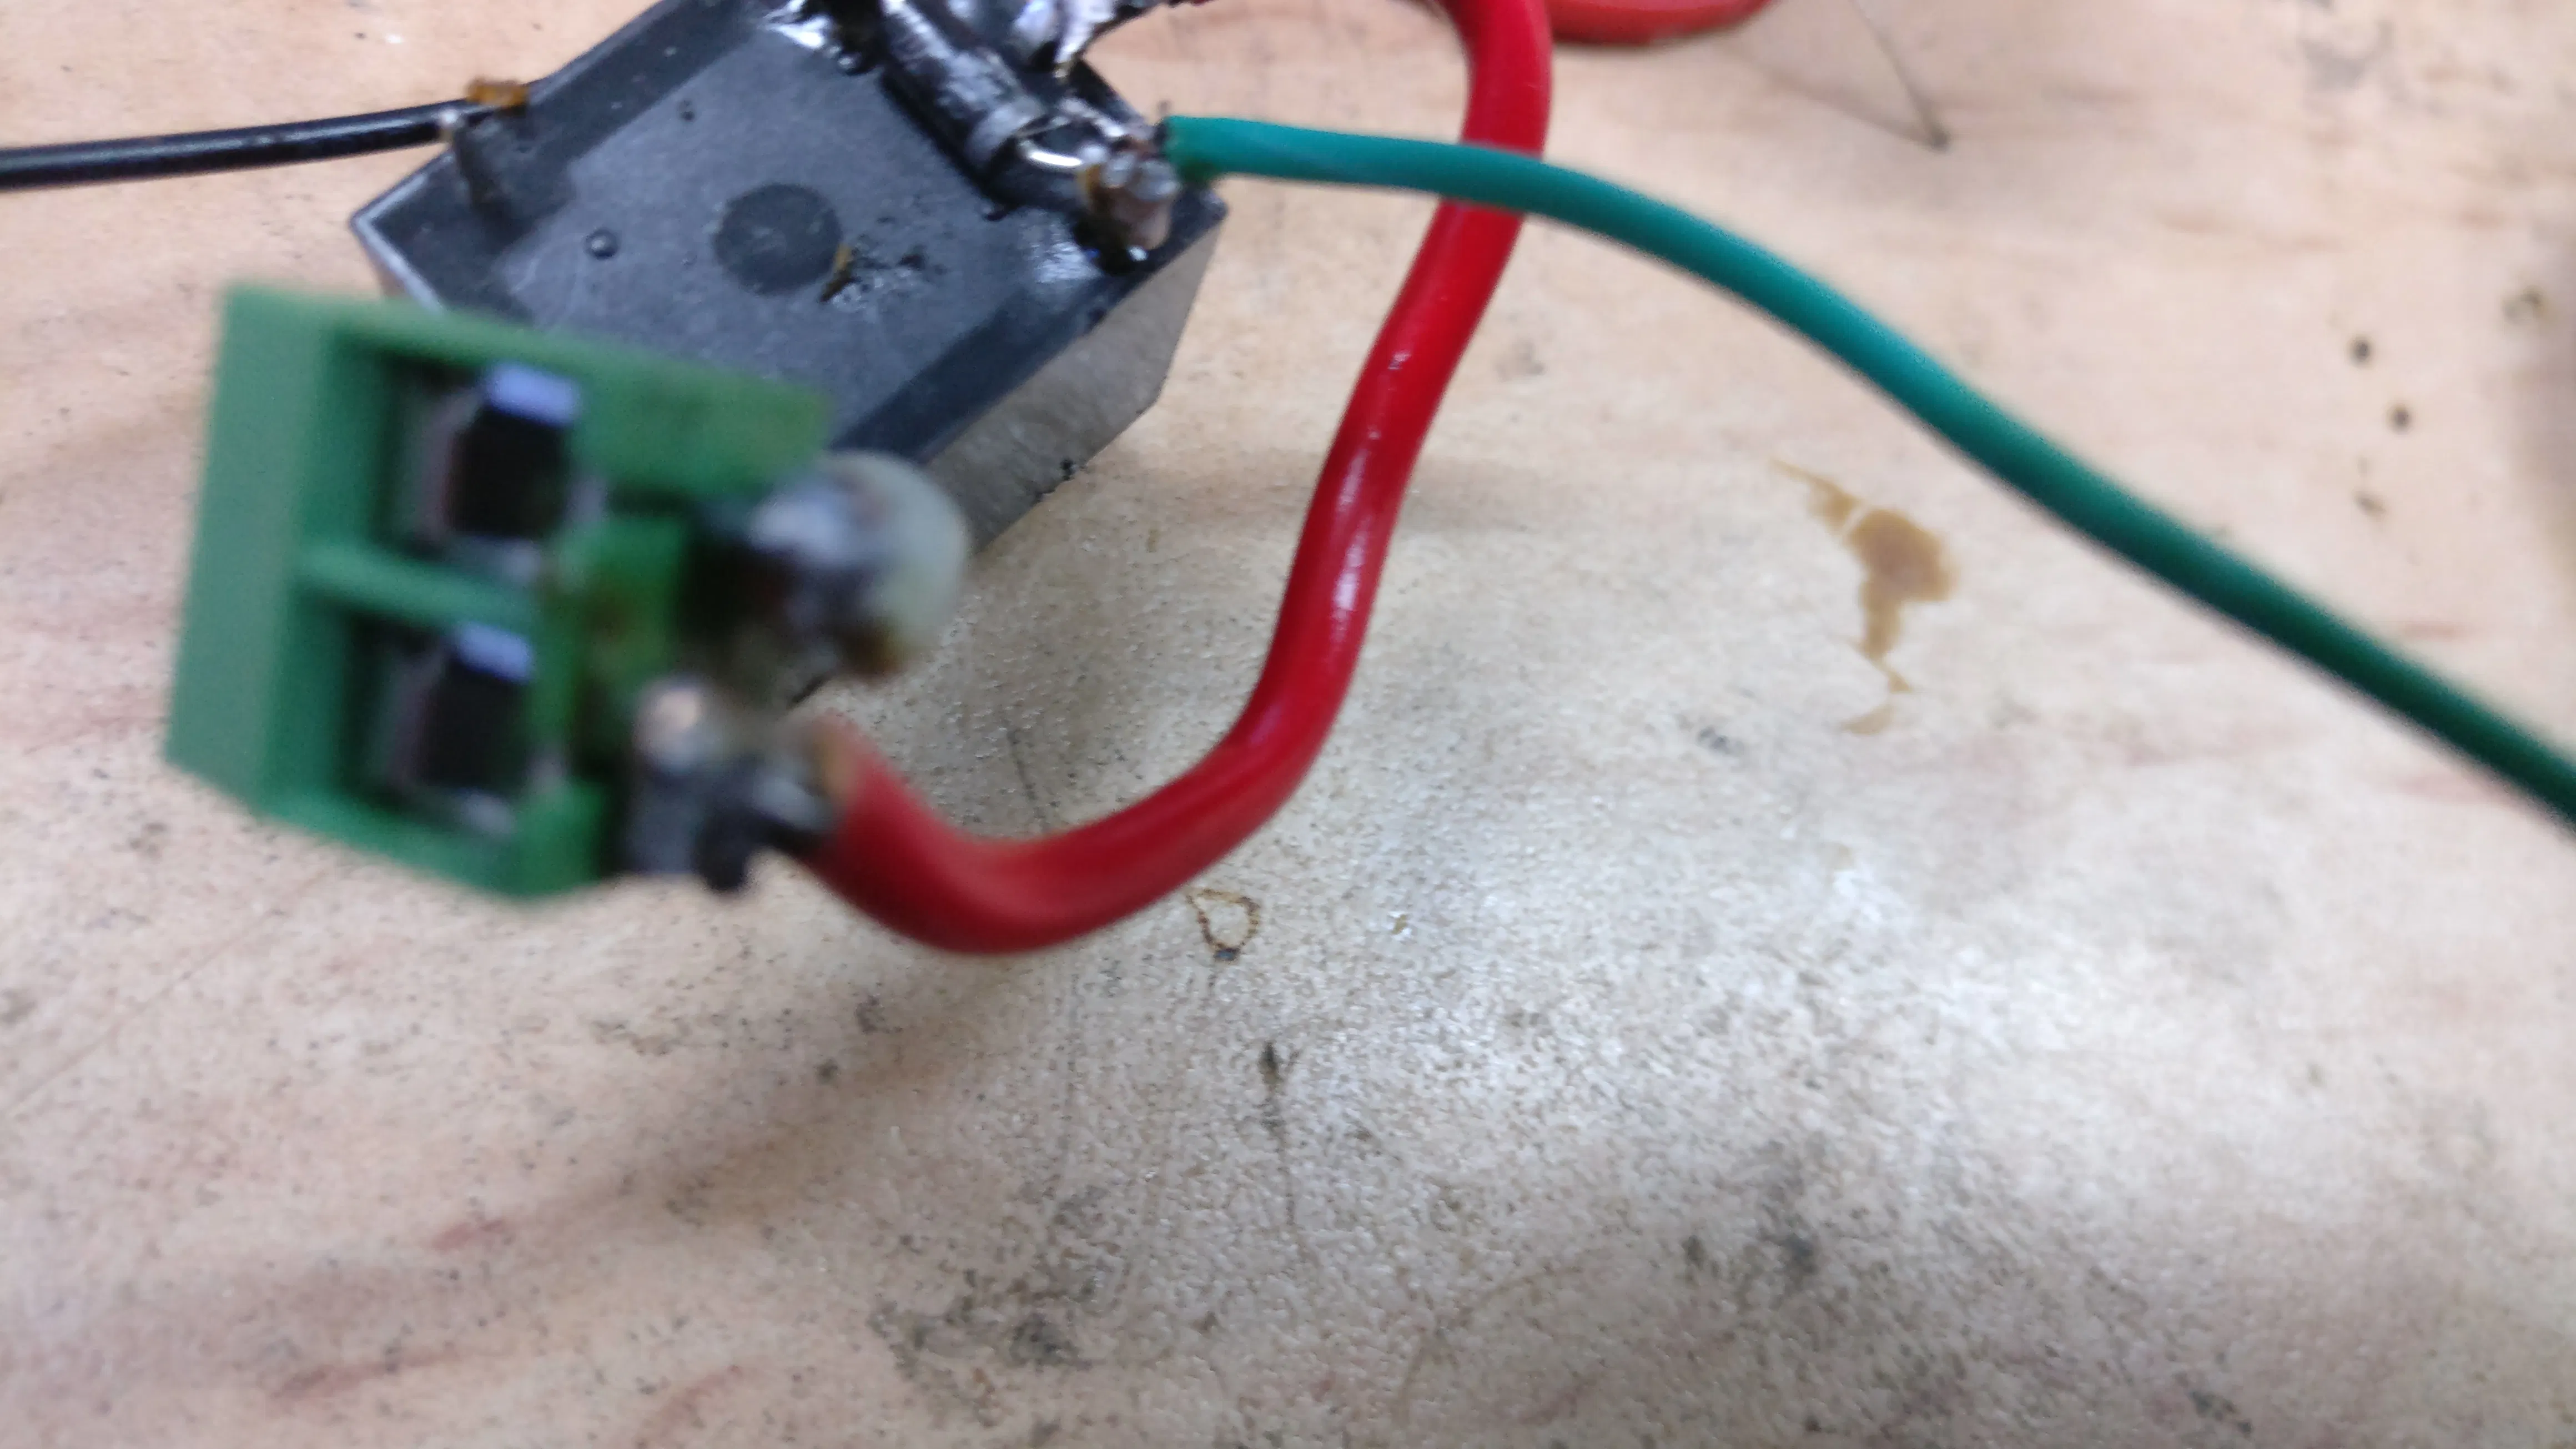
step 6. connections :use solder or jumpers as per your experience


Comments