
Hardware components | ||||||
 |
| × | 1 | |||
Sounds Steps is a drum kit for your feet! The project was the outcome of a making session between Chelsea Stewart and Eden Lew, under the guidance of Becky Stern. Newcomers to the city, the students recorded sounds around New York and loaded them as MP3s onto the board. Read through the steps below to discover how to make your own giant sound machine!
Materials: To begin you will need:
1 x Touch Board
-
9 conductive fabric squares.
12 sound recordings in mp3 form
1 4’x4’ MDF material to create the platform top
4 1.25" by 3 ft wood pieces
1 pack of nails, preferably an inch tall or a nail gun with nails.
1 drill with a standard phillips head, 1/8 and 1/2 drill heads
9 - 12 various lengths of wire preferably different colors to indicate zones.
Record your Sounds
Think about what sounds you want. It is a drum crash or a pow wow?
Now go out and record 12 unique sounds. Make sure the files are .mp3s. If they are not, use an online converter to create mp3s of your recording. Cut down the sounds using your favorite sound editor and export them to mp3s.
Programs you might want to use:
Audacity
Adobe Audition
Garage Band
We also listened at sounds on Freesound.org for examples of interesting sounds.
Links
Set up the Touch Board
Follow the set up instructions on the Bare Conductive website, see the links below to get started.
You need to test your board with extra materials to make sure it works property before moving on.
To connect the board to the platform, we soldered long wires to the touch input pins on the board and strung the other ends of the wires through the top of the board.
Links
Making the Frame
Once you have fully tested the board with you uploaded sounds. It is finally time to make the frame. It takes four 1.25 x .75 x 6 ft boards to create it and with some of the extra pieces we created interior bracing. You will have to cut two of the pieces 4 ft. even and the other two pieces cut 3.95 ft. This will keep you project corners at their necessary right angles.
The frame corners consist of a butt joint with a 3 x 1.25 block of wood to create the corner bracing. Each corner (4) needs this bracing mechanism. It will help keep your frame from collapsing while in transport and use.
After you create the frame start to measure and cut your bracing materials. For ease, keep your bracing materials at a right angle of the frame materials. This will create a strong joint in-between the open spaces.
You will need to use a drill or a nail gun to properly fasten each piece.
Then we created the frame platform top. Buy a piece of MDF larger then 4 ft square. Accurately measure frame size. This will be different according to how you built your frame.
Draw out your cuts and use a table saw to cut the pieces down to size. Use either screws or a nail gun to ahead the top to the frame.
_____________
In the front platform of the frame, drill 9 small 1/16″ holes where you want the touch points to be. You will string wires through this later.
Links
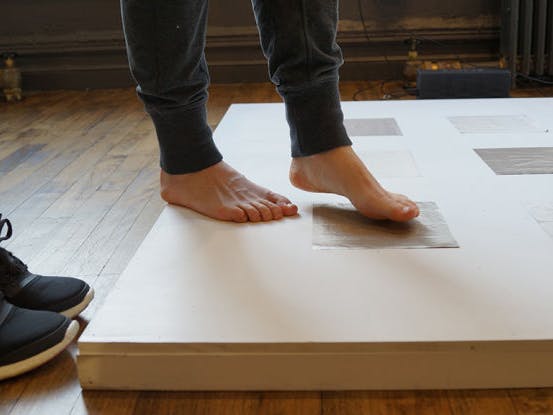
Connecting the Conductive Squares
After stringing the wires through the front of the board, we taped down the wire ends with copper tape. Then we created a larger surface area to make contact with the conductive fabric. We used double sided tape to set down the conductive fabric.
Links
Now your giant Touch Board is complete! We imagine it could be used in many different situations – from sound paths to a Dance Revolution type of mechanism to a physical foot drum kit!
Links
Watch the video to see it in action!


Comments