


Hardware components | ||||||
_ztBMuBhMHo.jpg?auto=compress%2Cformat&w=48&h=48&fit=fill&bg=ffffff) |
| × | 1 | |||
 |
| × | 1 | |||
| × | 2 | ||||
| × | 2 | ||||
 |
| × | 2 | |||
 |
| × | 2 | |||
Software apps and online services | ||||||
 |
| |||||
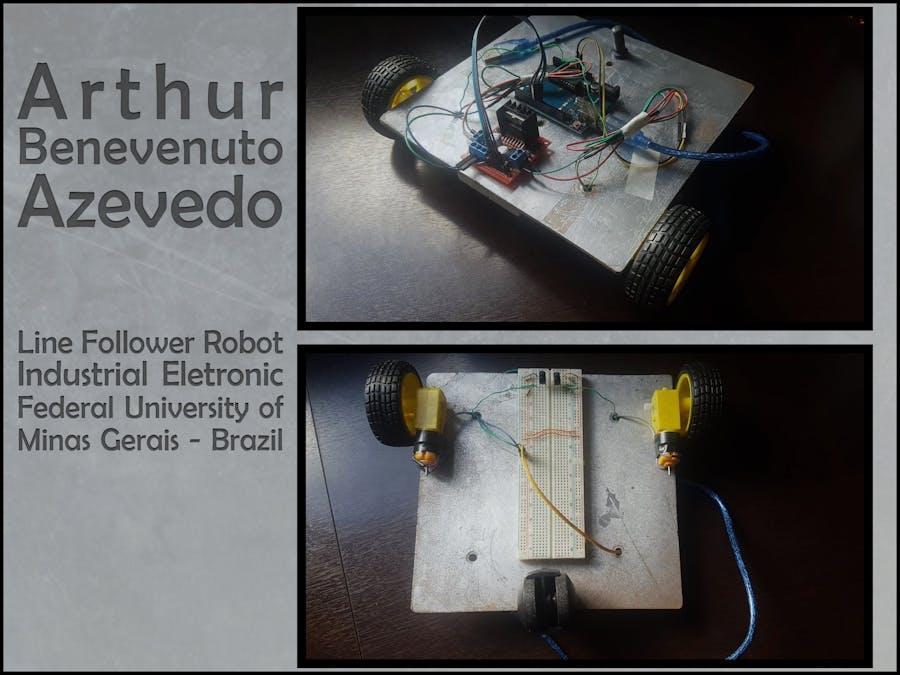
As an introduction, I am going to show 2 versions that I made during the development of the line follower robot and the mistakes that I have learned from.
Version 1.0
VIDEO: https://streamable.com/uxyhz
This one was using just one sensor so it just checks and make turns to one side (as you can see in the video it only turns left), it was heavy and the building was a big mess.
Version 2.0
This one was almost there but the sensors were too far way from the ground and it was too heavy for the two DC motors to handle it.
By doing the first versions shown above I learned a lot so I also recommend trying first with only one sensor and them moving forward with two sensors. Build, improve and optimize.
It is the final version that I am going to talk about in this project:
VIDEO: https://streamable.com/5vq22
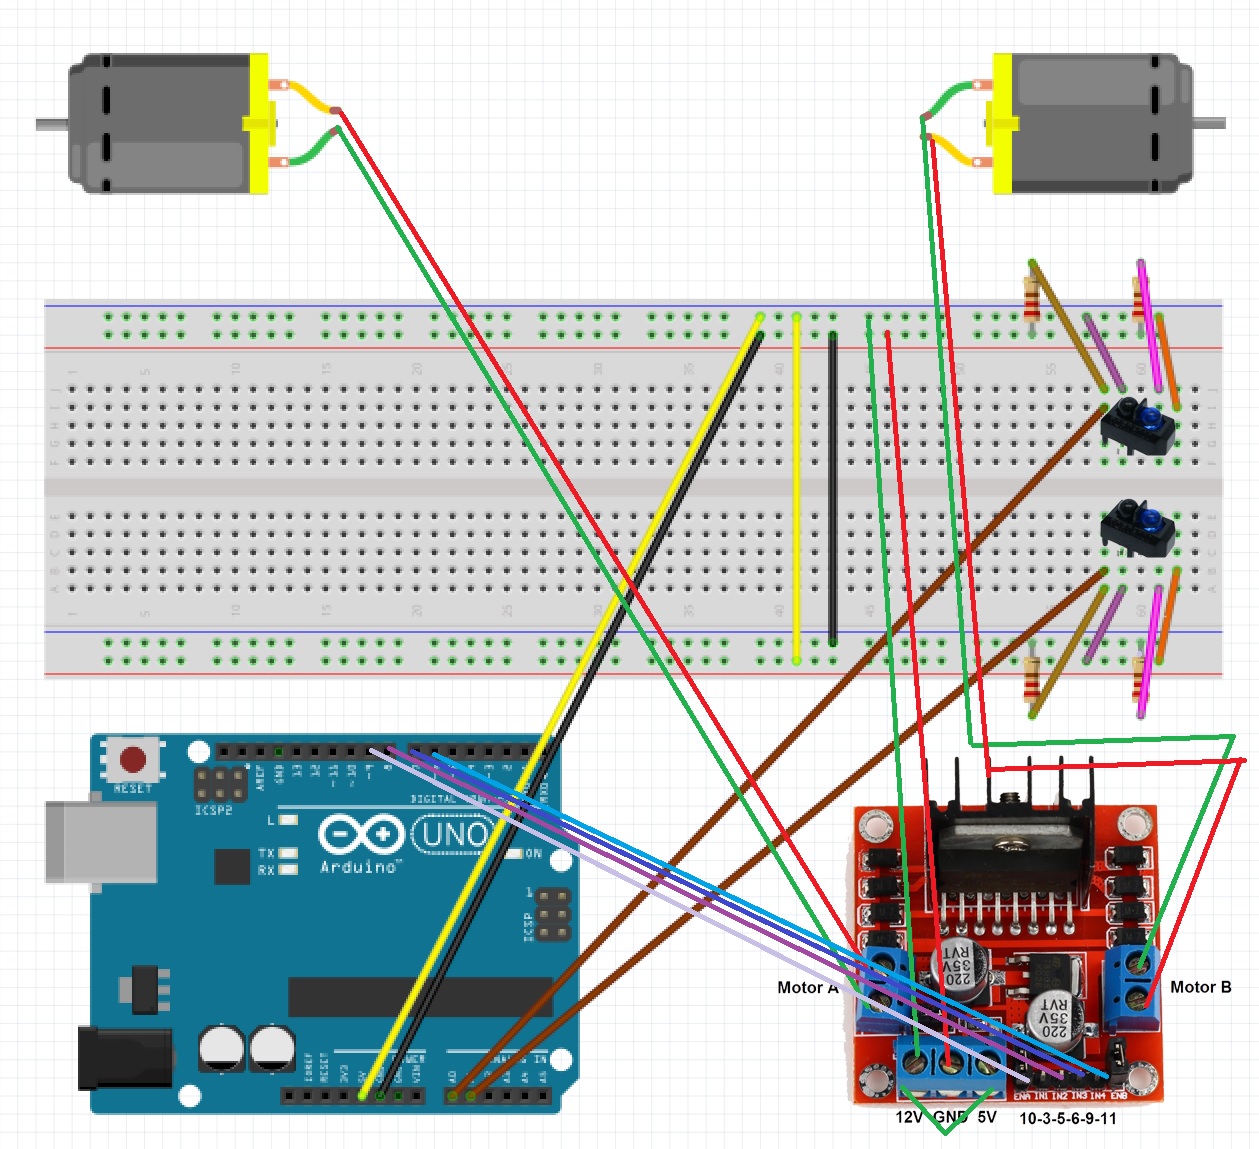
The idea behind the project is simple, by placing one sensor in each side of the robot you have two "analogreads" that will say if they have or don't have black tape under them.
By placing the robot above the tape at the beginning the working principle is:
- If the RIGHT SENSOR and the LEFT SENSOR have tape, GO AHEAD
- If the RIGHT SENSOR does not have tape, then TURN LEFT (it is a left turn).
- If the LEFT SENSOR do not have tape, then TURN RIGHT (it is a right turn).
To make the turns is simple:
- To TURN RIGHT, set the left motor to run forwards and the right motor to run backwards.
- To TURN LEFT, set the right motor to run forwards and the left motor to run backwards.
About the cost of the robot, for me it was around 30-50 U$D.
This is not a full guide, this is about my experience and my results building this project. I recommend for you guys that are interested to check out the links below for more info:


_3u05Tpwasz.png?auto=compress%2Cformat&w=40&h=40&fit=fillmax&bg=fff&dpr=2)
Comments