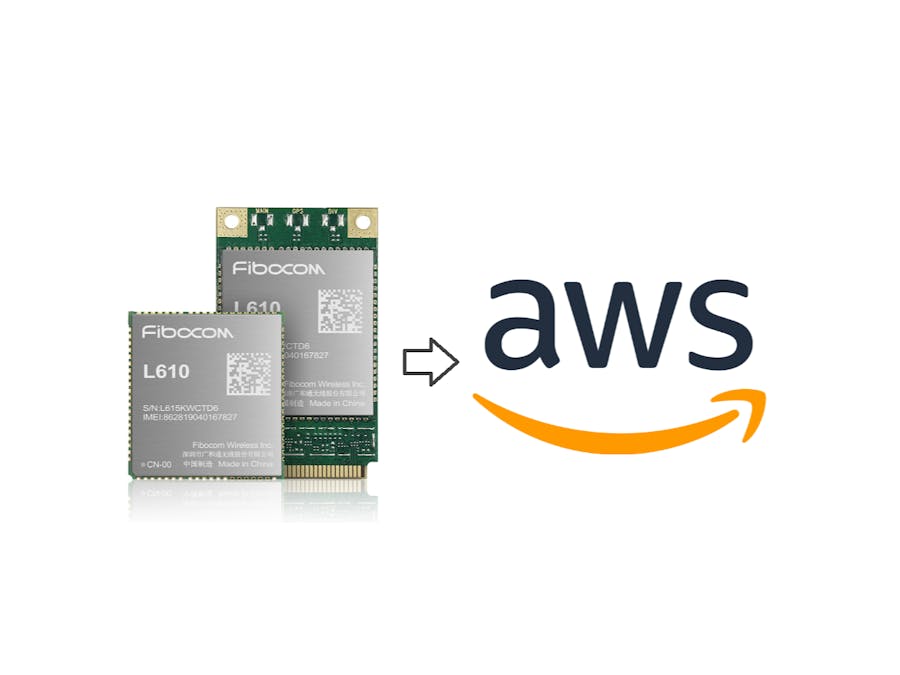
I decided to create this project to help out the people who uses Fibocom modules to connect with AWS IoT MQTT broker. This tutorial is done with Fibocom L610 Cat4 module but this should be worked with other Fibocom modules as well
2. AWS IoT Core- Login to AWS account and Navigate to AWS IoT core
- Create Policy for your connection
- Create a Thing and attach policy
- Download Certificates and get endpoint address
Login to your AWS account and Navigate to this link or search AWS IoT in AWS account search bar.
https://us-west-1.console.aws.amazon.com/iot/home
2.2 Create Policy for your connectionIn AWS IoT Core, select AWS IoT> Manage> Security>Policies and click Create
Enter Policy name and set policy attributes as below and click Create Button.
In AWS IoT Core, select AWS IoT> Manage> AllDevices>Things and click Create
Give a name and continue
Attach Policy and Create thing.
Download all certificates and save in the computer and click Done
Go to All Devices > Things and click on the thing you created
Under Interact tab click settings button to get End point address
Copy and Save end point address
Now you have complete the AWS IoT Part!
3. Program the Module3.1 Initial setupFor programming I am using Tera Term as serial terminal. You can use your preferred serial terminal.
Open the Tera Term and Select Serial Connection and select correct port.
Under Setup > Terminal window keep these settings
Sent AT to module and see the response to check the connectivity.
Before proceed you should check these things.
AT+CPIN?
+CPIN: READY

//check network, you should see something similar
AT+COPS?
+COPS: 0,0,"Optus AU",7

//check signal
AT+CSQ?
+CSQ: 16,99

//creating wireless link with network and obtain an IP address
AT+MIPCALL=1
OK
+MIPCALL: 10.36.254.208Now you should upload the certificates we downloaded from AWS to the module. From the certificate list we use these three.
We use AT+GTSSLFILE command to attach certificates files to the module.
AT+GTSSLFILE=?
+GTSSLFILE: ("CERTFILE,KEYFILE,TRUSTFILE"),(4-8192)
// You can see that we should provide File Type and File Size to the module.
Once we sent file type and size module waits for 12 seconds to receive the file. You should send file within 12 seconds.
Before upload the certificates files to the module, we must know file type of each file and size.
find and note down each file size. go to properties of each file and find the file size exactly.
In my case the file sizes are as below. I noted down each file size with it's type.
"CERTFILE", 1220
"KEYFILE", 1679
"TRUSTFILE", 1187
Now we should send
AT+GTSSLFILE="CERTFILE",1220and the upload the file to the module. after you sent this AT command, Drag and drop the relevant file to Tera Term and click ok on below dialog window.
If you successfully did it, you will receive OK response.
Repeat the process for other two files
AT+GTSSLFILE="KEYFILE",1679
//darg and drop private key file within 12 seconds
OK - this response should be received if you are successful

AT+GTSSLFILE="TRUSTFILE",1187
//darg and drop Root CA1 file within 12 seconds
OK - this response should be received if you are successful
To confirm your certificate upload process run AT+GTSSLFILE? and you should see something like this if you have done it correctly.
Now time to connect to our AWS MQTT Broker. To open MQTT connection, run
AT+MQTTOPEN=1,"a39c8ftnt33wv8-ats.iot.us-west-1.amazonaws.com",8883,0,300,2
OK
+MQTTOPEN: 1,1
Here you should replace 2nd parameter with your AWS broker end point address. I explained it under section 2.4
if you did not receive +MQTTOPEN: 1, 1 as response, then your MQTT connection is not established. You have done some mistake so check steps again.
3.4 Publish data to a topicNow you can publish some data to your AWS broker and check the connection. To publish data we use AT+MQTTPUB=1, "fibocom_demo", 1, 1, 1024 command.
Here "fibocom_demo" is the topic. so we should subscribe to this topic in AWS test client to check the connectivity.
once this command is entered module is waiting for data. you should enter data to terminal and press enter. In this example my data is 12345678.
AT+MQTTPUB=1,"fibocom_demo",1,1,1024
>
12345678
OK

+MQTTPUB: 1,1Go to AWS IOT > MQTT Client and enter the topic name and click subscribe. The topic name you publish data should be same as topic name you subscribe.
Once clicked subscribe you will see the coming data here.
Now I am going to subscribe data from "fibocom_demo_sub" topic
AT+MQTTSUB=1,"fibocom_demo_sub",0
OK
+MQTTSUB: 1,1 //if you receive this you have successfully subscribed In Test client select publish to topic tab and enter "fibocom_demo_sub" as topic and publish the "hello" message
Once the module received the message it will be displayed in Tera Term like this.
Well done! You have completed MQTT connection between Fibocom module and AWS IoT.


Comments