

Hardware components | ||||||
 |
| × | 1 | |||
 |
| × | 1 | |||
There is always a demand for display when it comes to SBC, and today I will show you how to use Seeed Studio Wio Terminal as a USB HMI display for BeagleBone SBC(BBG)!
Hardware Required- Wio Terminal
- BeagleBone Green (or any other BB boards)
First, you will need to upload an Arduino program to your Wio Terminal via your PC.
- Download the Seeed_Arduino_USBDISP library here.
There are two examples, NullFunctional and USBDisplayAndMouseControl:
1. If you want higher screen refresh rate on Wio Terminal, upload NullFunctional to Wio Terminal.
2. If you want Wio Terminal to also act as a USB Mouse, upload USBDisplayAndMouseControl to Wio Terminal.
For convenience, we also provide uf2 methods of uploading Wio Terminal's firmware. Simply download the uf2 files from below.
- Download the NullFunctional
uf2files. - Download the USBDisplayAndMouseControl
uf2files.
Entering the bootloader mode by sliding the power switch twice quickly. For more reference, please also see here.
An external drive named Arduino should appear in your PC. Drag the the downloaded uf2 files to the Arduino drive.
Now let's set up the display driver on the host device and this is the BBG in this case:
sudo apt install --reinstall linux-headers-$(uname -r)- Download the display driver:
cd ~
git clone https://github.com/Seeed-Studio/seeed-linux-usbdisp- Make and build the driver:
cd ~/seeed-linux-usbdisp/drivers/linux-driver
make & sudo make install
sudo reboot- Restart the device and firmware is loaded!
For more, you can use the PyQtGraphgraph to simply draw you GUI with Wio Terminal with ease!
- Let's install dependencies for PyQtGraph first:
sudo apt update
sudo apt install python3 python3-distutils python3-pyqt5 python3-pip python3-numpy -y
sudo pip3 install pyqtgraph- Export macros for the screen:
export QT_QPA_PLATFORM=linuxfb:fb=/dev/fb0Note: Where fb0 is the first screen, fb1 is second, fb2 and so on. You may use echo $QT_QPA_PLATFORM to check the macros.
- Copy the following PyQtGraph example python files and name it
test.py - Run the example:
python3 test.pyNow when you run the PyQtGraph script, it work just fine!
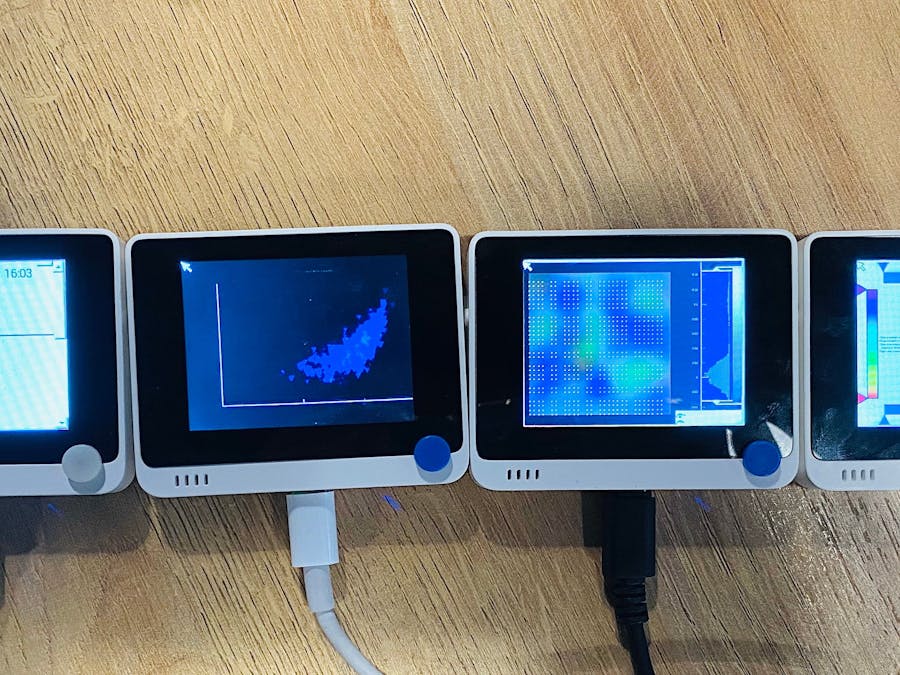
You may run different PyQtGraph scripts on different screens as followed:
Need a bigger screen? Need a higher resolution? Higher refresh rate? Please contact produce@seeed.cc for more information.
Resource


Comments