


Hardware components | ||||||
| × | 1 | ||||
| × | 1 | ||||
Software apps and online services | ||||||
| ||||||
Hand tools and fabrication machines | ||||||
 |
| |||||
 |
| |||||
DIY OpenCat: Building a Petoi Bittle Replica from Scratch with Perfboard & Raw Modules
Story
When I first saw the Petoi Bittle, I was fascinated by its agility and the brilliant OpenCat framework powering it. However, instead of ordering an official kit, I wanted to see if I could bring this incredible bionic quadruped to life using only raw, off-the-shelf electronic modules, a standard perfboard (zero PCB), and components readily available in my local Indian market.
Building a 9-DOF (Degrees of Freedom) robot dog without custom injection-molded parts or dedicated mainboards is a challenging but incredibly rewarding experience. This post details how I built my DIY Bittle replica, where you can find the open-source resources to do it yourself, and what I learned—especially the pros and cons of using the ubiquitous SG90 mini servos.
### The Brain & Hardware Setup
Instead of using the official Petoi NyBoard or BiBoard, I went entirely old-school. The brain of my robot is built around a standard microcontroller module wired completely by hand on a **perfboard**.
* **Microcontroller:** Arduino Uno/Nano compatible module (ATmega328P) or an ESP32 for higher processing capabilities.
* **Power & Wiring:** Hand-soldered point-to-point connections on a perfboard to break out the PWM channels for the servos, complete with raw buck converters/voltage regulators to handle the high current demands.
* **Chassis:** 3D-printed or custom-fabricated body frame matching the OpenCat geometry specifications.
### Where to Find the Resources
Because Petoi’s core philosophy is deeply rooted in open-source hardware and software, you can replicate the geometry and code without proprietary pieces.
Furthermore, Petoi has rolled out powerful new official ecosystem features that make learning, testing, and programming easier than ever:
* **Teach and Learn with Feedback Servos:** The official hardware now supports interactive physics teaching, where you can physically move the joints to "teach" the robot poses, and the smart servos read back and log those precise coordinates.
* **Online Coding Site (code.petoi.com):** A streamlined, browser-based coding platform supporting block-based visual programming and direct web controller interfaces.
* **Official Simulator (https://bittle-x-sim):** A dedicated virtual environment where you can test gait configurations and skills on a digital Bittle before flashing code to real hardware.
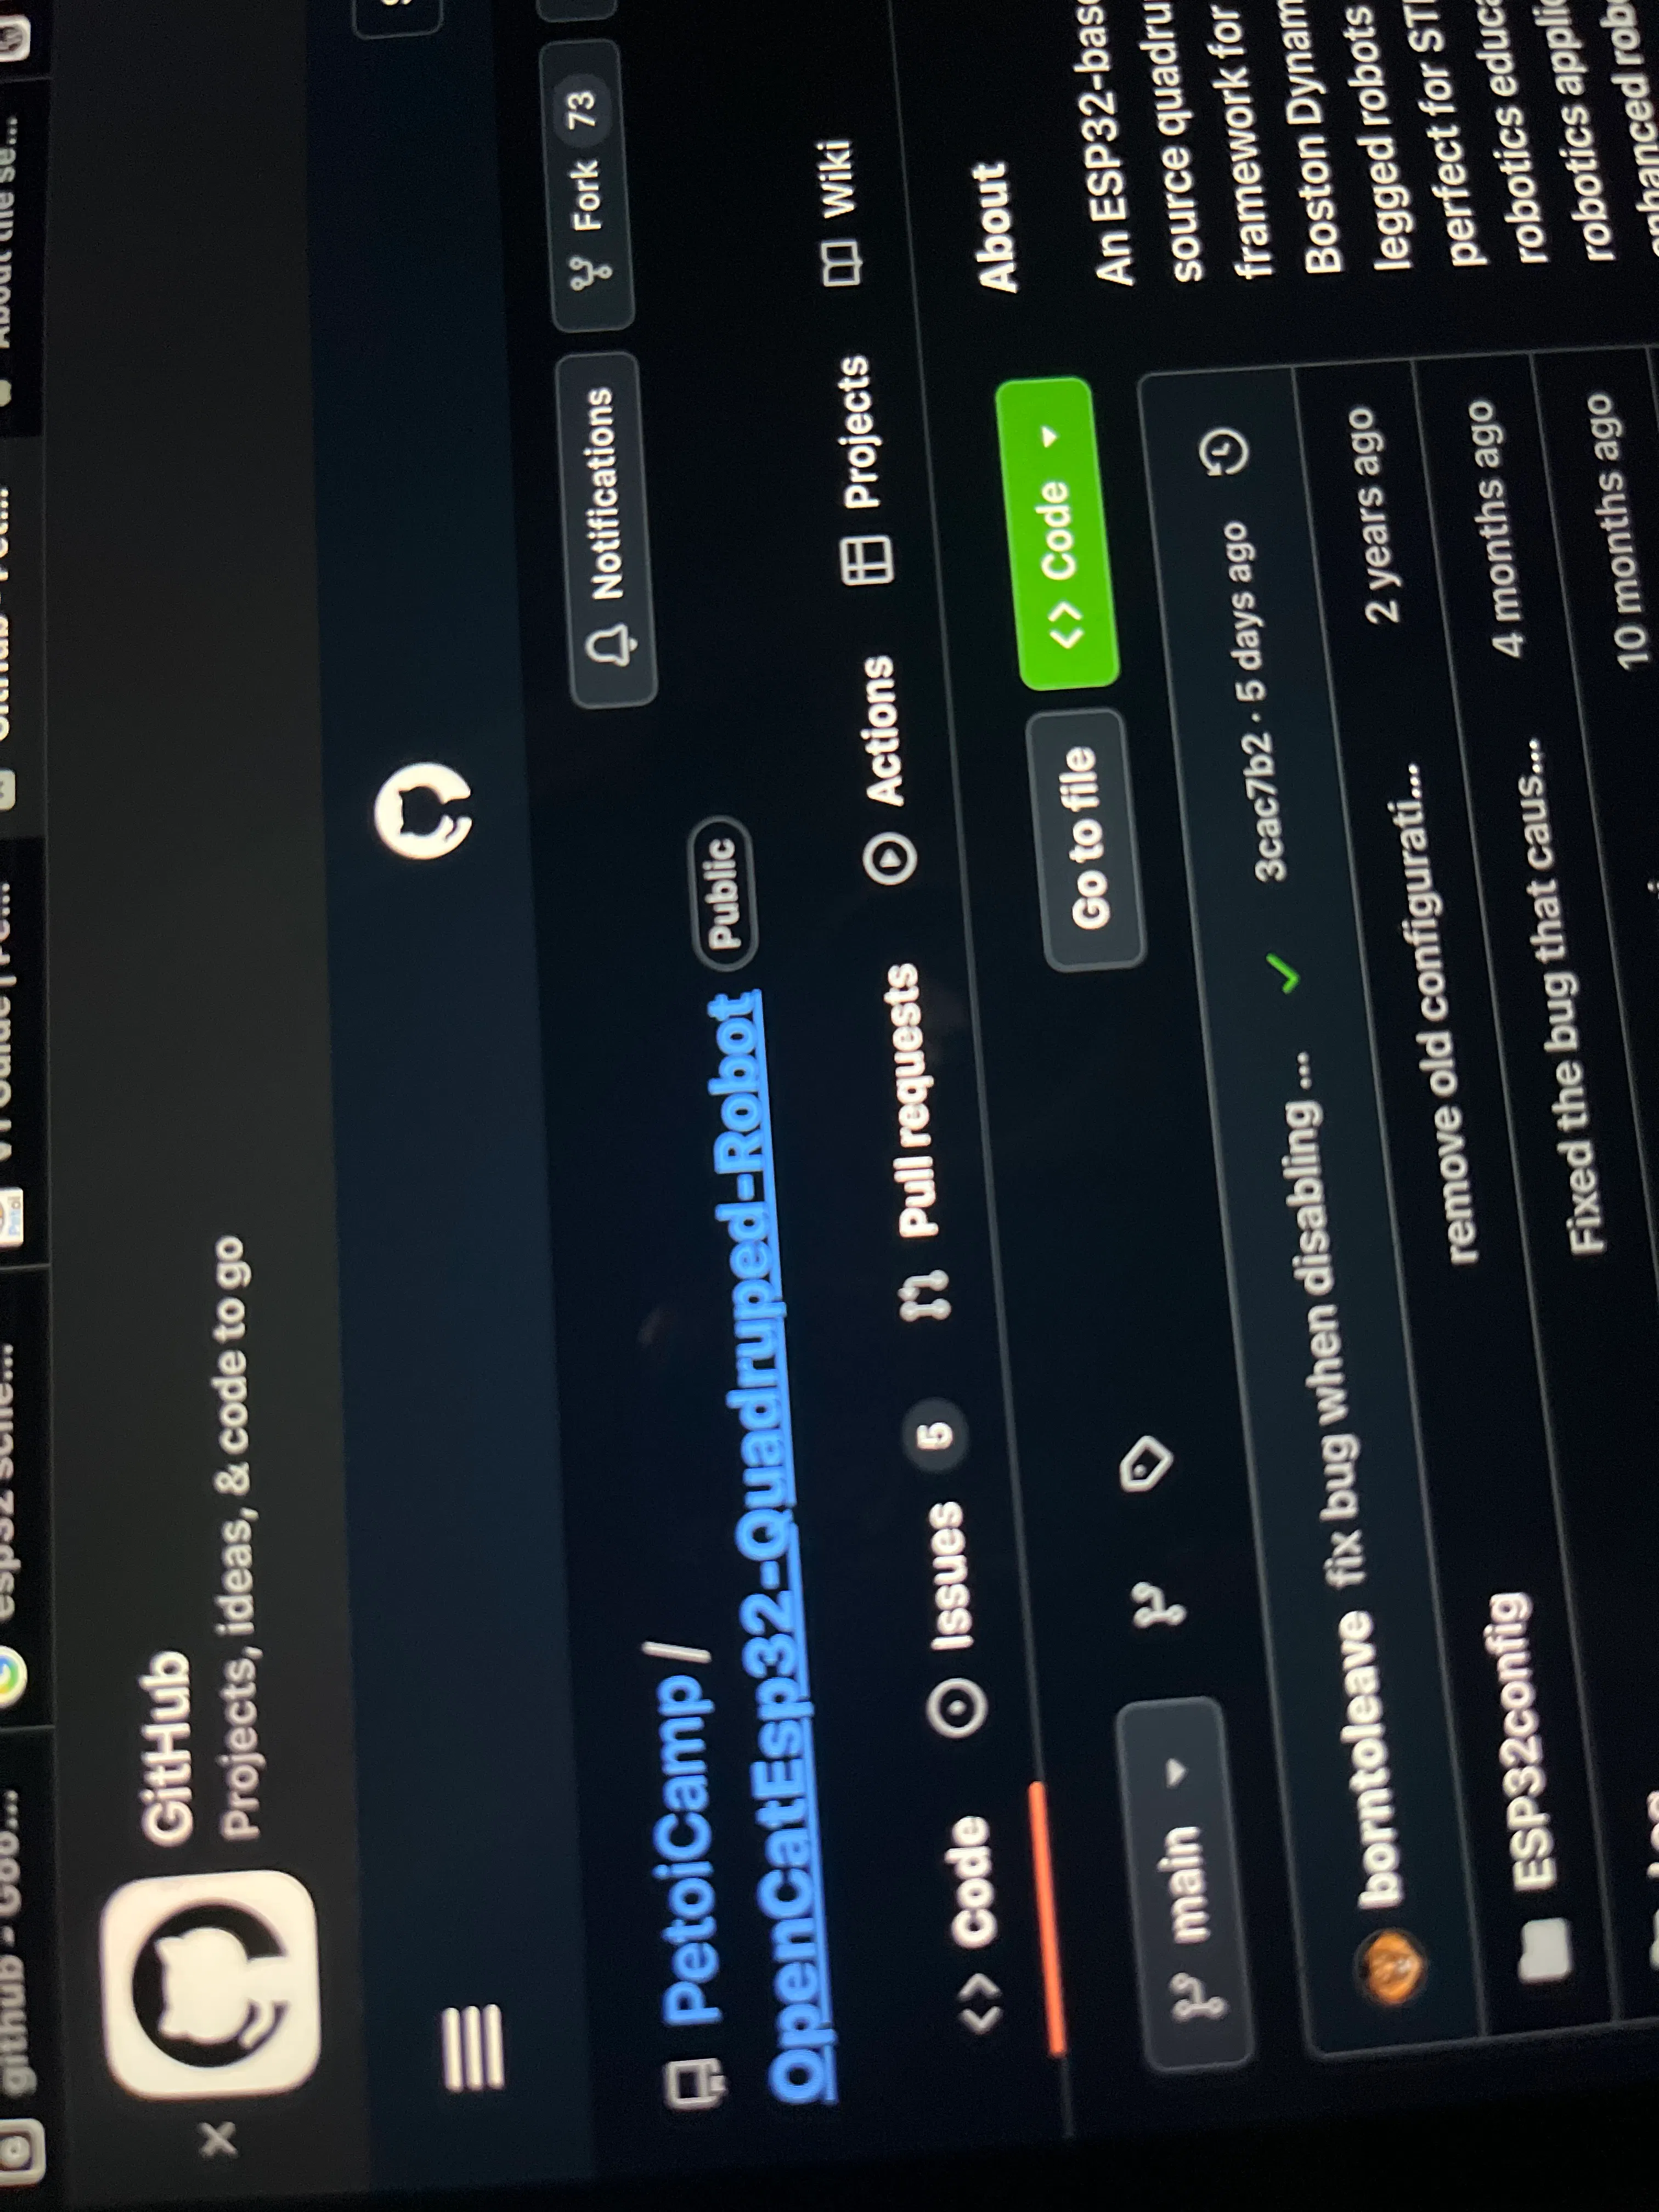
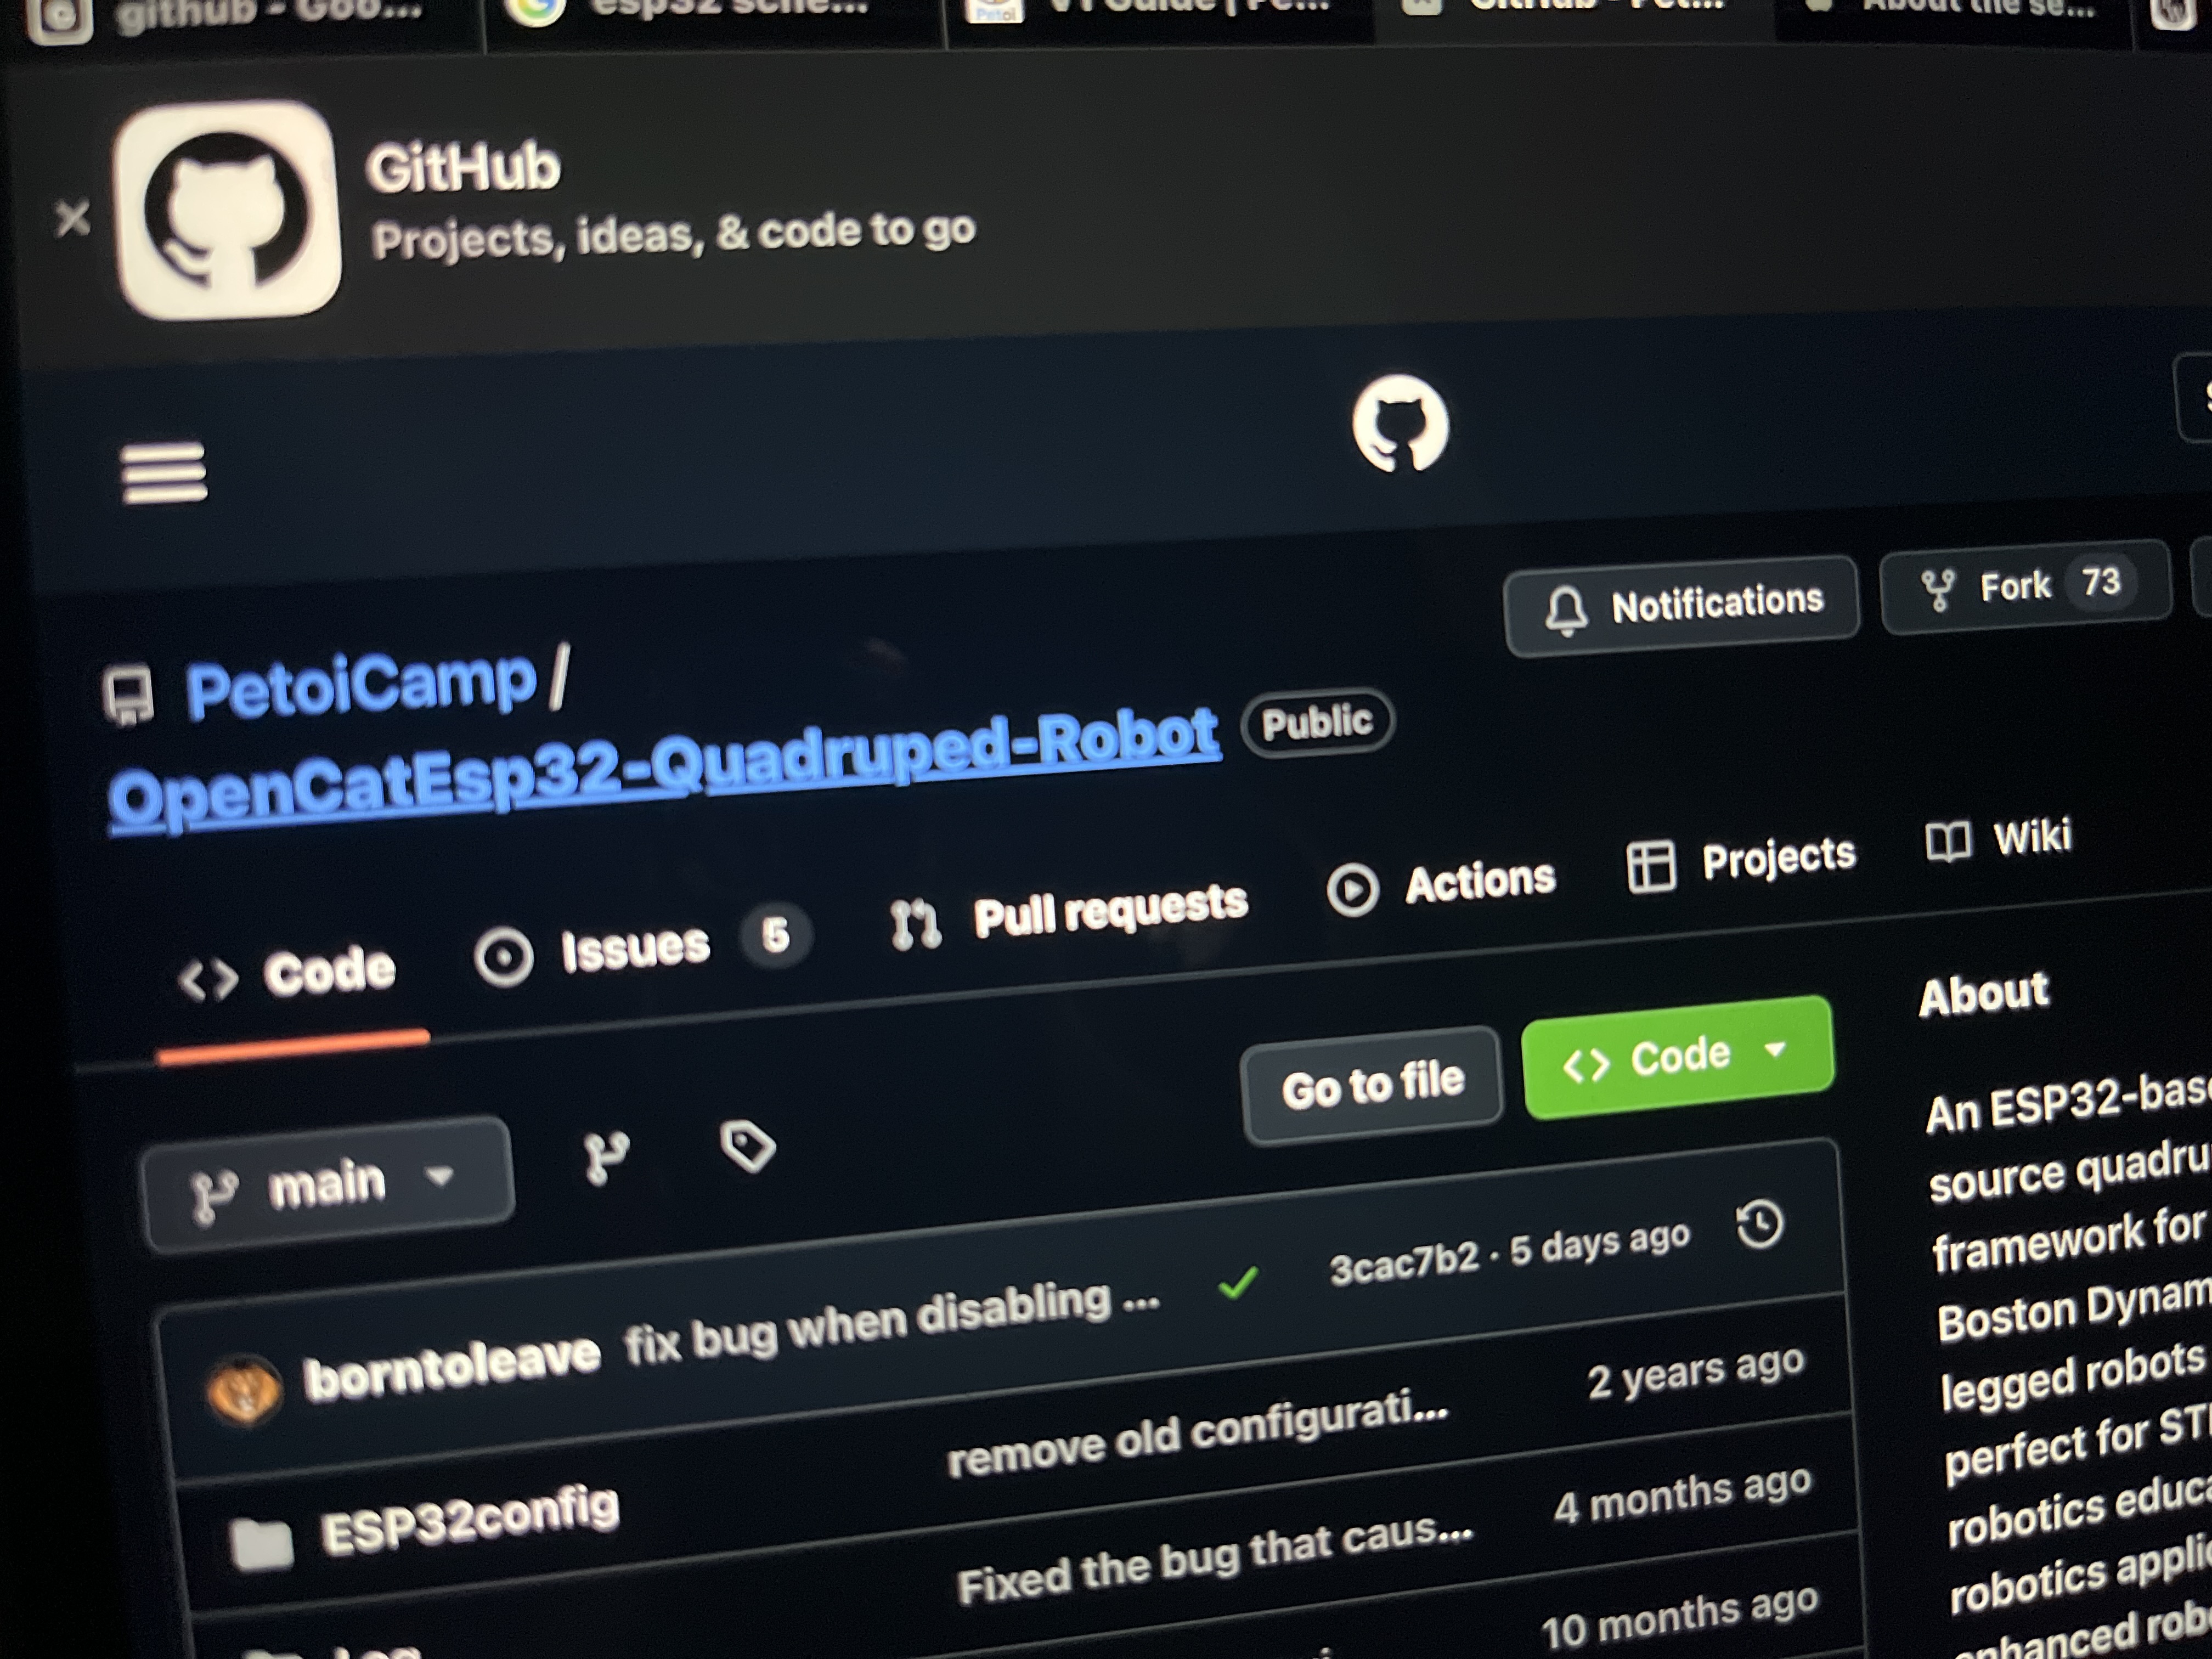
1. **The Code (OpenCat Repository):** You can download the official, open-source firmware from the PetoiCamp GitHub / OpenCat Repository. It contains the configuration files for different board variations, calibration routines, and basic skills (walking, tilting, etc.).
2. **3D Files & Dimensions:** The open-source community has several compatible 3D-printable chassis designs inspired by Bittle's interlocking puzzle frame. You can find them on sites like Thingiverse or Printables by searching for "OpenCat" or "DIY Bittle frame."
### The Core Actuators: SG90 Servos (Pros & Cons)
The official Bittle utilizes custom high-torque, metal-geared alloy servos with sophisticated over-current and overheating protections. For a budget-friendly DIY build, the classic **TowerPro SG90 9g plastic-geared servo** is the most widely available option. Here is a realistic look at how they perform in an OpenCat system:
**Pros:**
* **Extremely Cost-Effective:** In India, SG90 servos are incredibly cheap and sold everywhere, making a 9-servo build highly affordable.
* **Lightweight:** At just 9 grams per servo, they keep the overall weight of the robot minimal, which reduces the load on the rest of the joints.
* **Easy to Replace:** If a motor burns out or a gear strips during calibration, you can swap it out in minutes without breaking the bank.
* **Perfect for Bench Testing:** Great for validating your perfboard wiring and checking if your calibration angles are correct before upgrading to metal gears.
**Cons:**
* **Plastic Gears Strip Easily:** Quadruped robots undergo immense stress when walking, falling, or self-righting. The plastic internal gears of the SG90 can strip quickly under sudden impacts.
* **Limited Torque:** The SG90 provides around 1.8 kg-cm of torque. While enough to lift a bare 3D-printed skeleton, adding heavy batteries or additional sensors causes the joints to struggle, jitter, or sag.
* **No Feedback or Internal Protection:** Unlike official Petoi servos (and their new *teach-and-learn* feedback variants), standard SG90s don’t have over-temperature, stall protection, or position-reporting wires. If a leg gets stuck against a wall, the servo will continuously draw high current until it burns out or melts its casing.
* **Jitter at Low Voltages:** They demand a clean, dedicated power supply. Running multiple SG90s directly off a standard regulator without massive filtering capacitors often causes brownouts and erratic behavior.
*Tip for builders:* If your budget allows, upgrading just the knee/hip joints to metal-geared variants (like the MG90S) will drastically improve your robot's lifespan and walking stability!
### Conclusion & Next Steps
Building an OpenCat replica using raw modules and a perfboard proves that you don't need expensive kits to get started with advanced bionic robotics. It forces you to understand power distribution, precise hardware calibration, and the limitations of budget actuators.
My next step is to further tune the center of mass and integrate an IMU (gyroscope/accelerometer) module onto the perfboard to implement self-righting and dynamic balancing algorithms.
If you are a maker on a budget, grab a perfboard, fire up your soldering iron, and build your own OpenCat! Feel free to ask questions about the wiring diagram or component choices in the comments below.


Comments