Amy Deveraux
Published © GPL3+

Productivity Rocket

A quick retooling of a toy rocket turned into an availability indicator using an RGB LED, a Digispark ATtiny85 USB, and a potentiometer.

BeginnerShowcase (no instructions)489
Productivity Rocket

Things used in this project

Hardware components

DigiSpark
DigiSpark
×1
Rotary potentiometer (generic)
×1
SparkFun RGB LED
×1
Resistor 330 ohm
Resistor 330 ohm
×3

Software apps and online services

Arduino IDE
Arduino IDE

Hand tools and fabrication machines

Soldering iron (generic)

Story

Read more

Schematics

Productivity Rocket

I created this circuit with no breadboard by mounting the LED in the rocket and, mounting the potentiometer with the launch button, and using the base of the rocket to hide the wiring.

Code

Productivity_Rocket.ino

Arduino
Programs a Attiny85 USB to control an RGB LED using a potentiometer
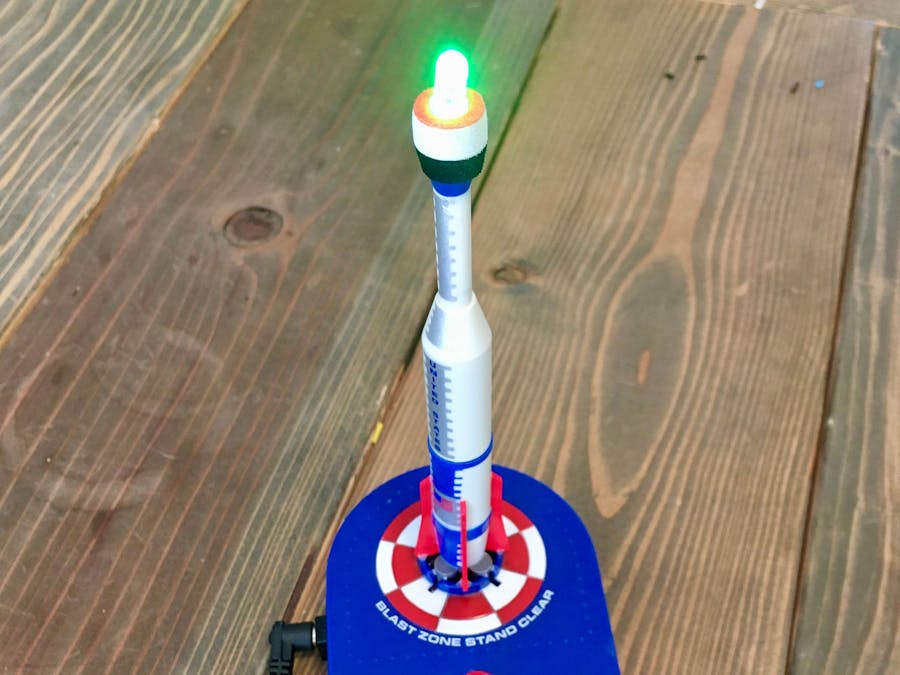
const int redpin = 0; 
const int greenpin = 1; 
const int bluepin = 2; 
const int sensorpin = 3; 

void setup() {
  pinMode(redpin, OUTPUT); 
  pinMode(greenpin, OUTPUT);
  pinMode(bluepin, OUTPUT); 

}

void loop() {

  int sensorvalue = analogRead(sensorpin);
  

  if ((0 <= sensorvalue) && (sensorvalue < 307))
  {
    Green();
  }

  if ((307 <= sensorvalue) && (sensorvalue < 716))
  {
    Blue(); 
  }

  if ((716 <= sensorvalue) && (sensorvalue <= 1023))
  {
    Red();
  }
  

}

void Green()
{
  digitalWrite(redpin, LOW); 
  digitalWrite(greenpin, HIGH); 
  digitalWrite(bluepin, LOW); 
  
}

void Blue()
{
  digitalWrite(redpin, LOW); 
  digitalWrite(greenpin, LOW); 
  digitalWrite(bluepin, HIGH); 
}

void Red()
{
  digitalWrite(redpin, HIGH); 
  digitalWrite(greenpin, LOW); 
  digitalWrite(bluepin, LOW); 
}

Credits

Amy Deveraux

Amy Deveraux

1 project • 0 followers

Comments