

Hardware components | ||||||
 |
| × | 1 | |||
| × | 1 | ||||
| × | 2 | ||||
| × | 1 | ||||
| × | 1 | ||||
 |
| × | 1 | |||
Software apps and online services | ||||||
 |
| |||||
| ||||||
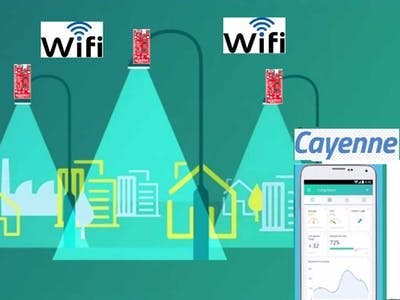
Smart cities are the result of the ever more pressing need to orient our life towards sustainability. Thus, these cities use infrastructures, innovation and technology to reduce energy consumption and reduce CO2 emissions. Due to the above mentioned, I want to orient my project to the development of intelligent cities.
When I wrote my idea to compete for free hardware I wrote about the situation with the lights of the city where I live: people steal them, decompose quickly and there is no logistic control to fix them. I proposed to build a prototype to show how you can automate all the control of lights of a city using the technology of microcontrollers with internet connection as the Sparkfun ESP-8266 and the Cayenne platform. Thanks to the organizers of the contest I got a Sparkfun dev board and motivated me to continue with the development of my project.
https://www.hackster.io/contests/ESP8266/ideas/6453
- Sparkfun esp8266 thing dev
This is the main brain of the project, this plate sends the data of the sensors to the server of cayenne and from cayenne we can control the turning on and off of the lights, as well as their color. This board contains the microcontroller esp8266 that works at a speed of 80mhz, is much more powerful than arduino uno and has wifi connectivity. It is a very famous chip in the maker world.
- Neopixel ring 12
They are RGB LEDs that use a GPIO pin to modify the color and intensity of LEDs. They are very bright and pretty.
- INA 219
This current sensor has high performance, can measure up to 26 volts at 3.2 amperes, is perfect for making this prototype with lamps that consume a lot of current.
- Capacitor 1000uF
The Adafruit page recommends adding a 1000uf capacitor to avoid damage to the neopixel when the voltage source is turned on. Current peaks could occur.
- Resistor 330 ohms
It is advisable to put a resistor between the pin of the esp8266 and the input pin of neopixel to avoid excess current for the first led of any neopixel ring.
- Light sensor
This digital sensor is very precise and can be adjusted to the level of light in which the change is required.
- Battery 2200mah
This project requires a lot of energy, the best option is to have a lithium battery of 2000 mah, this is enough to turn on the sensors and neopixel rings.
- Wires
First start thinking about how to show the finished project based on the material that I have at my fingertips. I would have opted to make a street lamp in real size with the embedded microcontroller esp8266, but I realized that it was very difficult since it only had 2 rings neopixel and that is not enough to put together a big lamp. At the end choose to make a model on a wooden board. The important thing for me is to show the system running at 100% and show that the project is scalable.
Below I show the wood that I chose along with the drawing of a street.
Then I built two mini lamps for the model, using as base a few pens that have a nice and sturdy plastic. I wired them in so they would not be noticed.
After many efforts and burns with the hot silicon, I finished my model with the lamps on. The next thing would be the circuit.
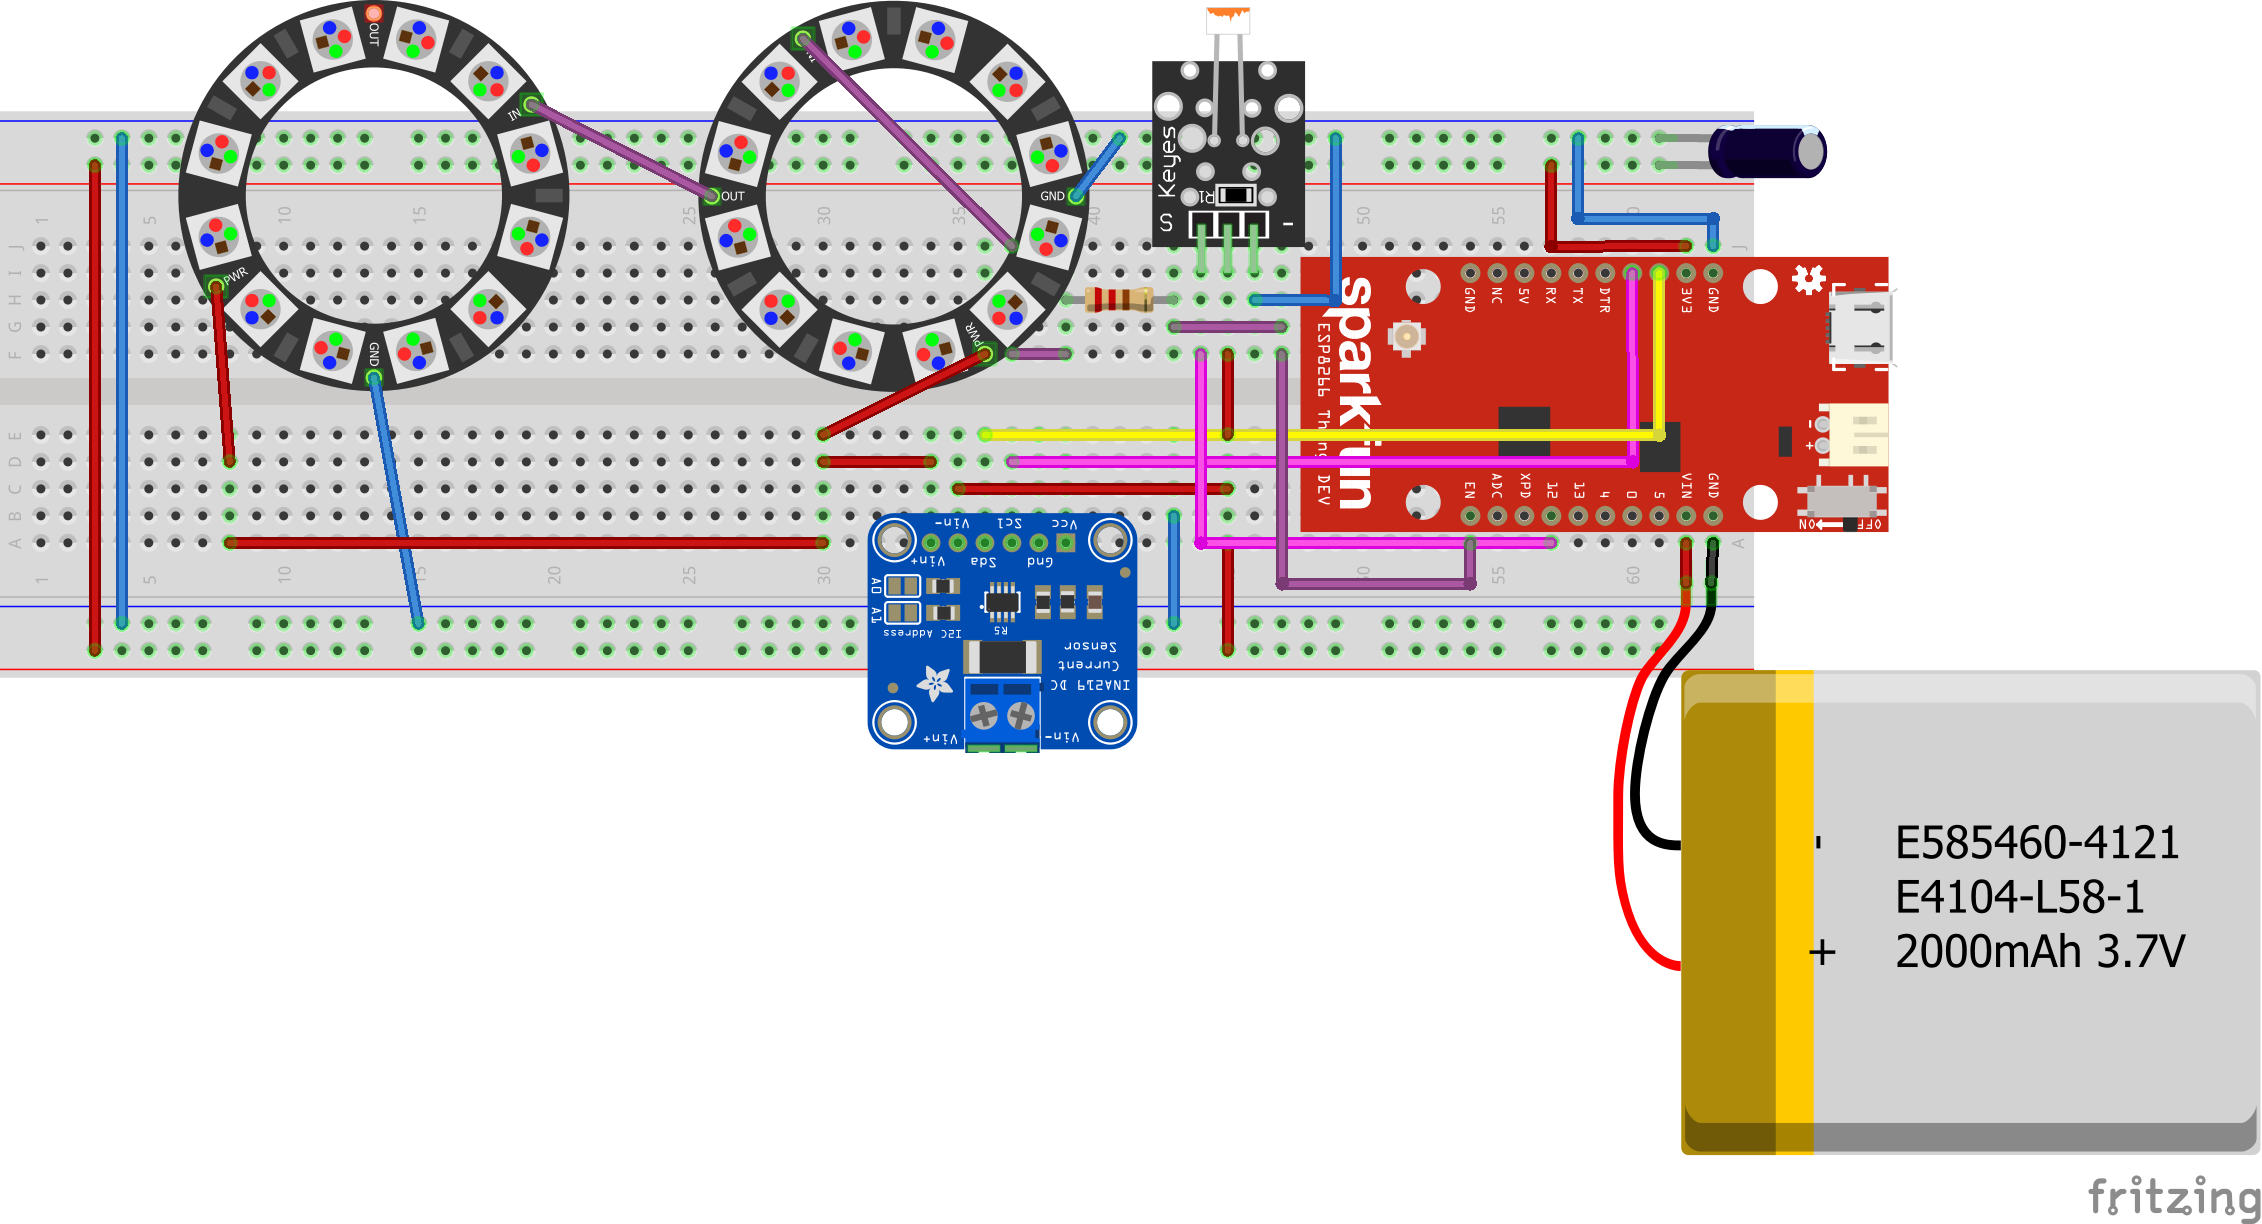
The circuit you assemble is shown below:
First we have the Sparkfun development board esp8266 thing dev that is mounted on a breadboard. On the positive bus and negative bus connect the 1000uf capacitor to protect my neopixel rings from peak currents. On the GPIO 15 connect the resistor of 330 ohms to the signal input of the first neopixel ring, on the signal output you connect the input of the next neopixel. Use the SDA and SCL pins of my esp8266 to connect the current sensor per protocol of communication I2C. Finally I made the connection between the digital light sensor to the GPIO 12. The neopixel rings and all the other components feed them with 3.3 volts coming from the regulator embedded in the development board.
The whole circuit is powered by a 3.7 volt battery with 2200mAh of lithium. I think the best option knowing that my design consumes a lot of current due to the lights.
The libraries I used were those of Cayenne, Adafruit Neopixel to use the rings, the Wire library that is to use the I2C communication protocol and to control the current sensor it is necessary to use the Adafruit library.
After importing the libraries, I defined variables as PIN1 which is the GPIO that I used to control the neopixel ring and the variable NUMPIXELS refers to the number of LEDs that have all the rings.
The following code lines are are variables that keep the ID and password of the wifi network that I have and also the credentials to access the Cayenne platform.
The following variables are counters, sensor values to be sent to Cayenne.
Here the current sensor and the neopixel rings are initialized.
In the setup we started the serial port at 9600 baud, we defined the GPIO as input and output. We also started the service of Cayenne, the anilox neopixel and the current sensor.
The loop function starts with the part where cayenne asks if a data transmission between the development board and the server has been performed. Then the values of the current sensor are obtained and the voltage, current and power consumed by the neopixel rings are calculated.
Then we enter an if loop that asks if the buttons that light the neopixel ring lights are pressed on the web interface or smartphone application.
Here we create an interval of one second thanks to the function milis, which sends the values of voltage, current and power calculated previously. Then there is another if cycle that is activated when the application button that controls the light sensor is pressed.
Finally we have a function for each widget created in cayenne, the values are saved in a variable and can be used to modify parameters in my final application. We used 9 channels to receive information from cayenne.
At the bottom is the web interface of my project, the interface for mobile is very similar but has a problem, sliders do not work in the mobile application. I try to put values from 0 to 255 but the application marks me error and can only go from 0 to 1. Hope that in the future can be fixed.
I used two buttons to turn neopixel on and off.
Below I show the sliders that are to change the color of Neopixel lights.
Finally we have data displays, we can observe the current in milliamperes, the voltage in volts and the power in milliwatts.
The light sensor for the Neopixel lights is shown below. This sensor is activated by the button located on the Cayenne application.
Below is the button that activates and deactivates the current sensor.
In the following video you can observe the operation of the project when the light sensor button is off.
Below it shows the operation of the buttons that turn on and off the lights, also have some sliders that control the color of the lights, 3 sliders for 1 lamp neopixel.
AlertsFinally, add an alert to indicate if there is a power level much higher than normal, send me SMS and email notifications
Only the SMS notification did not arrive, maybe there is no service to my country, but I am investigating how to improve.
Thanks for reading my project!


_3u05Tpwasz.png?auto=compress%2Cformat&w=40&h=40&fit=fillmax&bg=fff&dpr=2)
Comments