

Hardware components | ||||||
_ztBMuBhMHo.jpg?auto=compress%2Cformat&w=48&h=48&fit=fill&bg=ffffff) |
| × | 1 | |||
 |
| × | 1 | |||
 |
| × | 1 | |||
Software apps and online services | ||||||
 |
| |||||
I made this project just for fun and time pass
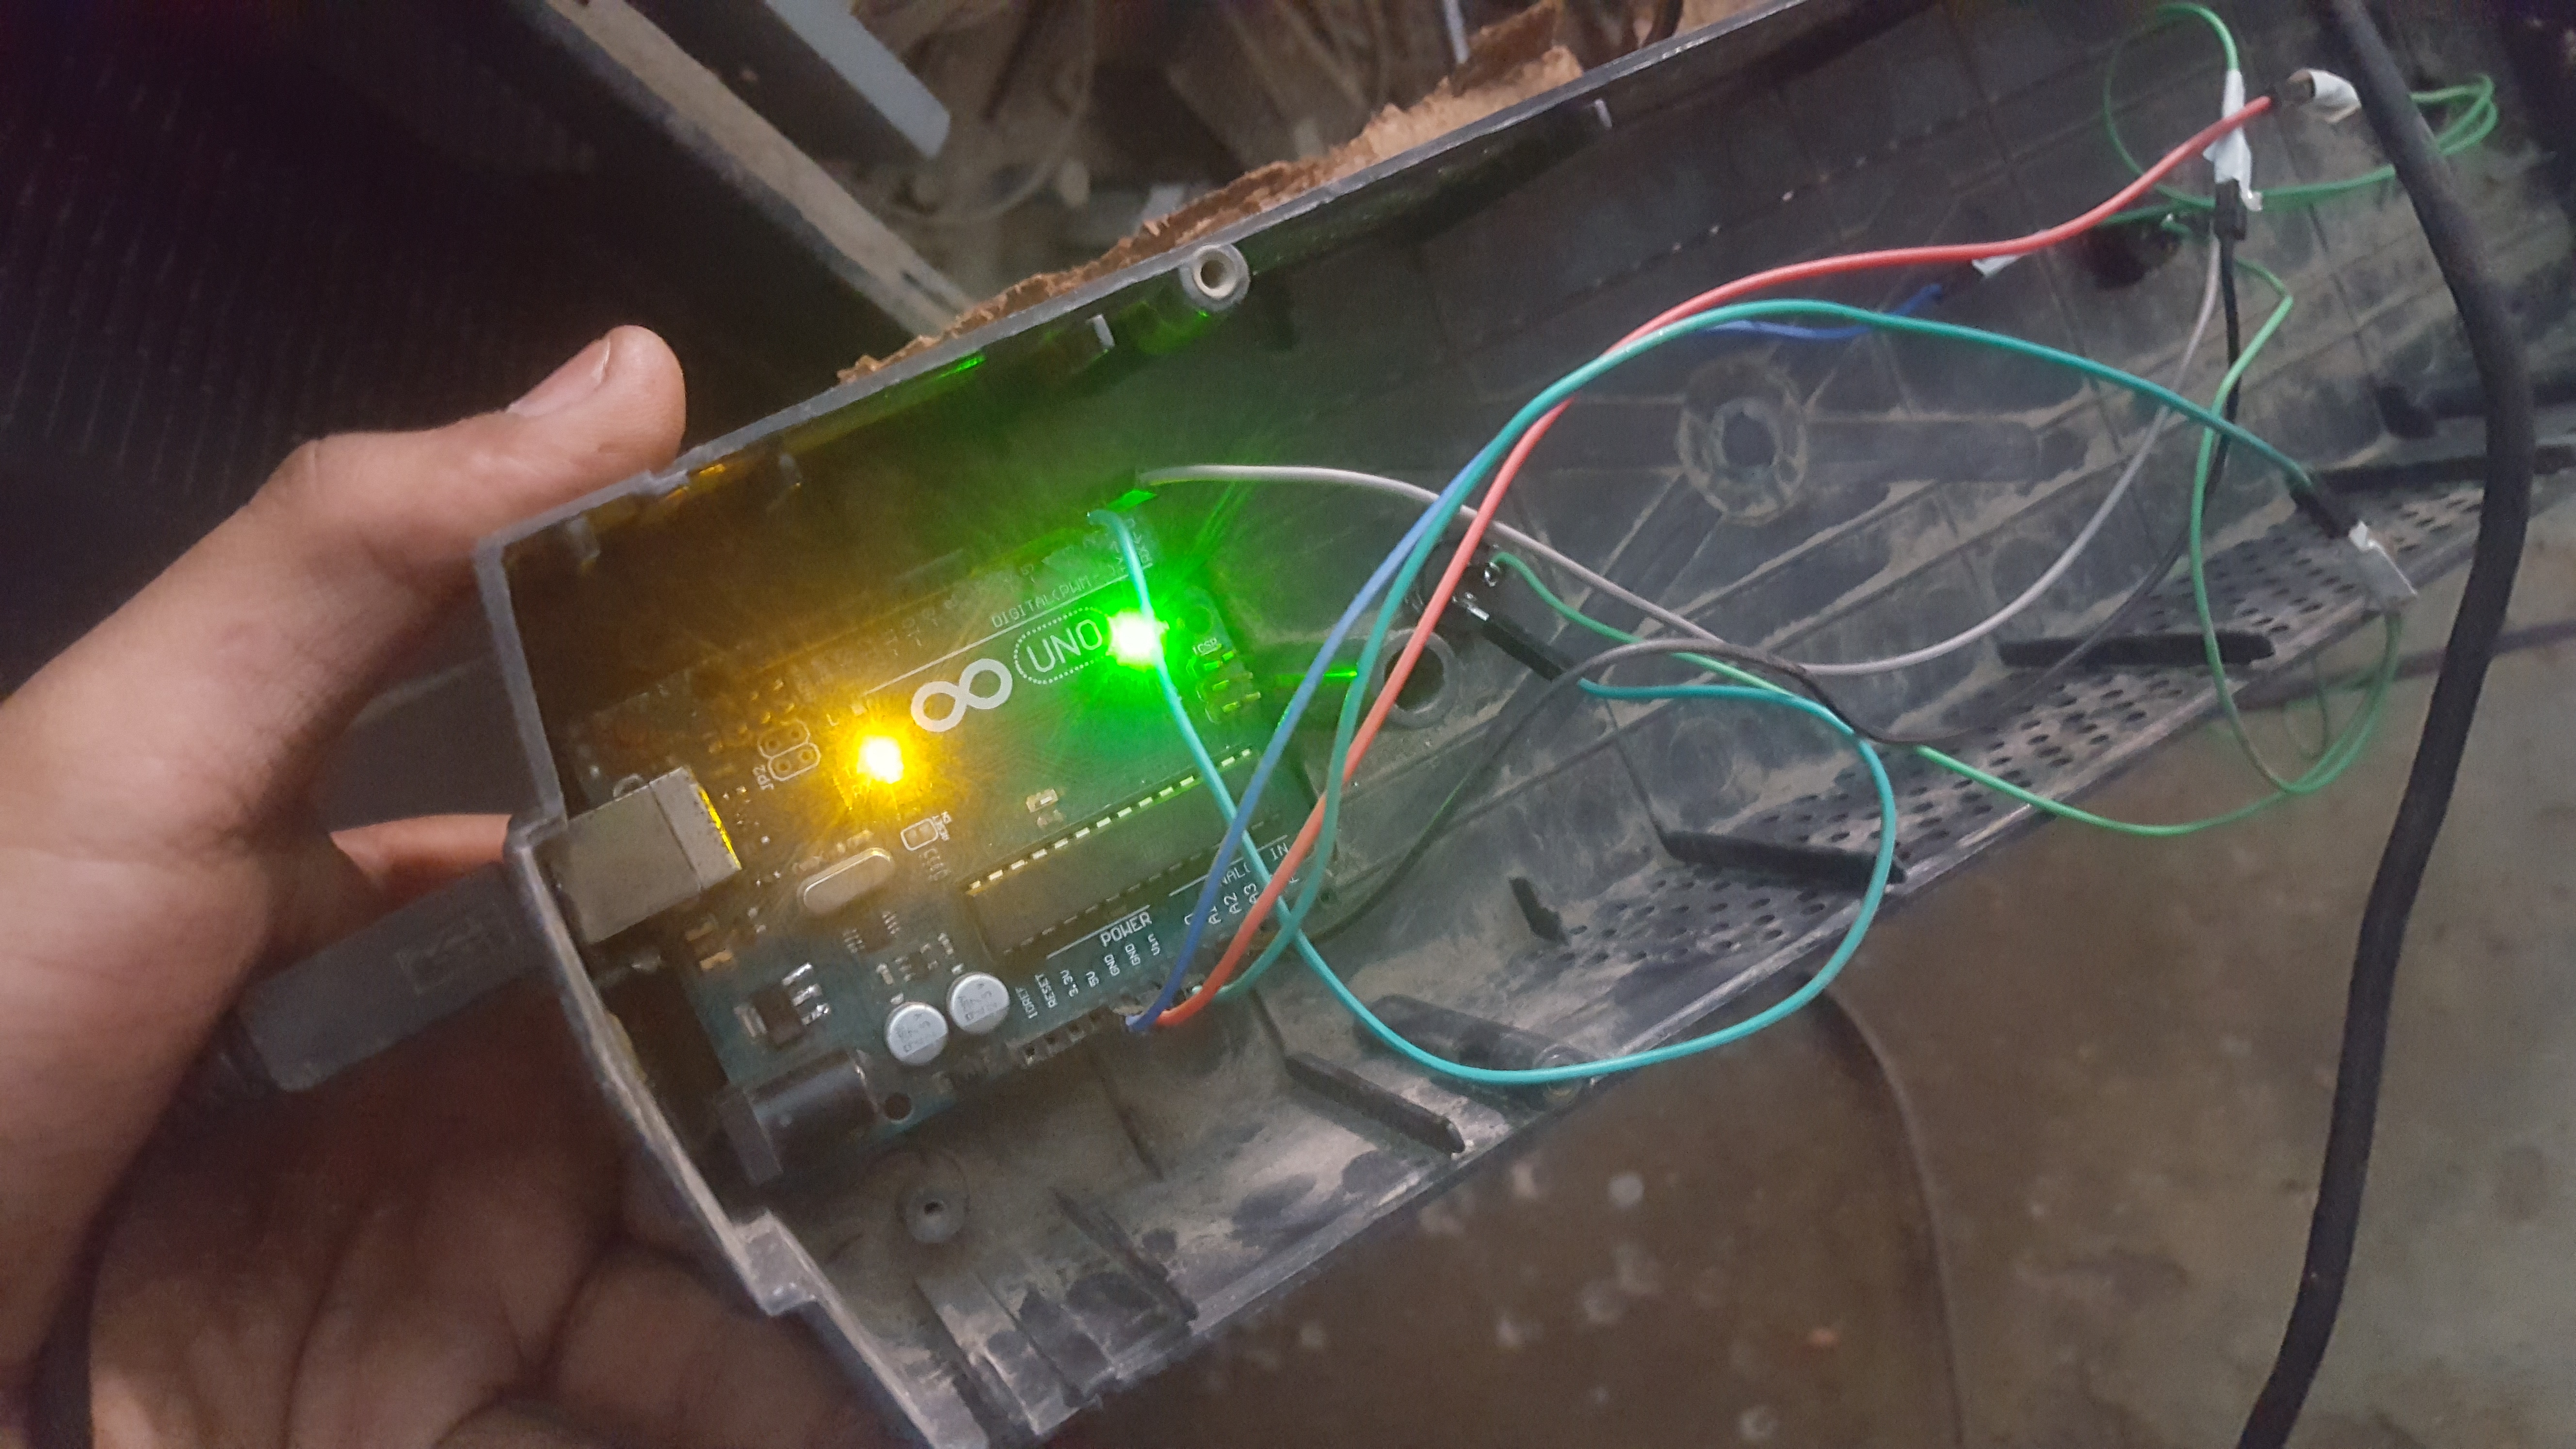
so for this project you'll need arduino uno r3 board two push buttons and one potentio meter for steering
connection::::::
pot pin1 >> Gnd
pot pin2 >> A0;
pot pin 3 >> VCC(5v)
button1 pin 1 >> digital pin2
button1 pin 2 >> Gnd
button2 pin 1 >> digital pin3
button1 pin 1 >> Gnd
now just upload the sample code and put the library in the same folder and download the flip software to upload the framework....
after uploading the sample code unplug the cable and plug that agin and run turn into joystick.bat
now unplug the arduino and plug that again it will be shown as the gaming controllers
so the thing now is if you want to convert it to normal for normal use run turn into arduino.bat
make the steering as follows
and pedals as follows::::

#include "UnoJoy.h"

void setup(){
  setupPins();
  setupUnoJoy();
}

void loop(){
  // Always be getting fresh data
  dataForController_t controllerData = getControllerData();
  setControllerData(controllerData);
}

void setupPins(void){
  // Set all the digital pins as inputs
  // with the pull-up enabled, except for the
  // two serial line pins
  for (int i = 2; i <= 12; i++){
    pinMode(i, INPUT);
    digitalWrite(i, HIGH);
  }
  pinMode(A4, INPUT);
  digitalWrite(A4, HIGH);
  pinMode(A5, INPUT);
  digitalWrite(A5, HIGH);
}

dataForController_t getControllerData(void){

  // Set up a place for our controller data
  //  Use the getBlankDataForController() function, since
  //  just declaring a fresh dataForController_t tends
  //  to get you one filled with junk from other, random
  //  values that were in those memory locations before
  dataForController_t controllerData = getBlankDataForController();
  // Since our buttons are all held high and
  //  pulled low when pressed, we use the "!"
  //  operator to invert the readings from the pins
  controllerData.triangleOn = !digitalRead(2);
  controllerData.circleOn = !digitalRead(3);
  controllerData.squareOn = !digitalRead(4);
  controllerData.crossOn = !digitalRead(5);
  controllerData.dpadUpOn = !digitalRead(6);
  controllerData.dpadDownOn = !digitalRead(7);
  controllerData.dpadLeftOn = !digitalRead(8);
  controllerData.dpadRightOn = !digitalRead(9);
  controllerData.l1On = !digitalRead(10);
  controllerData.r1On = !digitalRead(11);
  controllerData.selectOn = !digitalRead(12);
  controllerData.startOn = !digitalRead(A4);
  controllerData.homeOn = !digitalRead(A5);

  // Set the analog sticks
  //  Since analogRead(pin) returns a 10 bit value,
  //  we need to perform a bit shift operation to
  //  lose the 2 least significant bits and get an
  //  8 bit number that we can use
  controllerData.leftStickX = analogRead(A0) >> 2;

  // And return the data!
  return controllerData;
}
#ifndef UNOJOY_H
#define UNOJOY_H
    #include <stdint.h>
    #include <util/atomic.h>
    #include <Arduino.h>

    // This struct is the core of the library.
    //  You'll create an instance of this and manipulate it,
    //  then use the setControllerData function to send that data out.
    //  Don't change this - the order of the fields is important for
    //  the communication between the Arduino and it's communications chip.
	typedef struct dataForController_t
	{
		uint8_t triangleOn : 1;  // Each of these member variables
		uint8_t circleOn : 1;    //  control if a button is off or on
		uint8_t squareOn : 1;    // For the buttons,
		uint8_t crossOn : 1;     //  0 is off
		uint8_t l1On : 1;        //  1 is on
		uint8_t l2On : 1;
		uint8_t l3On : 1;        // The : 1 here just tells the compiler
		uint8_t r1On : 1;        //  to only have 1 bit for each variable.
                                 //  This saves a lot of space for our type!
		uint8_t r2On : 1;
		uint8_t r3On : 1;

		uint8_t selectOn : 1;
		uint8_t startOn : 1;
		uint8_t homeOn : 1;
		uint8_t dpadLeftOn : 1;
		uint8_t dpadUpOn : 1;
		uint8_t dpadRightOn : 1;

		uint8_t dpadDownOn : 1;
        uint8_t padding : 7;     // We end with 7 bytes of padding to make sure we get our data aligned in bytes

		uint8_t leftStickX : 8;  // Each of the analog stick values can range from 0 to 255
		uint8_t leftStickY : 8;  //  0 is fully left or up
		uint8_t rightStickX : 8; //  255 is fully right or down
		uint8_t rightStickY : 8; //  128 is centered.
                                 // Important - analogRead(pin) returns a 10 bit value, so if you're getting strange
                                 //  results from analogRead, you may need to do (analogRead(pin) >> 2) to get good data
	} dataForController_t;

    // Call setupUnoJoy in the setup block of your program.
    //  It sets up the hardware UnoJoy needs to work properly
    void setupUnoJoy(void);

    // You can also call the set
    void setupUnoJoy(int);

    // This sets the controller to reflect the button and
    // joystick positions you input (as a dataForController_t).
    // The controller will just send a zeroed (joysticks centered)
    // signal until you tell it otherwise with this function.
    void setControllerData(dataForController_t);

    // This function gives you a quick way to get a fresh
    //  dataForController_t with:
    //    No buttons pressed
    //    Joysticks centered
    // Very useful for starting each loop with a blank controller, for instance.
    // It returns a dataForController_t, so you want to call it like:
    //    myControllerData = getBlankDataForController();
    dataForController_t getBlankDataForController(void);


//----- End of the interface code you should be using -----//
//----- Below here is the actual implementation of

  // This dataForController_t is used to store
  //  the controller data that you want to send
  //  out to the controller.  You shouldn't mess
  //  with this directly - call setControllerData instead
  dataForController_t controllerDataBuffer;

  // This updates the data that the controller is sending out.
  //  The system actually works as following:
  //  The UnoJoy firmware on the ATmega8u2 regularly polls the
  //  Arduino chip for individual bytes of a dataForController_t.
  //
  void setControllerData(dataForController_t controllerData){
    // Probably unecessary, but this guarantees that the data
    //  gets copied to our buffer all at once.
    ATOMIC_BLOCK(ATOMIC_FORCEON){
      controllerDataBuffer = controllerData;
    }
  }

  // serialCheckInterval governs how many ms between
  //  checks to the serial port for data.
  //  It shouldn't go above 20 or so, otherwise you might
  //  get unreliable data transmission to the UnoJoy firmware,
  //  since after it sends a request, it waits 25 ms for a response.
  //  If you really need to make it bigger than that, you'll have to
  //  adjust that timeout in the UnoJoy ATmega8u2 firmware code as well.
  volatile int serialCheckInterval = 1;
  // This is an internal counter variable to count ms between
  //  serial check times
  int serialCheckCounter = 0;

  // This is the setup function - it sets up the serial communication
  //  and the timer interrupt for actually sending the data back and forth.
  void setupUnoJoy(void){
    // First, let's zero out our controller data buffer (center the sticks)
    controllerDataBuffer = getBlankDataForController();

    // Start the serial port at the specific, low-error rate UnoJoy uses.
    //  If you want to change the rate, you'll have to change it in the
    //  firmware for the ATmega8u2 as well.  250,000 is actually the best rate,
    //  but it's not supported on Macs, breaking the processing debugger.
    Serial.begin(38400);

    // Now set up the Timer 0 compare register A
    //  so that Timer0 (used for millis() and such)
    //  also fires an interrupt when it's equal to
    //  128, not just on overflow.
    // This will fire our timer interrupt almost
    //  every 1 ms (1024 us to be exact).
    OCR0A = 128;
    TIMSK0 |= (1 << OCIE0A);
  }

  // If you really need to change the serial polling
  //  interval, use this function to initialize UnoJoy.
  //  interval is the polling frequency, in ms.
  void setupUnoJoy(int interval){
    serialCheckInterval = interval;
    setupUnoJoy();
  }

  // This interrupt gets called approximately once per ms.
  //  It counts how many ms between serial port polls,
  //  and if it's been long enough, polls the serial
  //  port to see if the UnoJoy firmware requested data.
  //  If it did, it transmits the appropriate data back.
  ISR(TIMER0_COMPA_vect){
    serialCheckCounter++;
    if (serialCheckCounter >= serialCheckInterval){
      serialCheckCounter = 0;
      // If there is incoming data stored in the Arduino serial buffer
      while (Serial.available() > 0) {
        pinMode(13, OUTPUT);
        //digitalWrite(13, HIGH);
        // Get incoming byte from the ATmega8u2
        byte inByte = Serial.read();
        // That number tells us which byte of the dataForController_t struct
        //  to send out.
        Serial.write(((uint8_t*)&controllerDataBuffer)[inByte]);
        //digitalWrite(13, LOW);
      }
    }
  }

  // Returns a zeroed out (joysticks centered)
  //  dataForController_t variable
  dataForController_t getBlankDataForController(void){
    // Create a dataForController_t
    dataForController_t controllerData;
    // Make the buttons zero
    controllerData.triangleOn = 0;
    controllerData.circleOn = 0;
    controllerData.squareOn = 0;
    controllerData.crossOn = 0;
    controllerData.l1On = 0;
    controllerData.l2On = 0;
    controllerData.l3On = 0;
    controllerData.r1On = 0;
    controllerData.r2On = 0;
    controllerData.r3On = 0;

    controllerData.dpadLeftOn = 0;
    controllerData.dpadUpOn = 0;
    controllerData.dpadRightOn = 0;
    controllerData.dpadDownOn = 0;
    controllerData.selectOn = 0;
    controllerData.startOn = 0;
    controllerData.homeOn = 0;
    //Set the sticks to 128 - centered
    controllerData.leftStickX = 128;
    controllerData.leftStickY = 128;
    controllerData.rightStickX = 128;
    controllerData.rightStickY = 128;
    // And return the data!
    return controllerData;
  }

#endif
@echo off
if not exist ATmega8u2Code/HexFiles/batchisp.exe (
echo.
echo The program used to flash the memory couldn't be found...
echo Did you move this .bat file?  Or delete something in the ATmega8u2Code folder?
echo Press any key to exit...
goto EXIT
)
echo.
echo Abracadabra!
cd ATmega8u2Code/HexFiles
echo Attempting to re-flash for an Arduino Uno R1/R2
@echo on
batchisp -device at90usb82 -hardware usb -operation erase f memory flash blankcheck loadbuffer "UnoJoy.hex" program verify start reset 1024
@echo off
if %errorlevel% NEQ 0 (
    goto R3FLASH
)
else (
    goto SUCCESS
)

:R3FLASH
echo Trying to re-flash for an Arduino Uno R3...
@echo on
batchisp -device atmega16u2 -hardware usb -operation erase f memory flash blankcheck loadbuffer "UnoJoy.hex" program verify start reset 1024
@echo off
if %errorlevel% NEQ 0 (
    echo %errorlevel%
    echo The firmware was NOT loaded...
    echo.
    echo Did you install the Atmel FLIP program? - http://www.atmel.com/tools/FLIP.aspx -
    echo Is the Arduino plugged in?
    echo Is is it in 'Arduino UNO DFU' mode?
    echo Press any key to exit..
    goto EXIT
) else (
    goto SUCCESS
)

:SUCCESS
echo Now, you need to unplug the Arduino and plug it back in,
echo but it will show up as a joystick! Press any key to exit....
goto EXIT


:EXIT
pause > nul
@echo off
if not exist ATmega8u2Code/HexFiles/batchisp.exe (
echo.
echo The program used to flash the memory couldn't be found...
echo Did you move this .bat file?  Or delete something in the ATmega8u2Code folder?
echo Press any key to exit...
goto EXIT
)
echo.
echo Like magic.
cd ATmega8u2Code/HexFiles
echo Attempting to re-flash for an Arduino Uno R1/R2
@echo on
batchisp -device at90usb82 -hardware usb -operation erase f memory flash blankcheck loadbuffer "Arduino-usbserial-uno.hex" program verify start reset 0
@echo off
if %errorlevel% NEQ 0 (
    goto R3FLASH
)
else (
    goto SUCCESS
)

:R3FLASH
echo Trying to re-flash for an Arduino Uno R3
@echo on
batchisp -device atmega16u2 -hardware usb -operation erase f memory flash blankcheck loadbuffer "Arduino-usbserial-uno.hex" program verify start reset 0
@echo off
if %errorlevel% NEQ 0 (
    echo %errorlevel%
    echo The firmware was NOT loaded...
    echo.
    echo Did you install the Atmel FLIP program? - http://www.atmel.com/tools/FLIP.aspx -
    echo Is the Arduino plugged in?
    echo Is is it in 'Arduino UNO DFU' mode?
    echo Press any key to exit..
    goto EXIT
) else (
    goto SUCCESS
)

:SUCCESS
echo Now, you need to unplug the Arduino and plug it back in,
echo and it'll show back up as an Arduino. Press any key to exit....
goto EXIT


:EXIT
pause > nul


Comments