Hey, getting straight to the point here, we will be updating our device shadow on the AWS IoT core. In the code snippet, I have used a dummyVariable that will increment itself in the AWS IoT core device -> shadow window. However, you can write any function pertaining to the sensor that you are using and then update the code by sending the sensor value in the form of JSON packages as done in the code I uploaded. Please note the following points:
1. Attaching the certificates, in the code is a very bad practice, it compromises the security of your AWS account, however, if you want to just play around with AWS IoT core then this could be a starting point for you.
2. I hope you are well versed with configuring the AWS IoT core for publishing/subscribing to the sensor readings, if not, leave a comment I will give you a detailed walk-through of the process.
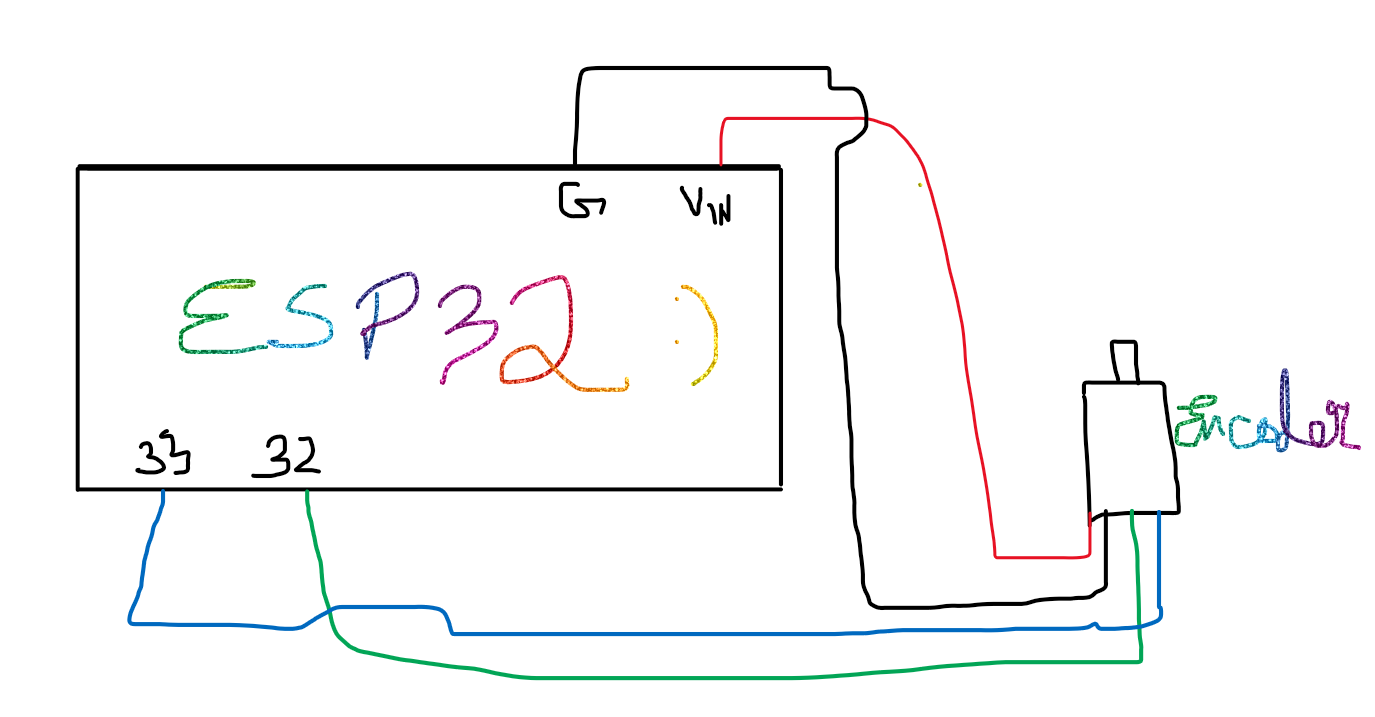
3. The schematic I uploaded is for a rotary encoder, I have uploaded separate code for the encoder logic, As an exercise you can merge the dummy code and the encoder code and try to update the encoder shadow on the AWS IoT core-> Manage -> Device -> Shadow.
5. I hope this information is sufficient for getting started!


_3u05Tpwasz.png?auto=compress%2Cformat&w=40&h=40&fit=fillmax&bg=fff&dpr=2)
Comments