


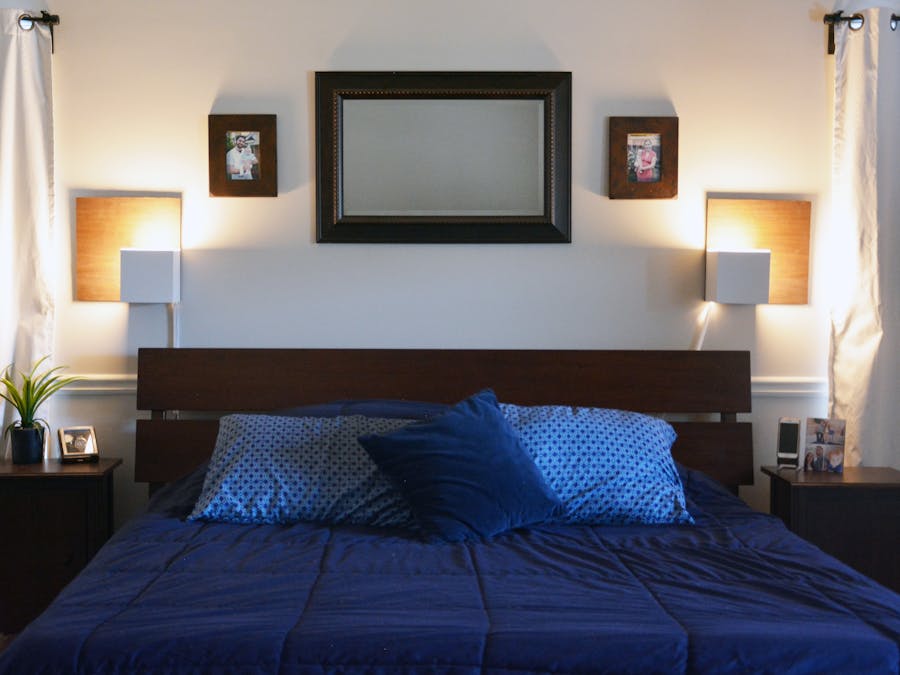
This design came about from the desire to clear up some space on my nightstand. I wanted a lamp but I didn't want to take up my precious space and so designing modern wall lamps was an obvious choice. Here I combine a simple cube type shade - 1 part opaque, 1 part transparent. I have used Philips Hue light bulbs to have some smart control over the lighting, however, the light kit I used has a simple toggle as well. The shade is then mounted on a peice of walnut wood for a nice modern look.
What You Will NeedAll materials are listed here.
Any/all necessary protective equipment.
*Links provided are affiliate links if used to purchase something may provide Adylinn Studio a small commission.
3D Printed PartsOpaque Shade
- Low warp filament recommended
- 0.2mm layer height
- 15% infill
- Support not required
Light Fixture Bracket and Optional Drilling Guide
- Filament choice not important
- 0.2mm+ layer height
- 10% infill
- Support is not required
Transparent Shade
- Clear or transparent, low warp filament recommended
- 0.2mm layer height
- 10-20% infill (infill pattern and % may vary how it diffuses light)
- Support optional
- Remove any support material if it was used.
- Start by sanding down each outer portion of the printed parts – starting with 120 and slowly progressing up to 320 (or higher if desired).
- Using a lightly damp cloth, wipe down sanded parts to remove any dust
- Apply 1-2 coats of primer.
- Lightly sand down dry primed parts with 600+ grit sandpaper
- Using a lightly damp cloth, wipe down sanded parts to remove any dust
- Apply 2-3 coats of paint to the opaque shade. I chose a matte white paint.
- Clear coated both the opaque shades and the transparent shades.
- Cut 2 squares - roughly 14.5 inches on each side.
- Do some light sanding to your desired smoothness.
- Using a lightly damp cloth, wipe down sanded parts to remove any dust
- Use a stain of your choice or linseed oil and apply to the front and sides of the wood.
- Once dry, clear coat.
- Use drilling guides to drill holes in the wood.
- Glue light fixture into the opaque shades.
- Use hot glue and glue the light kit into the light fixtures.
- Run wiring through the hole in the shade and line up the shade onto the wood.
- Screw shades onto the wood and optionally use glue to further secure them.
- Install light bulbs.
- Add your wall hanging hardware to the back of the wood.
- Add the transparent shade to the top of the opaque shade.
- Install screws into the wall where you intend to hang the lamps.
- Plug in lamps, and enjoy!
Thanks for taking the time to explore the project, I hope you try it and if you do I’d love to hear your feedback and see pictures of your build!
Thanks for checking out the Modern Walnut Wall Lamps 3D Printed build! If you enjoyed it, I post monthly builds using 3D printing on my website, https://www.adylinn.com/builds/.

Comments