


Hardware components | ||||||
| × | 1 | ||||
 |
| × | 1 | |||
 |
| × | 1 | |||
This project is to design and develop Bluetooth and Android automated portable solar lamp for outside camp, trekking, and for those small villages which are not getting continuous power supply! You can do this project if you have basic knowledge of electronics and microcontroller, if you don't know anything about programming microcontroller then just follow my steps carefully! You can do it undoubtedly, ok let's start now!
Step 1: List of components- Battery
- pic microcontroller boardwww.nskelectronics.in
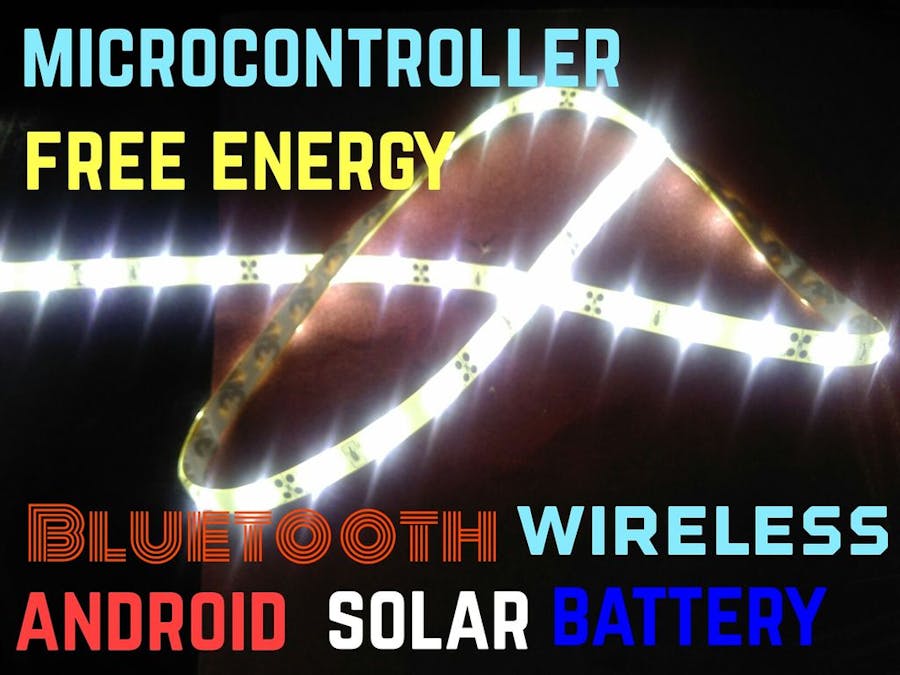
- 12v led strip
- relay module
- jumpers
- voltage booster
- soldering iron
- solar panel
- multimeter
- screw driver
When I directly connect the output of the solar panel to multimeter I am getting around 9-10v! The voltage needed to charge battery is 12v-13v, to do this we have to boost the output of the solar panel voltage by using voltage booster module.
Step 3: Boosting solar panel output !!Connect of input pinsIN+ to solar panel +IN- to solar panel -connect of output pinsOut- to Multimeter -Out+ to Multimeter.
Step 4: NOTE :If you are getting voltage less than or greater the voltage you needed, then you can adjust by tuning the potentiometer on the Booster module, until you get the desired voltage. Take a screwdriver, tune the pot.
Step 5: Time to connect the batteryNow connect the output of the booster to battery. OUT+ to +ve terminal of the batteryOUT- to -ve terminal of the battery.
Step 6: next step is### Charging Unit is Completed #### ### Now we program pic microcontroller to control relay board and to take input from Bluetooth module ###
Step 7: Software needed- Micro C link to download ::http://www.mikroe.com/mikroc/pic/mikroC for PIC is a full-featured ANSI C compiler for PIC devices from Microchip®. It is the best solution for developing code for PIC devices.
- Pickit2 link to download ::http://www.microchip.com/pickit2 Using the PICKIT2 SoftwareOnce the Pickit2 software is started, you get the message that Pickit2 usb is not connected to your USB.
- First connect your Pickit2 USB to your pc before opening the Pickit2 software.
- Also immediately connect your ic you want to program before opening your Pickit2 software. If everything is well connected, you'll get " Pickit2 found and detected" and "PIC device found".
Once everything is working fine, the Pickit2 and the PIC processor are detected, you can load the HEX file in the programmer. Go to File - Import HEX, and select the location where you've saved. Please make sure you load the correct HEX file on the correct module. The only thing you have to do now is press on the write button to program the HEX file in the module.
Step 8: Hardware needed -pickit2 programmerYou can buy any type of pickit2 programmer if you are buying the one with zif socket then it is good. It will reduce the time of connecting jumpers to the icsp pins. Connect the jumpers properly, if you are using icsp to program the pic ic .
Step 9: NOTE ::Libraries to add in MicroC PRO software to add library Goto #view > #library manager, then check LCD,Lcd_Constants, and UART options on library manager .
Step 10: CodeUnsigned char uart_rd,i;
void main() { TRISB.F0 = 0; UART1_Init(9600);
//UART module at 9600 bps Delay_ms(100);
// Wait for UART module to stabilize while (1) {
// Endless loop if (UART1_Data_Ready()) {
// If data is received, uart_rd = UART1_Read();
UART1_Write(uart_rd); } if ( uart_rd == 'x') { PORTB.F0 = 1; //LED Off } if (uart_rd == 'a') { PORTB.F0 = 0; //LED on } } }
Connection of PIC board , RELAY module , Bluetooth , LED bulb.
Step 12: NOTEOnce your program is finished, then build it. Save HEX file in the known location and open Pickit2 software, then click button. Now your pic ic ready to accept commands from Bluetooth and to control relay board.
Step 13: Android appDownload Amarino.apk at google play store !
Step 14: Commands to control Led lamp, watch videoSend "a" to turn on the lamp. Send "x" to turn off the lamp.
Step 15: Thank youPlease comment. If you have any doubt I will try to clear it, and don't forget to vote :) my mail I'd :: amaraxr@gmail.com my website :: www.Xolcano.com Thank you !

_3u05Tpwasz.png?auto=compress%2Cformat&w=40&h=40&fit=fillmax&bg=fff&dpr=2)
Comments