
First of all thanks to team HACKSTER for giving me a free Linkit ONE.
Instead of messing with cloud control platform by Mediatek for LINKIT ONE, I tried Blynk app.
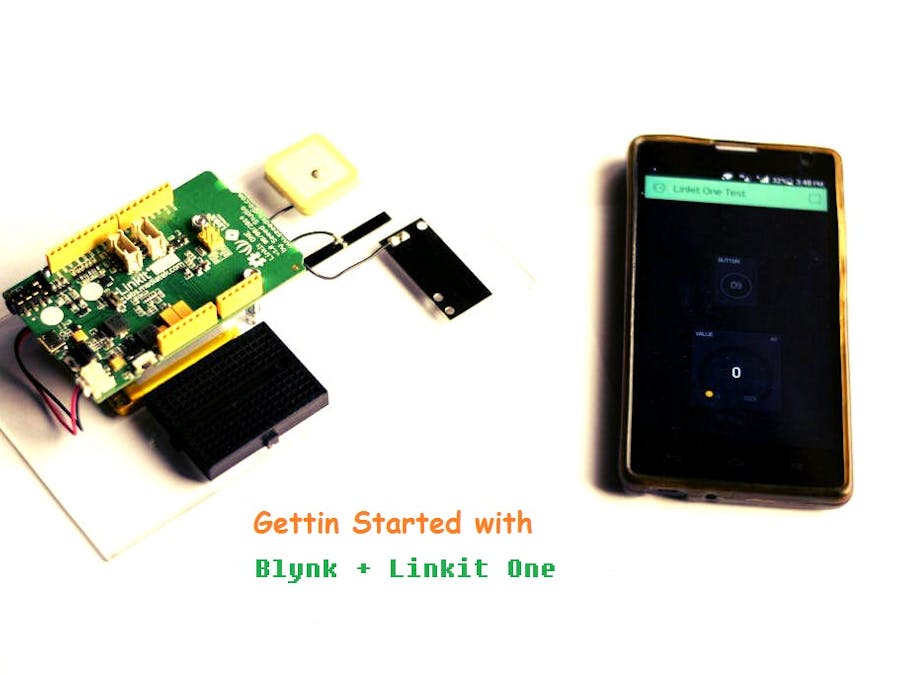
At the moment Blynk is the best way to do it. Blynk is an app which lets you control your micro controller via Wifi. It allows for a easy to use interface and a huge variety of options. It also has all the interactive functions and awesome user interface.
Step : Installing the App
This is pretty straight forward. Just go to the Play store for android or App store for iOS and search "Blynk". Download the app.
Step 2: Installing the Library
Now I assume that you have already installed the Linkit One IDE. If you haven't then go to this link and follow the procedure. Once you have the IDE installed, you need to install the library. Now that is simple. Download this zip file. Then open your IDE folder. Open the libraries folder and extract the contents of the zip file inside the folder.
Step 3 : Setting Up the App
Open the app and create an account. Log in into it and click on the plus sign. Make up a project name and select name Linkit One in the hardware selection. And click on the email button. Once done, Click on create.
Now you will enter into the project dashboard. Click on the plus sign and enter a button and then select Pin 9.
Step 4: Hardware Setup
Just a regular led on pin 9, and that's it.
Step 5: Programming the Board
Open the Blynk Linkit One example and insert you code from your email and your wifi details.
Add this line "#define ARDUINO 150" in the code start. Upload it into the Linkit One.


Comments