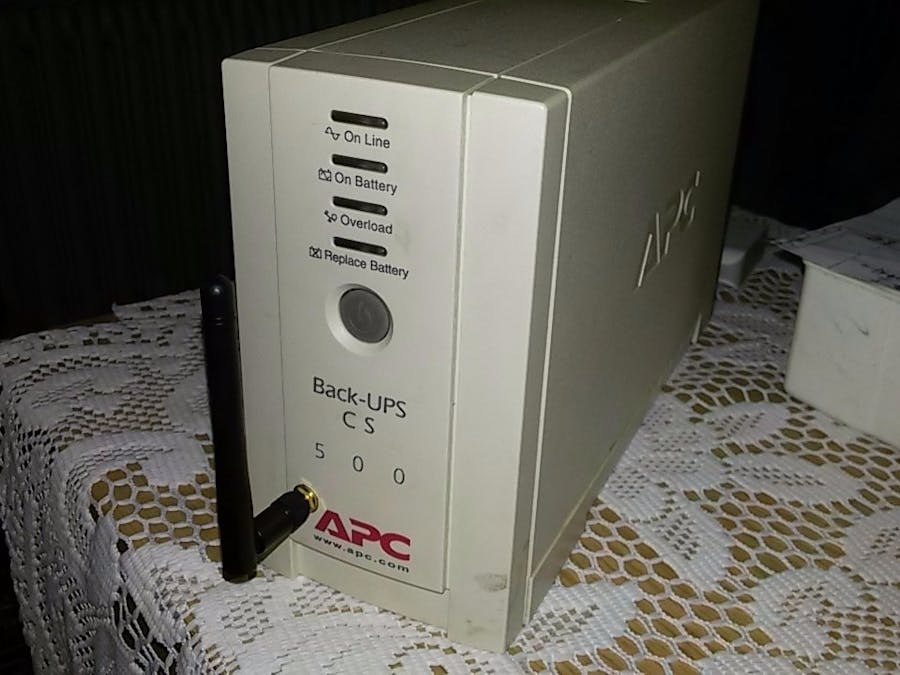
I needed to see my UPS status over the internet. I chose Cayenne for a simple setup and a nice dashboard. I made the first prototype for code testing. (So far without a mains voltage sensor and SparkFun ESP8266 Thing Dev board.)
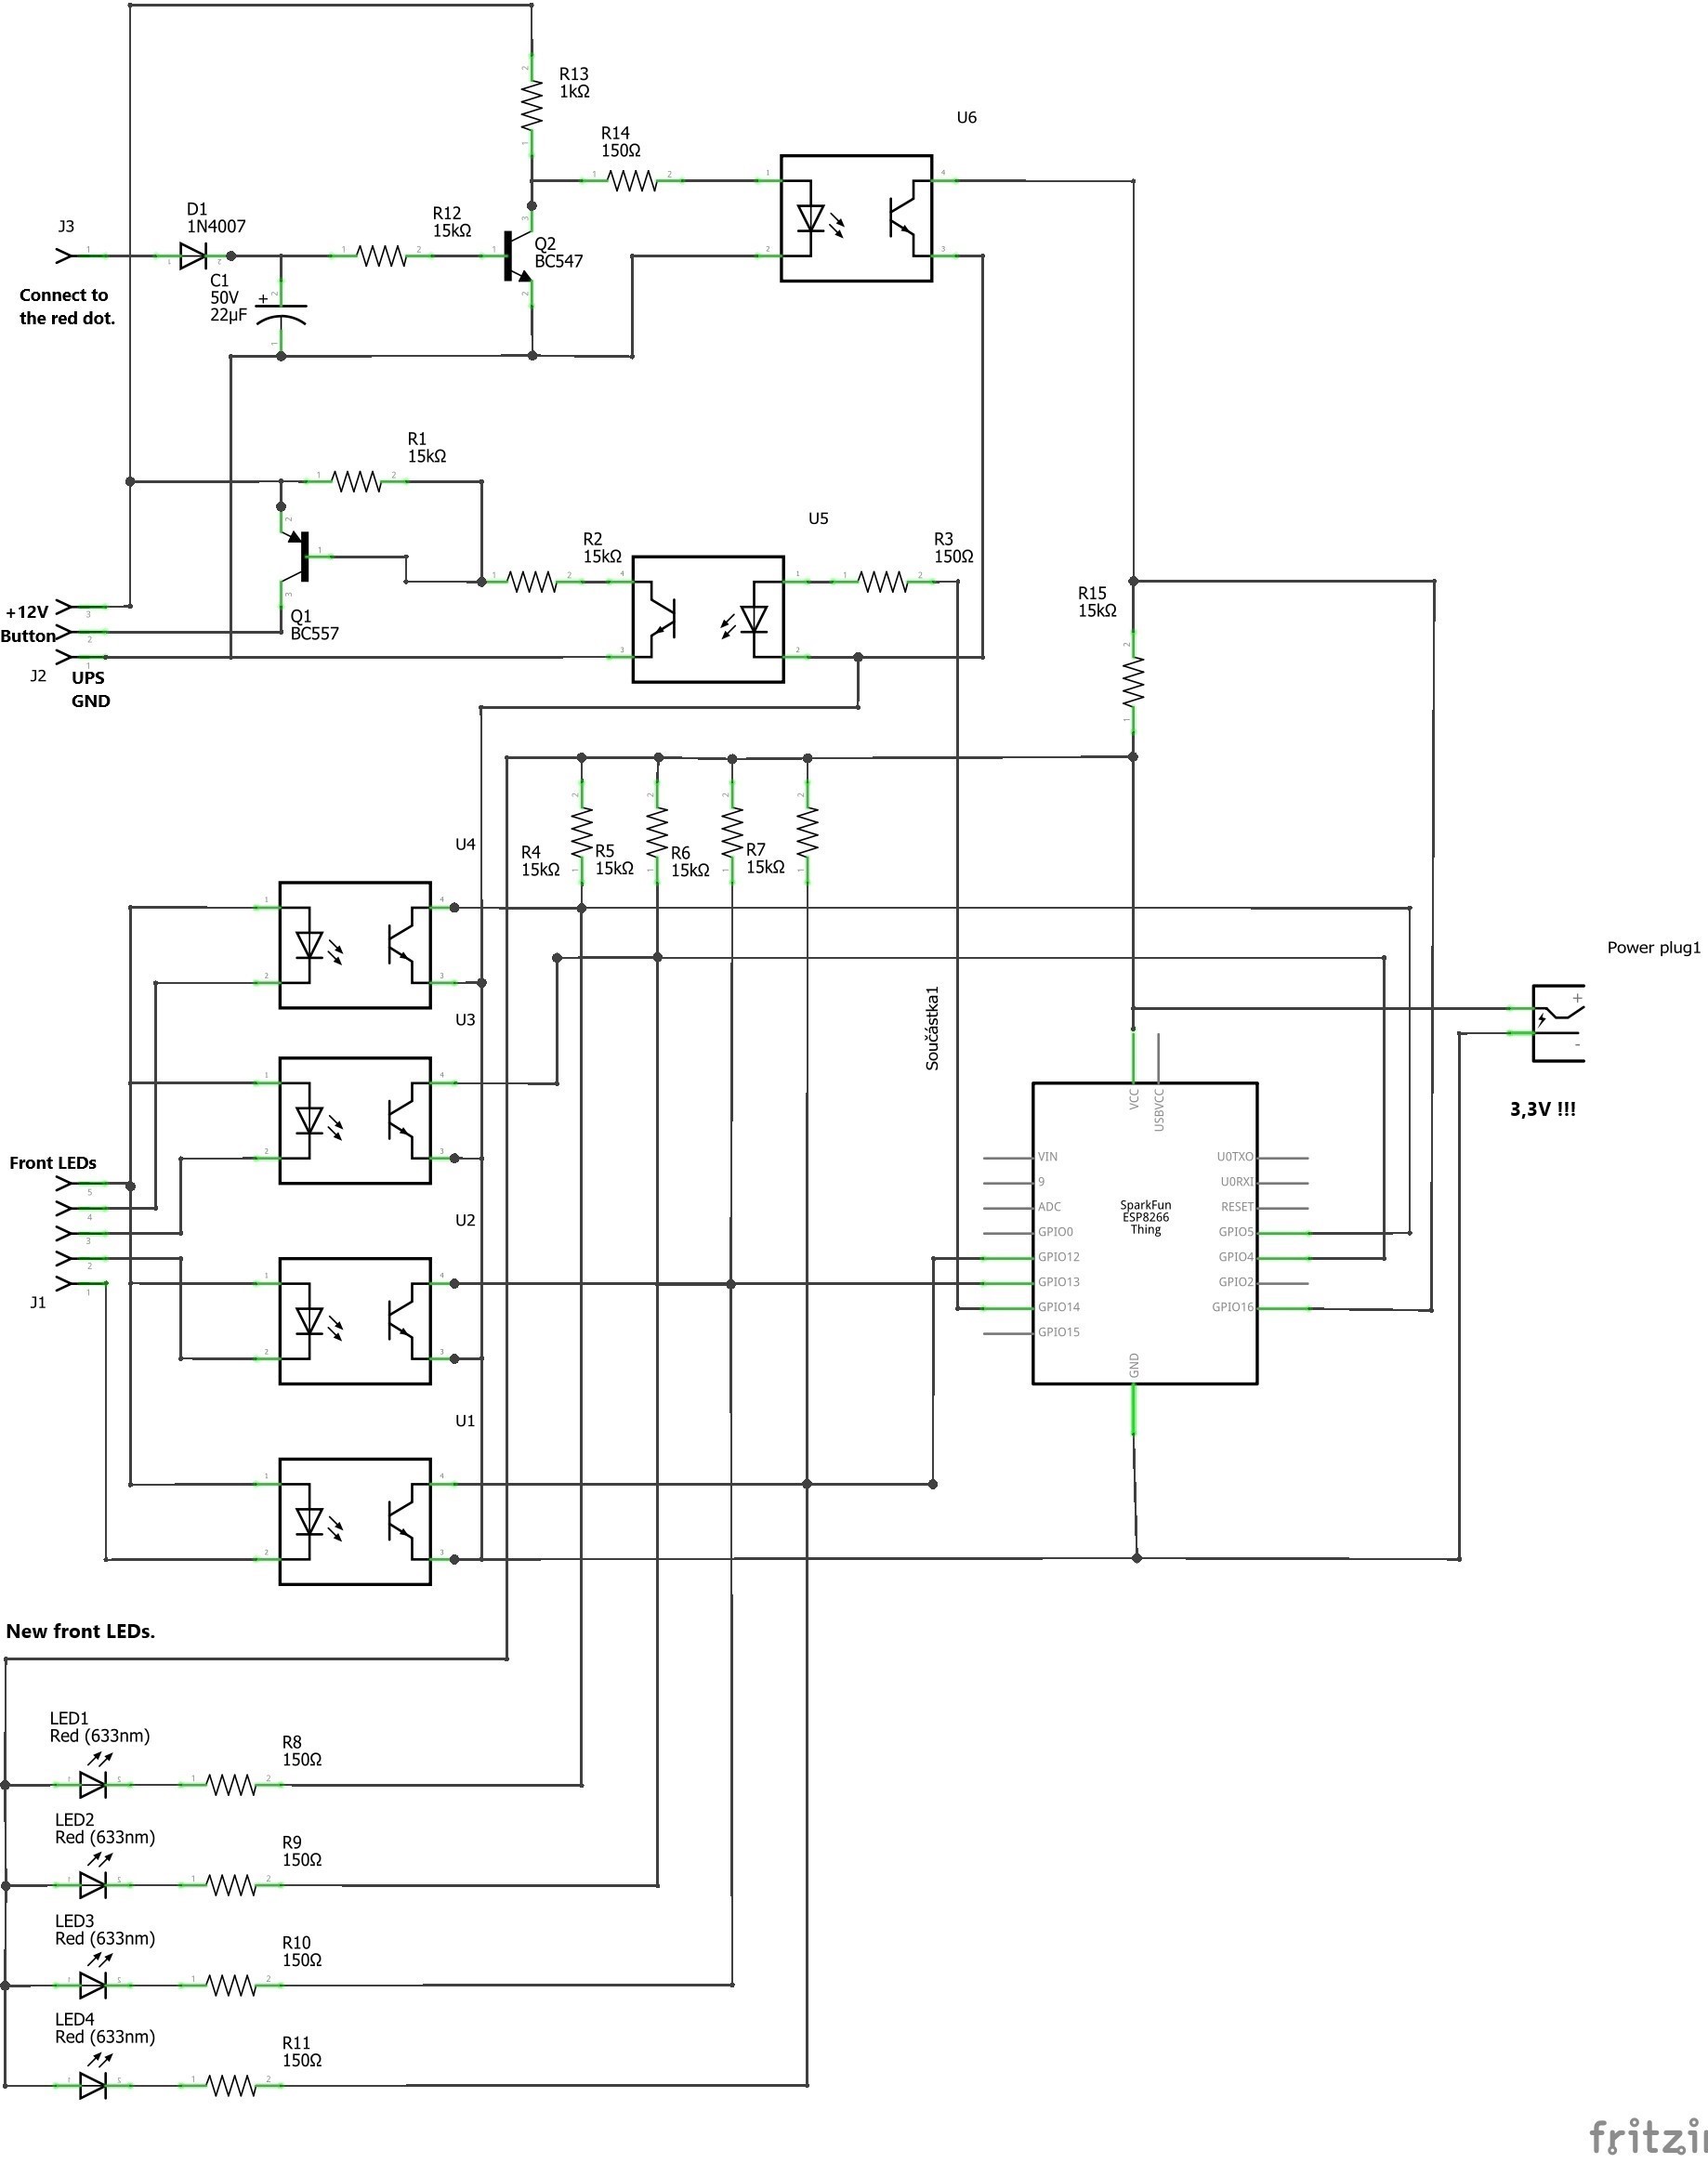
In the final version is the mains voltage sensor, SparkFun ESP8266 Thing Dev board and I replaced the relay as a NPN transistor for more precise switching.
Remove the flat cable between the motherboard and the front panel. Solder the new wires to the motherboard. The wires are from an old IDE cable.
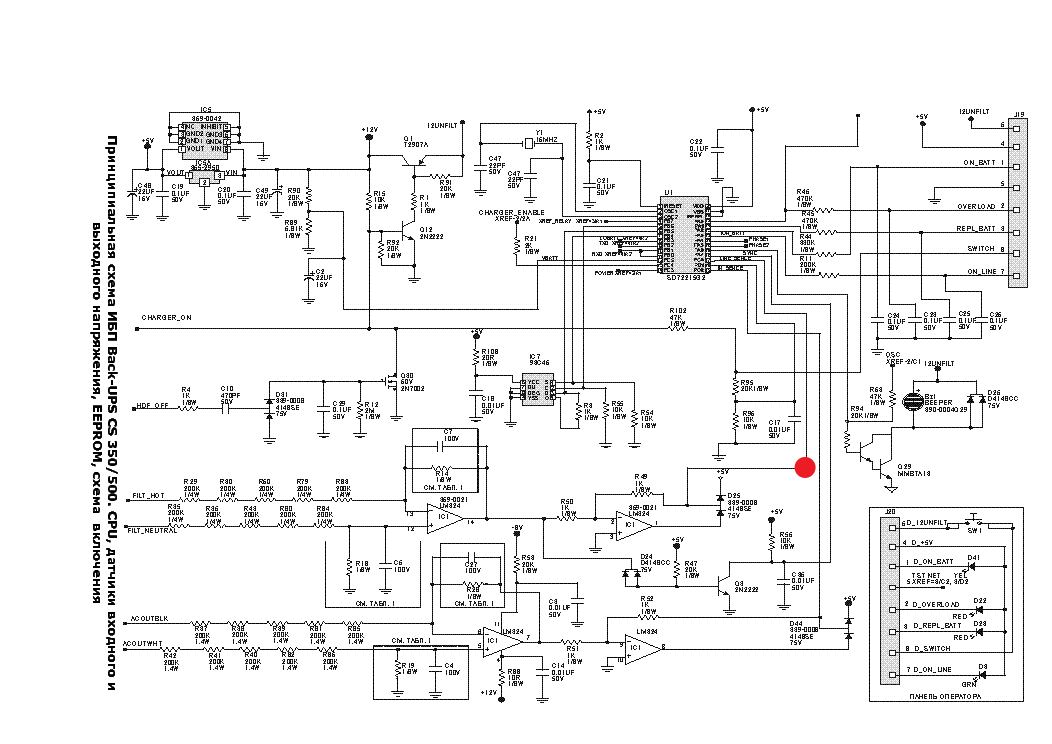
Connect the wires from the motherboard to my circuit (Pin header J1 and J2) according to the UPS schematics. Connect the J3 pin to the red dot in the UPS schematics.
The ESP8266 is powered by a UPS battery. I added a switch to disconnect the ESP8266 from the battery.
I added Step Down Power Supply to change the voltage from 12V to 3.3V. I added a WiFi antenna for better signal.
- Add new: Device/Widget
- MicroController
- SparkFun ESP8266 Thing Dev Board
- Add code to Username, Password and Client ID
- Add code to SSID and Password from your Wi-Fi
- Upload code to the SparkFun ESP8266 Thing Dev Board
- Wait for board to connect
- Plus you add widgets
- Ready to use
Cayenne Dashboard:
When I lose electricity, I receive email and mobile notifications.


_3u05Tpwasz.png?auto=compress%2Cformat&w=40&h=40&fit=fillmax&bg=fff&dpr=2)
Comments