


Hardware components | ||||||
 |
| × | 1 | |||
 |
| × | 1 | |||
| × | 1 | ||||
 |
| × | 1 | |||
| × | 1 | ||||
Software apps and online services | ||||||
 |
| |||||
This product is based on ToF (Time of Flight) principle and integrated with unique optical and electrical designs, so as to achieve stable, precise, high sensitivity and high-speed distance detection.
ToF is the abbreviation of Time of Flight technology, and its operating principle is as follows: a modulated near-infrared light is sent from the sensor and reflected by an object; the distance to the object to be shot can be converted with the sensor by calculating the time difference or phase difference between the light sending and the light reflection, so as to produce the depth information.
In this project, we are going to introduce our Grove-TF Mini LiDAR displayed by not only Serial Port of Arduino IDE, but also Wio Terminal, one of the most popular newly-published products of our Seeed Studio!
Please visit our project on the blog for more interesting stories!
PART IPlay with Arduino
Materials required:
Step 1. Connect Grove-TF-Mini-LiDAR to D2 port of Base Shield and connect Seeeduino to PC through a USB cable.
Step 2. Download the Demo Zip file and copy the whole Seeed_Arduino_TFlidar file and paste it into your Arduino IDE library file.
Step 3. Copy the demo code from Software for PART I into Arduino IDE and upload.
Success
We will see the distance display on the Serial Port. The blue curve is the Distance and the red is Strength.
You could delete Line 42 to Line 43 of the demo code if only the Distance is required:
SERIAL.print("strength = ");
SERIAL.print(SeeedTFLidar.get_strength()); //output signal strength valuePlay with Wio Terminal
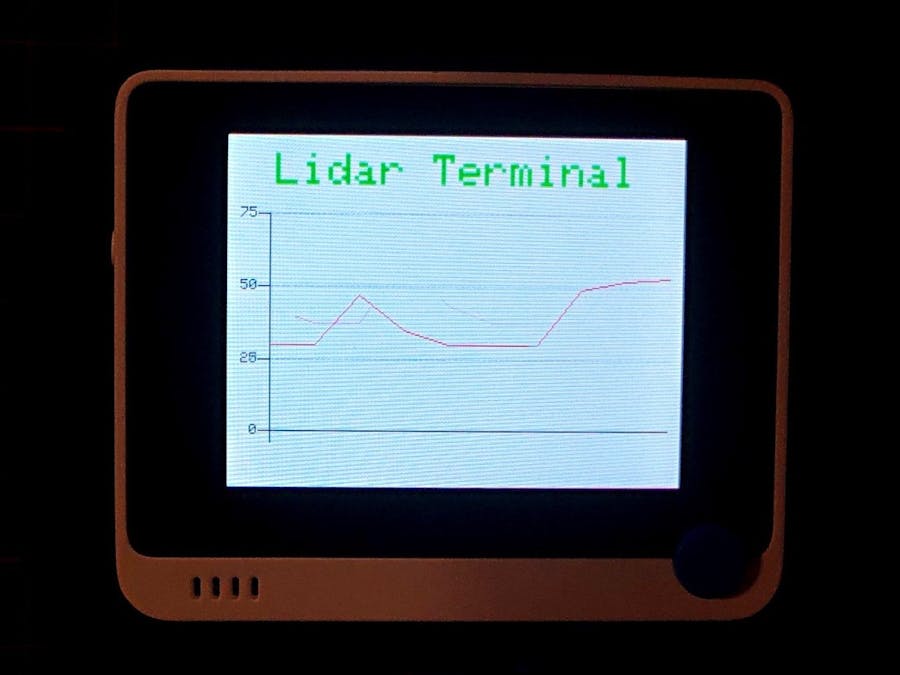
The previous demos are usually illustrating by Serial ports on Arduino IDE, however, in this PART II, it's going to display on Wio Terminal and prepare to be shocked!
Materials required:
- Step 1. Plug Grove-TF-Mini-LiDAR to Wio Terminal via Jumpers and also connect Wio Terminal to PC through a USB cable.
- Step 2. Download the Demo Zip File and copy the whole Seeed_Arduino_Linechart file and paste it into your Arduino IDE library file.
- Step 3. Copy the demo code from Software for PART II below into your Arduino IDE.
Success
An image will display on the screen of Wio terminal as below if everything goes well.


Comments