

Hardware components | ||||||
 |
| × | 1 | |||
| × | 1 | ||||
Hand tools and fabrication machines | ||||||
 |
| |||||
So here's my story:
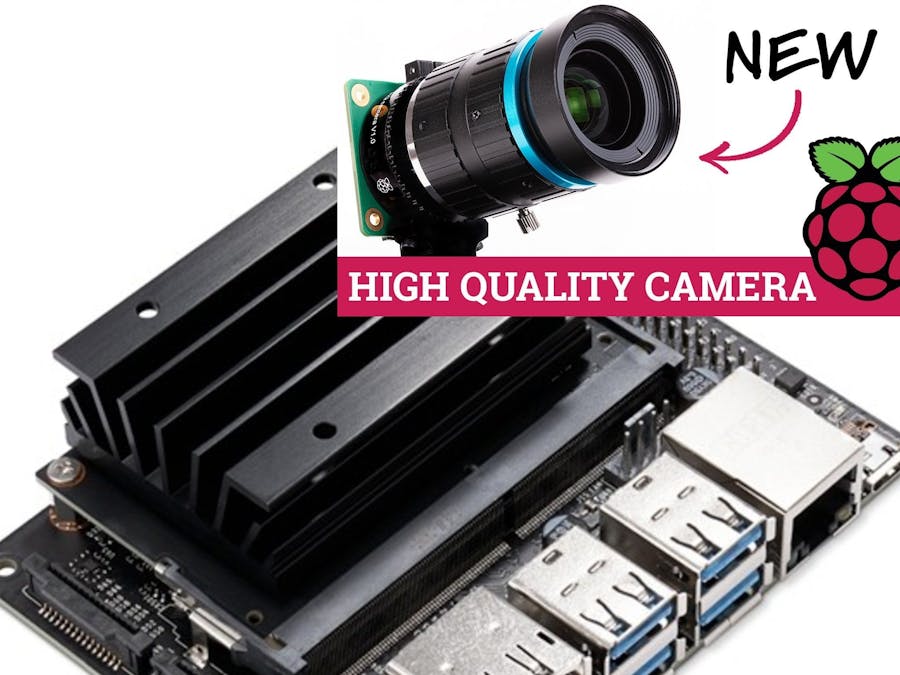
The Jetson Xavier NX came out. I decided to get one. The Raspberry Pi HQ (High Quality) camera had come out at around the same time. I though the two would go well. Add to Cart
The items arrive. I excitedly connect the items up and try to get the camera to work. It doesn't even show up in devices. I google, and find out it's not supported out of the box. Not yet, at-least. (Jetpack 4.4; July 2020)
If you're reading this, chances are you have a similar story. Admit it!
Required Hardware modificationNote that to get the RPi HQ camera to work with the Jetson Nano/Xavier NX device, you need to make a small modification to your HQ camera, by removing R8 resistor. The reason is that Jetson devices use 1.8V reset signal, while the RPi uses 3.3V signal. So unless you remove R8, the camera will stay in reset.
Removal can be done easiy with any soldering iron. Just be careful not to bridge/damage any adjacent component while removing R8.
Note that you will lose your warranty on the device, so only do it if you're willing to take the risk.
The not-so-easy way..RidgeRun, NVIDIA and Leopard Imaging have been collaborating to get the RPi HQ camera supported on the Jetson devices. They have published the solution so far, and the procedure here:
https://github.com/RidgeRun/NVIDIA-Jetson-IMX477-RPIV3
Bad news is that this requires patching and recompiling the Kernel on a different host machine, and then manually copying over the compiled files to the Jetson. If you're comfortable with it, you should go for it.
The easy way..Personally I was looking for an easier way, and didn't have a Ubuntu host machine and/or enough time to go through the process. So I googled.
I found out that a company called Arducam have, among others, a camera with the same IMV477 sensor. They have used the Kernel patches made available by RidgeRun to get the camera working with Jetson Nano and Jetson Xavier NX. Thankfully, they have made the compiled Kernel modules available. We're going to utilize those.
We assume you already have a working Jetson device, booting into the Ubuntu image. So here are the steps:
1. Download the.deb package:
The modules are available for Jetson Nano and Xavier NX in separate folders. From your Jetson, click one of the following:
Nano: https://github.com/ArduCAM/MIPI_Camera/tree/master/Jetson/IMX477/driver/Nano
Xavier NX: https://github.com/ArduCAM/MIPI_Camera/tree/master/Jetson/IMX477/driver/XavierNx
Go to the respective link, click the file relevant to your kernel, and click the "Download" button. The file will be downloaded to your ~/Downloads folder.
Note: The driver package should match with your current kernel version and L4T release number. To determine the L4T release number:
cat /etc/nv_tegra_releaseTo determine kernel number:
uname -aYou can match the displayed numbers with the numbers in file name.
2. Install package:
Go to the downloads folder
cd ~/DownloadsRun the installation
sudo dpkg -i xxx.debReplace the "xxx" with the name of the downloaded file.
3. Reboot and Enjoy!
Reboot the device and we're done! You can see if the installation was successful by checking output of the following command:
ls /dev/vid*If the device exists, you will see something like this:
Now, you can use gstreamer pipelines to view the camera feed. Some example pipelines are as below. For 1080p/60 video
SENSOR_ID=0 # 0 for CAM0 and 1 for CAM1 ports
FRAMERATE=60 # Framerate can go from 2 to 60 for 1920x1080 mode
gst-launch-1.0 nvarguscamerasrc sensor-id=$SENSOR_ID ! "video/x-raw(memory:NVMM),width=1920,height=1080,framerate=$FRAMERATE/1" ! nvvidconv ! nveglglessink
and for highest quality video (4032x3040 @30fps)
SENSOR_ID=0 # 0 for CAM0 and 1 for CAM1 ports
FRAMERATE=30 # Framerate can go from 2 to 30 for 4032x3040 mode
gst-launch-1.0 nvarguscamerasrc sensor-id=$SENSOR_ID ! "video/x-raw(memory:NVMM),width=4032,height=3040,framerate=$FRAMERATE/1" ! nvvidconv ! "video/x-raw(memory:NVMM),width=1920,height=1080,framerate=$FRAMERATE/1" ! nvvidconv ! nveglglessinkIf you, like myself, are booting from SSD, using the method given here (https://github.com/jetsonhacks/rootOnNVMe) then this will not work. Reason is that the device loads the driver from the SD card before switching root to the SSD. Since the new kernel module is installed on the SSD filesystem, it doesn't get loaded.
The solution is simple.
1. Switch to booting back from SDCard, open up a terminal in your SD Card (not your SSD file system), change to /etc folder and type
sudo rm setssdroot.confAfter that, reboot. Now it should reboot back into the SDCard filesystem.
2. Follow all the steps given in the previous section. This will install the kernel module in the SDCard file system. You should now be able to get it working quick.
3. Now, to change back to booting from the SSD, open a terminal, and execute the following command:
sudo touch /etc/setssdroot.confreboot.
The RPi HQ camera should still work, even though we've switched root back to the SSD now.
Uninstall/Roolback driverTo uninstall/rollback driver, use the following command
sudo dpkg -r arducam-nvidia-l4t-kernel1. To check what files/folders are being added by the.deb package installation, you can use the following command:
dpkg-deb -c xxx.debThe above assumes you're in the same folder as the.deb package, and replace xxx with the actual file name.
Issues:1. The Image/video from the camera is inverted by default.
UPDATE: You can add the following pipeline element before displaying image, to correct image orientation:
! nvvidconv flip-method=2 !
2. I notice a significant lag in the video. Usually i expect a super low latency video from CSI cameras. I haven't measured it yet, but my guess would be upwards of 300ms for this one. I am hoping this is due to a non-optimized driver, and that it will improve in future. To be investigated further.


Comments