

Hardware components | ||||||
_ztBMuBhMHo.jpg?auto=compress%2Cformat&w=48&h=48&fit=fill&bg=ffffff) |
| × | 1 | |||
 |
| × | 1 | |||
 |
| × | 1 | |||
 |
| × | 1 | |||
 |
| × | 1 | |||
 |
| × | 1 | |||
Software apps and online services | ||||||
 |
| |||||
 |
| |||||
As you probably know the most common way to connect a button to Arduino is to do something like this:
Now, this isn't wrong to do it this way, but there is an easier and better way that you may not know about!
So as you can see in the picture there are three wires and one resistor connected to the button. One wire for Ground, one wire for 5V, and one wire that connects to a digital pin. Also a 100 ohm resistor. Though, we can do this same thing with only 2 connections and no resistor will be needed! The explanation is as follows.
Explanation:So, the way/reason we can connect a button to Arduino with only 2 connections and NO resistor is actually quite simple. Basically, each digital pin has an internal pull-up resistor that we can access through software. These pull-up resistors have values that range normally from 20K - 50K ohms. To do this through software all we have to do is set the pinMode() of a digital pin to INPUT_PULLUP. Doing this "reverses" the way an input pin works, where HIGH would mean off and LOW means on. And when we give a pin the mode INPUT_PULLUP the other end of the component is supposed to be connected to Ground. Therefore, using Arduino's internal pull-up resistors allows us to not have to use an external resistor and using this has some other nice advantages.
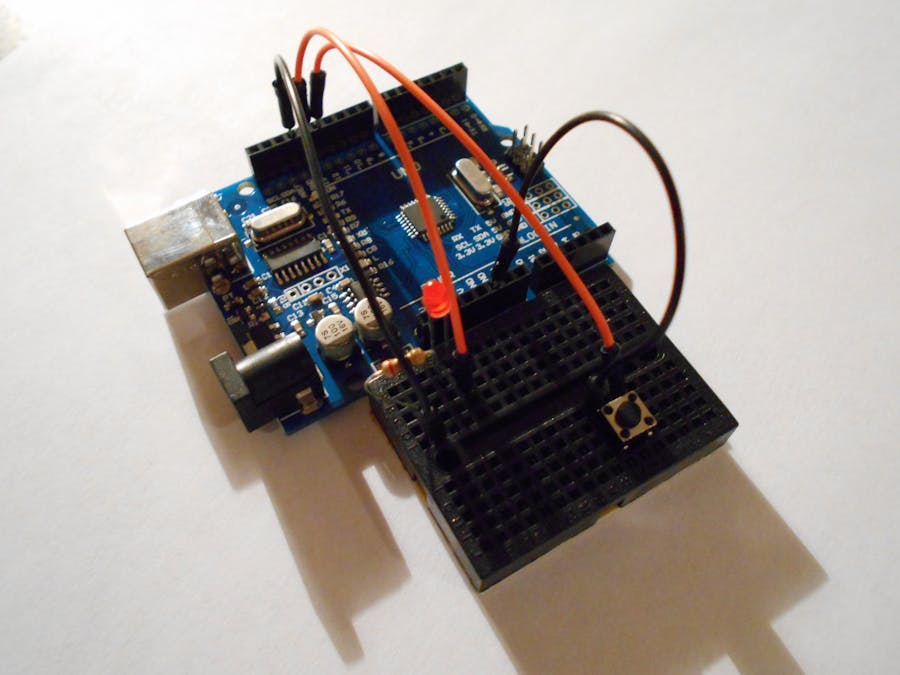
Now that we have learned about Arduino's internal pull-up resistors and how it works, now's the time to apply it to our application. In this example we are going to use an LED along with our push button to see it in action. Let's look at the circuit.
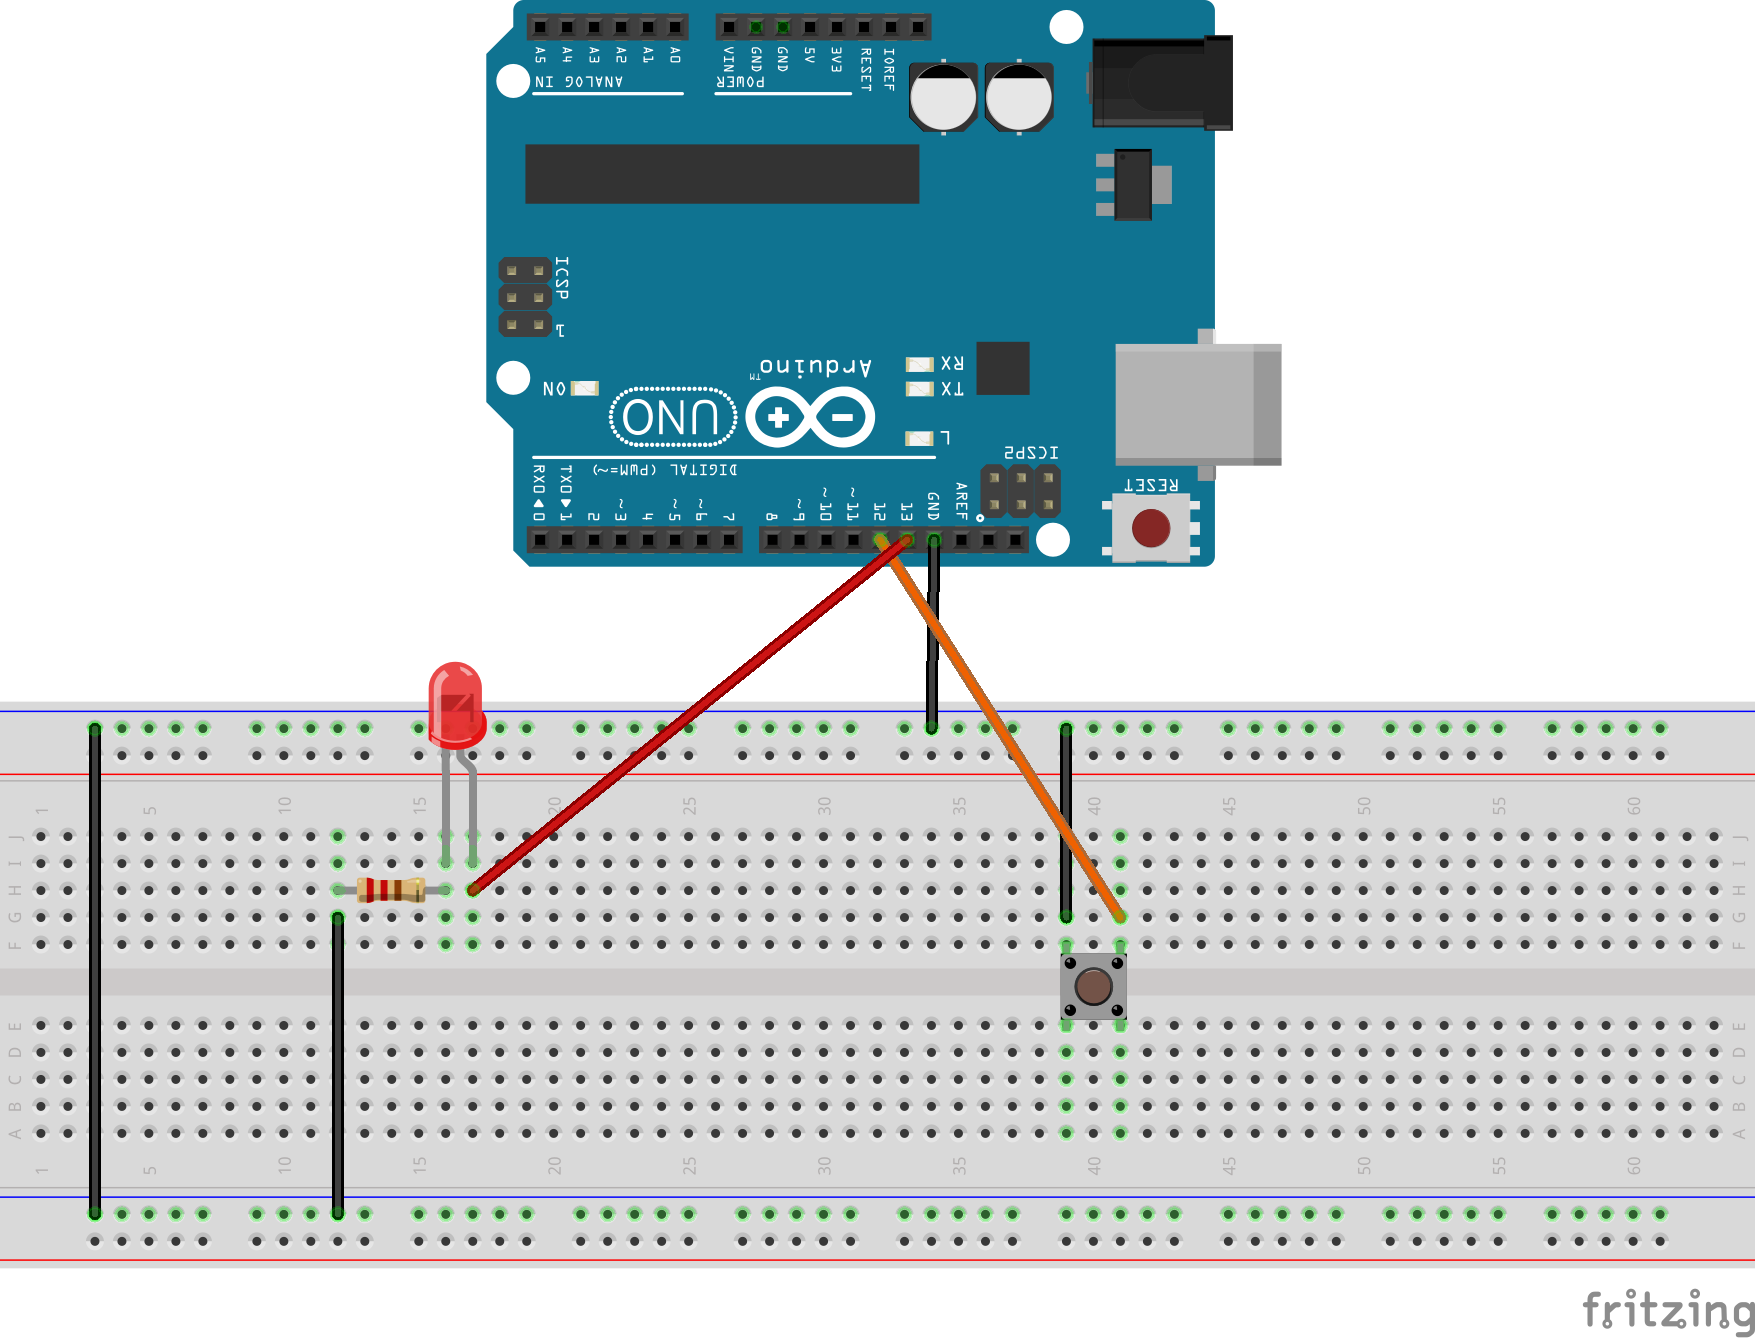
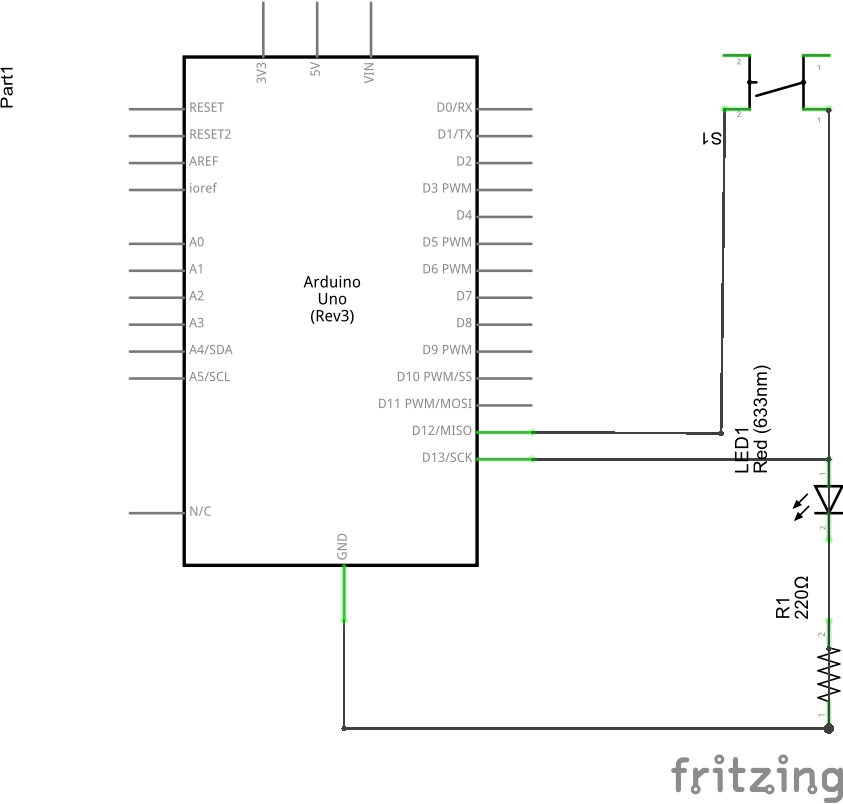
The Circuit
As you can see from the Breadboard diagram below we are using one wire to connect one pin of the button to ground, and another wire connected to digital pin 12. See how simple that is! Now on to the LED. The anode (longer lead) is connected to digital pin 13, and the cathode (shorter lead) is connected to a resistor that is going to ground. Now on to the software part of this project.
The Code
You can see the code by just clicking on the section named Code in the Table of Contents. You've probably noticed that this sketch looks very similar to the built-in Button example in the Arduino IDE. And you're right, it is very similar to the Button example but it has a few small changes. One difference is that I don't use the variable buttonState, but you can if you wish. Now we come to the most important difference, the difference that makes this work. The difference is that instead of setting the mode of the button to INPUT, I set it to INPUT_PULLUP. I have already explained why so in the Explanation section. There's one last change we have to make.
As I talked about earlier the INPUT_PULLUP works basically in the opposite manner than the INPUT mode. Meaning that HIGH actually means the component is off and LOW means the component is on. So, when the button is not being pressed the state of the button will remain HIGH, but when the button is pressed the state will change to LOW. So in our sketch we have to say if the button reads LOW turn the LED on, and if the button reads HIGH turn the LED off. Now try it out, when you press the button the LED should turn on and when you don't press the button it should remain off. If not double check over the circuit and the code.
So I hope from this tutorial that you've learned something new, and can apply it in your future projects.
-SMM2


_3u05Tpwasz.png?auto=compress%2Cformat&w=40&h=40&fit=fillmax&bg=fff&dpr=2)
Comments