

Hardware components | ||||||
| × | 1 | ||||
 |
| × | 1 | |||
 |
| × | 1 | |||
 |
| × | 1 | |||
Software apps and online services | ||||||
| ||||||
Phone Locator is used to locate your phone or if you can think of some other things to attach this to... With the help of Blynk, an email will be sent at the push of a button and it will give you the coordinates of the phone or (?).
You will need to have a Blynk account for this project (as is) to work. Since I am new to the IoT, there may be other services or ways to do this.
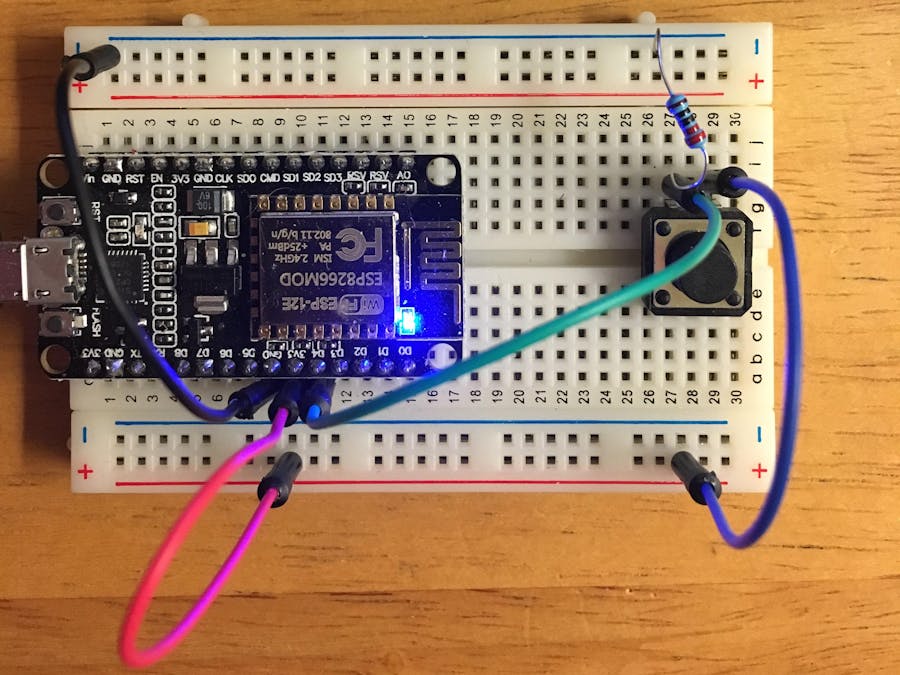
This is very basic. As I said, I am new to programming and the IoT and I find this very exciting. While reading Adrian Florian's project I thought there had to be a way to do this without an Arduino Yun, enter the ESP8266-12E. This particular model I purchased from Arducam and I love it.
The project works really simply, whenever the user presses a button, The NodeMCU ESP8266-12E will read the phone's Geolocation and send the user an email.
So ESP8266 --> Blynk --> Email
A response from the ESP8266-12E will be received in just a few seconds from the press of the button if the phone is located. ** Please be sure that the Blynk project on the phone is on.
I created this project from Adrian Florian's inspirational posting. So a huge shout out to him!
I have tested this with an iphone and it works. Although chances are, the code can be re-worked and improved upon. I noticed I get two emails, one stating that toSend has been activated and then another with the Geolocation of the phone. Also I have three apps running in Blynk; 1) email, 2) GPS, and 3) a Map. I am a little weary of the coordinates "posting" versus where is says I am at, so more testing needs to be done. But, it does work.
Please let me know what you think and please share how it can be improved upon.
Cheers,
PureCoffee
"Steve"


_3u05Tpwasz.png?auto=compress%2Cformat&w=40&h=40&fit=fillmax&bg=fff&dpr=2)
Comments