


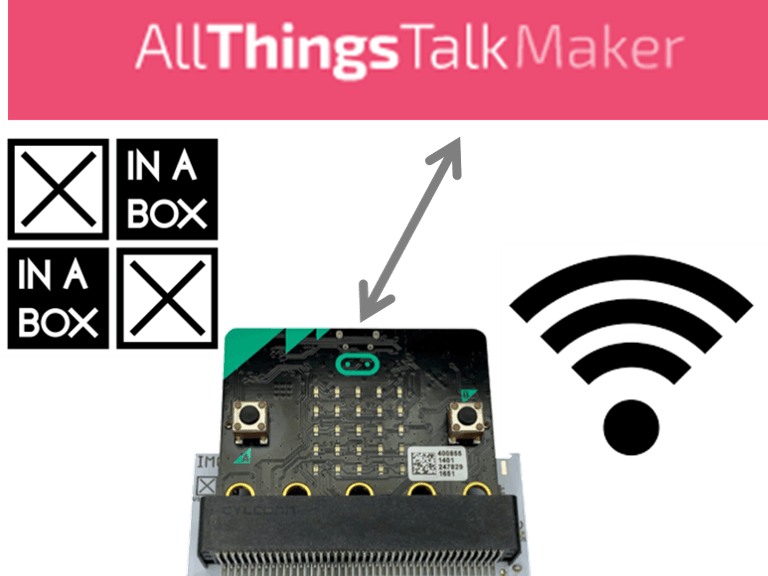
Hardware components | ||||||
 |
| × | 1 | |||
 |
| × | 1 | |||
| × | 1 | ||||
 |
| × | 1 | |||
Software apps and online services | ||||||
 |
| |||||
Sending data to an IoT platform using a BBC micro:bit is very easy and unlocks some great use cases, especially relating to data collection and analysis.
But to get the full potential from your IoT applications it is also helpful to know how to send data from the IoT platform to your BBC micro:bit. In this quick project we'll look at how to do that.
FYI - the process of sending data to an IoT platform (in this case AllThingsTalk) is detailed in this Wakelet.
To set up a 2-way communication link with our IoT platform we need to work through a few steps:
1. Setting up the IoT platform
2. Creating the right asset type in the IoT platform
3. Coding the BBC micro:bit
4. Running / testing the code.
--------------------------------------------------------
1. Setting up theIoT platform:
In this project we use the AllThingsTalk (ATT) Maker platform.
The Wakelet linked to above (this one) will take you through the steps required to set up your ATT IoT platform (which is free, thanks ATT :).
Work through this Wakelet and ensure that you have setup a Ground and a Device. You will need the Device ID and Token in Section 3.
We recommend that you use the code in the Wakelet to test that your micro:bit is connecting correctly to ATT.
--------------------------------------------------------
2. Creating the right asset type in the IoT platform:Follow the steps below to set up an Asset that will communicate data from ATT to your micro:bit:
- In the device view (see below) click on New Asset.
- Select kind = Actuator and choose type = Boolean. Give the Actuator a name (we use it in our code in Section 3). Click Create Asset:
You may need to refresh your browser for the new Asset you have just created to show up in the Asset view. Ensure that the asset is listed before proceeding to the next step.
- Click on the 3 dots that show next to the Asset (see below). Then select Pin to Board from the menu. You will need to choose which board the asset is pinned to, or create a new board if necessary:
When a Boolean actuator is added to a board a toggle button is shown (see below). By clicking on the button you change the state of the asset. When the state of the asset is changed this data is communicated, and we are going to pick up this communication in our micro:bit.
Stay in the Board view - we will use that in Section 4.
--------------------------------------------------------
3. Coding the BBC micro:bit:Step 1: Open MakeCode and create a new project.
Step 2: Import the extension listed below:
- xinabox/pxt-CW01_ATT
Step 3: Write code that looks like this:
Make sure you edit the following in the code:
- Wi-Fi credentials
- Device ID and token
- Asset name (in On Start: see the CW01 Subscribe to block)
Step 4: Flash the code to your micro:bit.
--------------------------------------------------------
4. Running / testing the code:To power up the instrument do the following EXACTLY as detailed:
- Connect the CW01 to the IM01.
- Add power to the IM01.
- Confirm that the CW01 is BLUE (or RED... NEVER GREEN).
- When the CW01 is Blue (or red) plug in your microbit.
- Ensure that a checker-pattern is showing on your microbit - if not click reset until you see the checker pattern
Now wait a bit - the micro:bit should go through the following phases (identifiable by what is showing on the LEDs):
1: a checker pattern. This means the device is searching for Wi-Fi.
2: a "C". This means that the device has found and connected to the Wi-Fi network. If you see a "D" it means the device has not been able to connect - this happens occasionally and you should try reset the device to see if it works next time. If you continue to get a D then there is a problem - check your Wi-Fi credential and ensure the network is up and available.
3: three dots. This means that the device is trying to establish a connection to the ATT platform
4: A blank screen followed by a hash sign. The hash sign indicates that the device has successfully subscribed to ATT - which means it is listening for data that is being sent by ATT.
With the hash sign showing on the micro:bit LEDs we are ready to send data from ATT:
- Go to the Board in the ATT platform where the Actuator asset is shown as a toggle button
- Click on the button.
Watch your micro:bit - when the message is received from ATT a smiley face will show on the LEDs.
Click the A-button on the micro:bit to clear the LEDs. Then click the toggle button in the ATT Board again to confirm that it triggers the smiley face to show up on your micro:bit.
...
The code we have written is very basic - we don't even check if the data received actually pertains to the actuator asset we set up - the smiley face is shown regardless of the data sent by ATT. But this project is only meant to go as far as the "Hello World!" of online actuators and can be adapted and extended.
Good luck and thanks for reading :)
This project is meant to be easy to read and relatively simple to implement. It shows you how to achieve a useful outcome without labouring on irrelevant technical details. If you like this style please check out my book: Beginning Data Science, IoT and AI Using Single Board Computers.


Comments