MEGA BREAD - IR Linking - Atari JoysticksFor use with robotics control when completed as a whole project. The joysticks are recovered from a bygone era of my time, '80s when computers were just taking off. Anyway, these joysticks are infrared, they work, and both have different signals, but on the same timings frequency.
One of them is a master having the reset, next, and select menu buttons on it. The other does not.
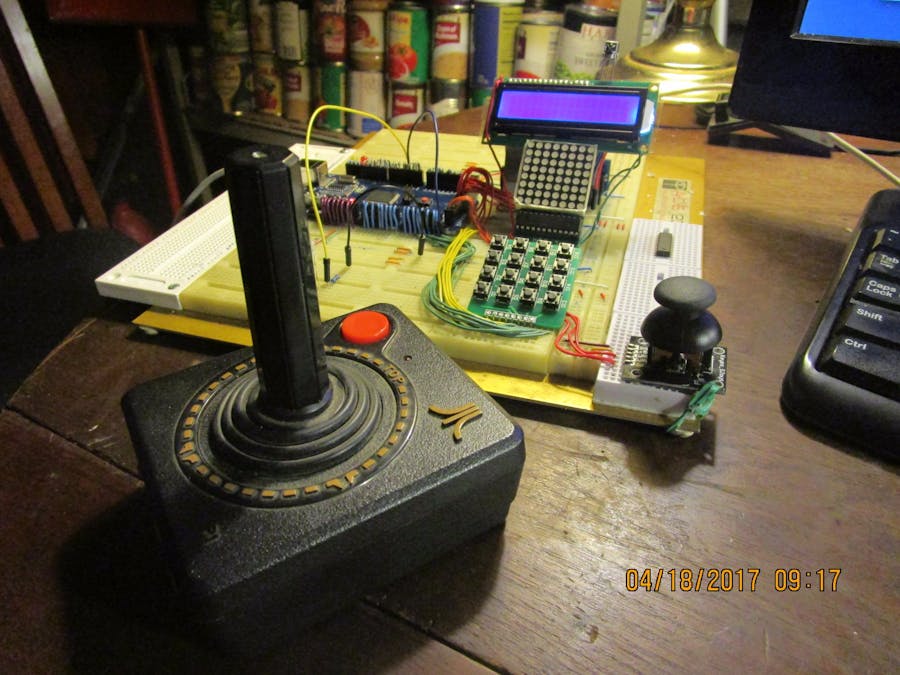
1 / 4 • The oldie but goodie joysticks
Now to the usage video. These joysticks send out some funky monkey types of signals as you will see, I traced it down to three variables that needed to be worked out.
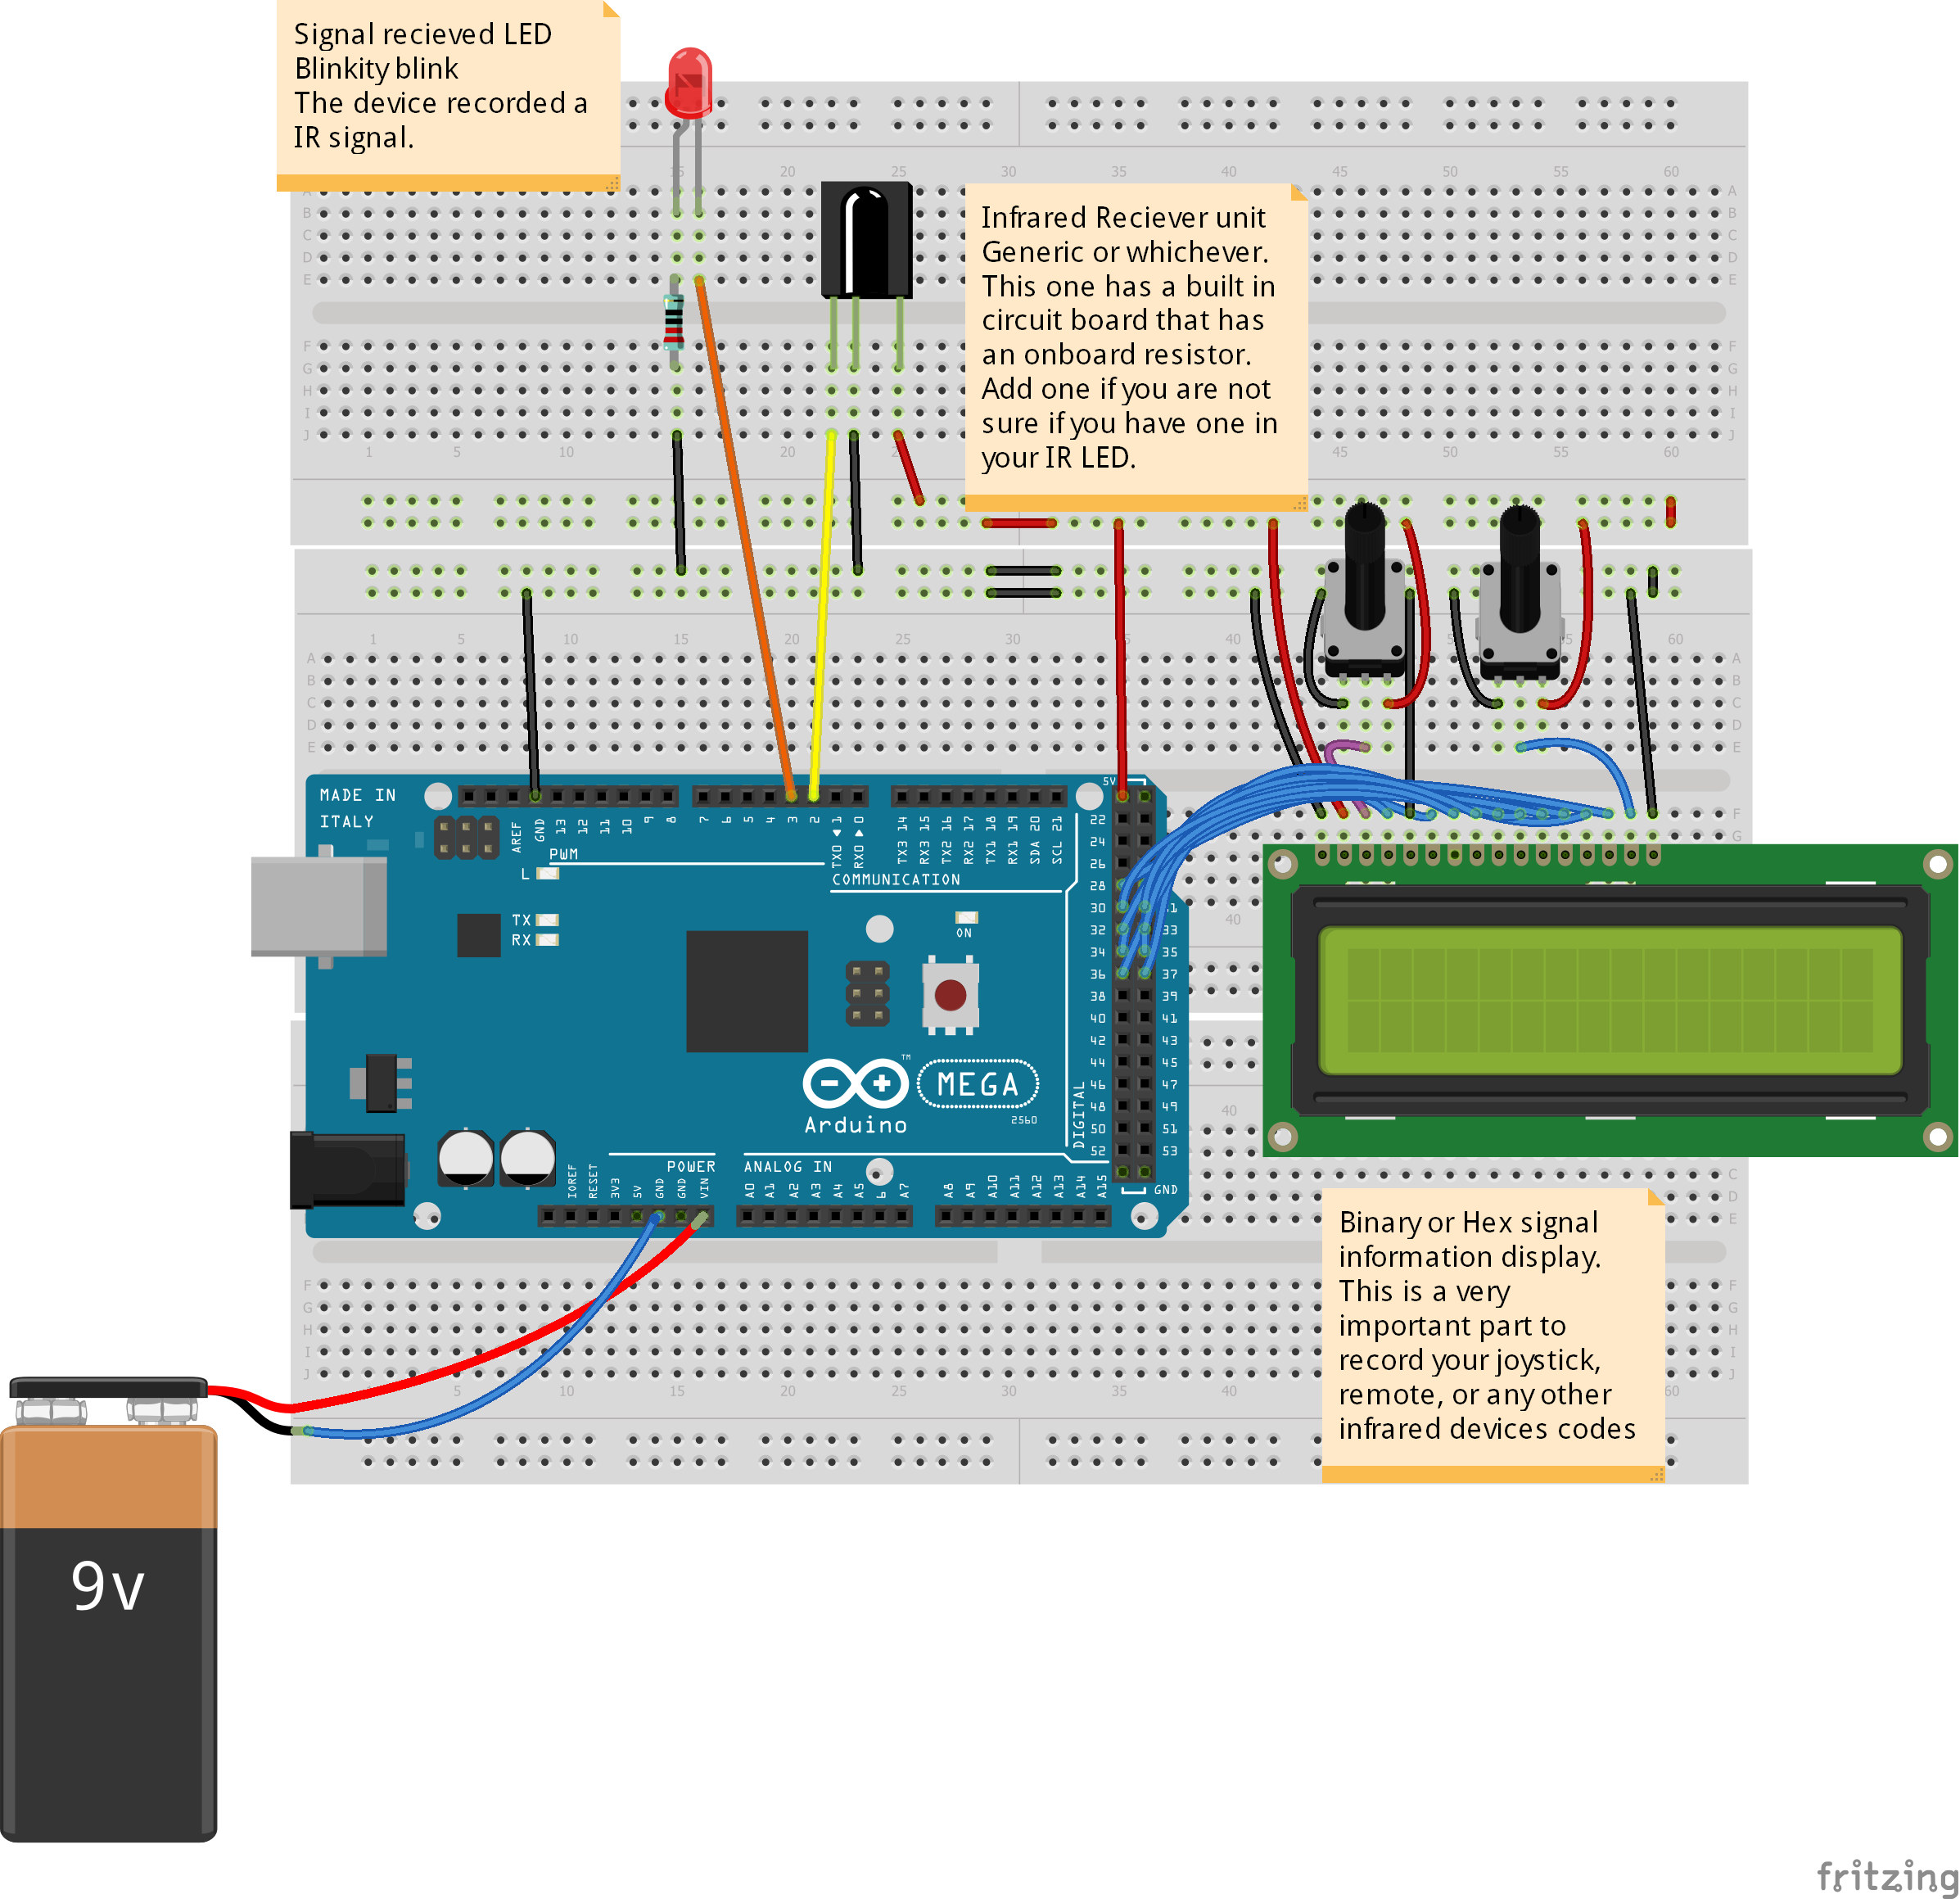
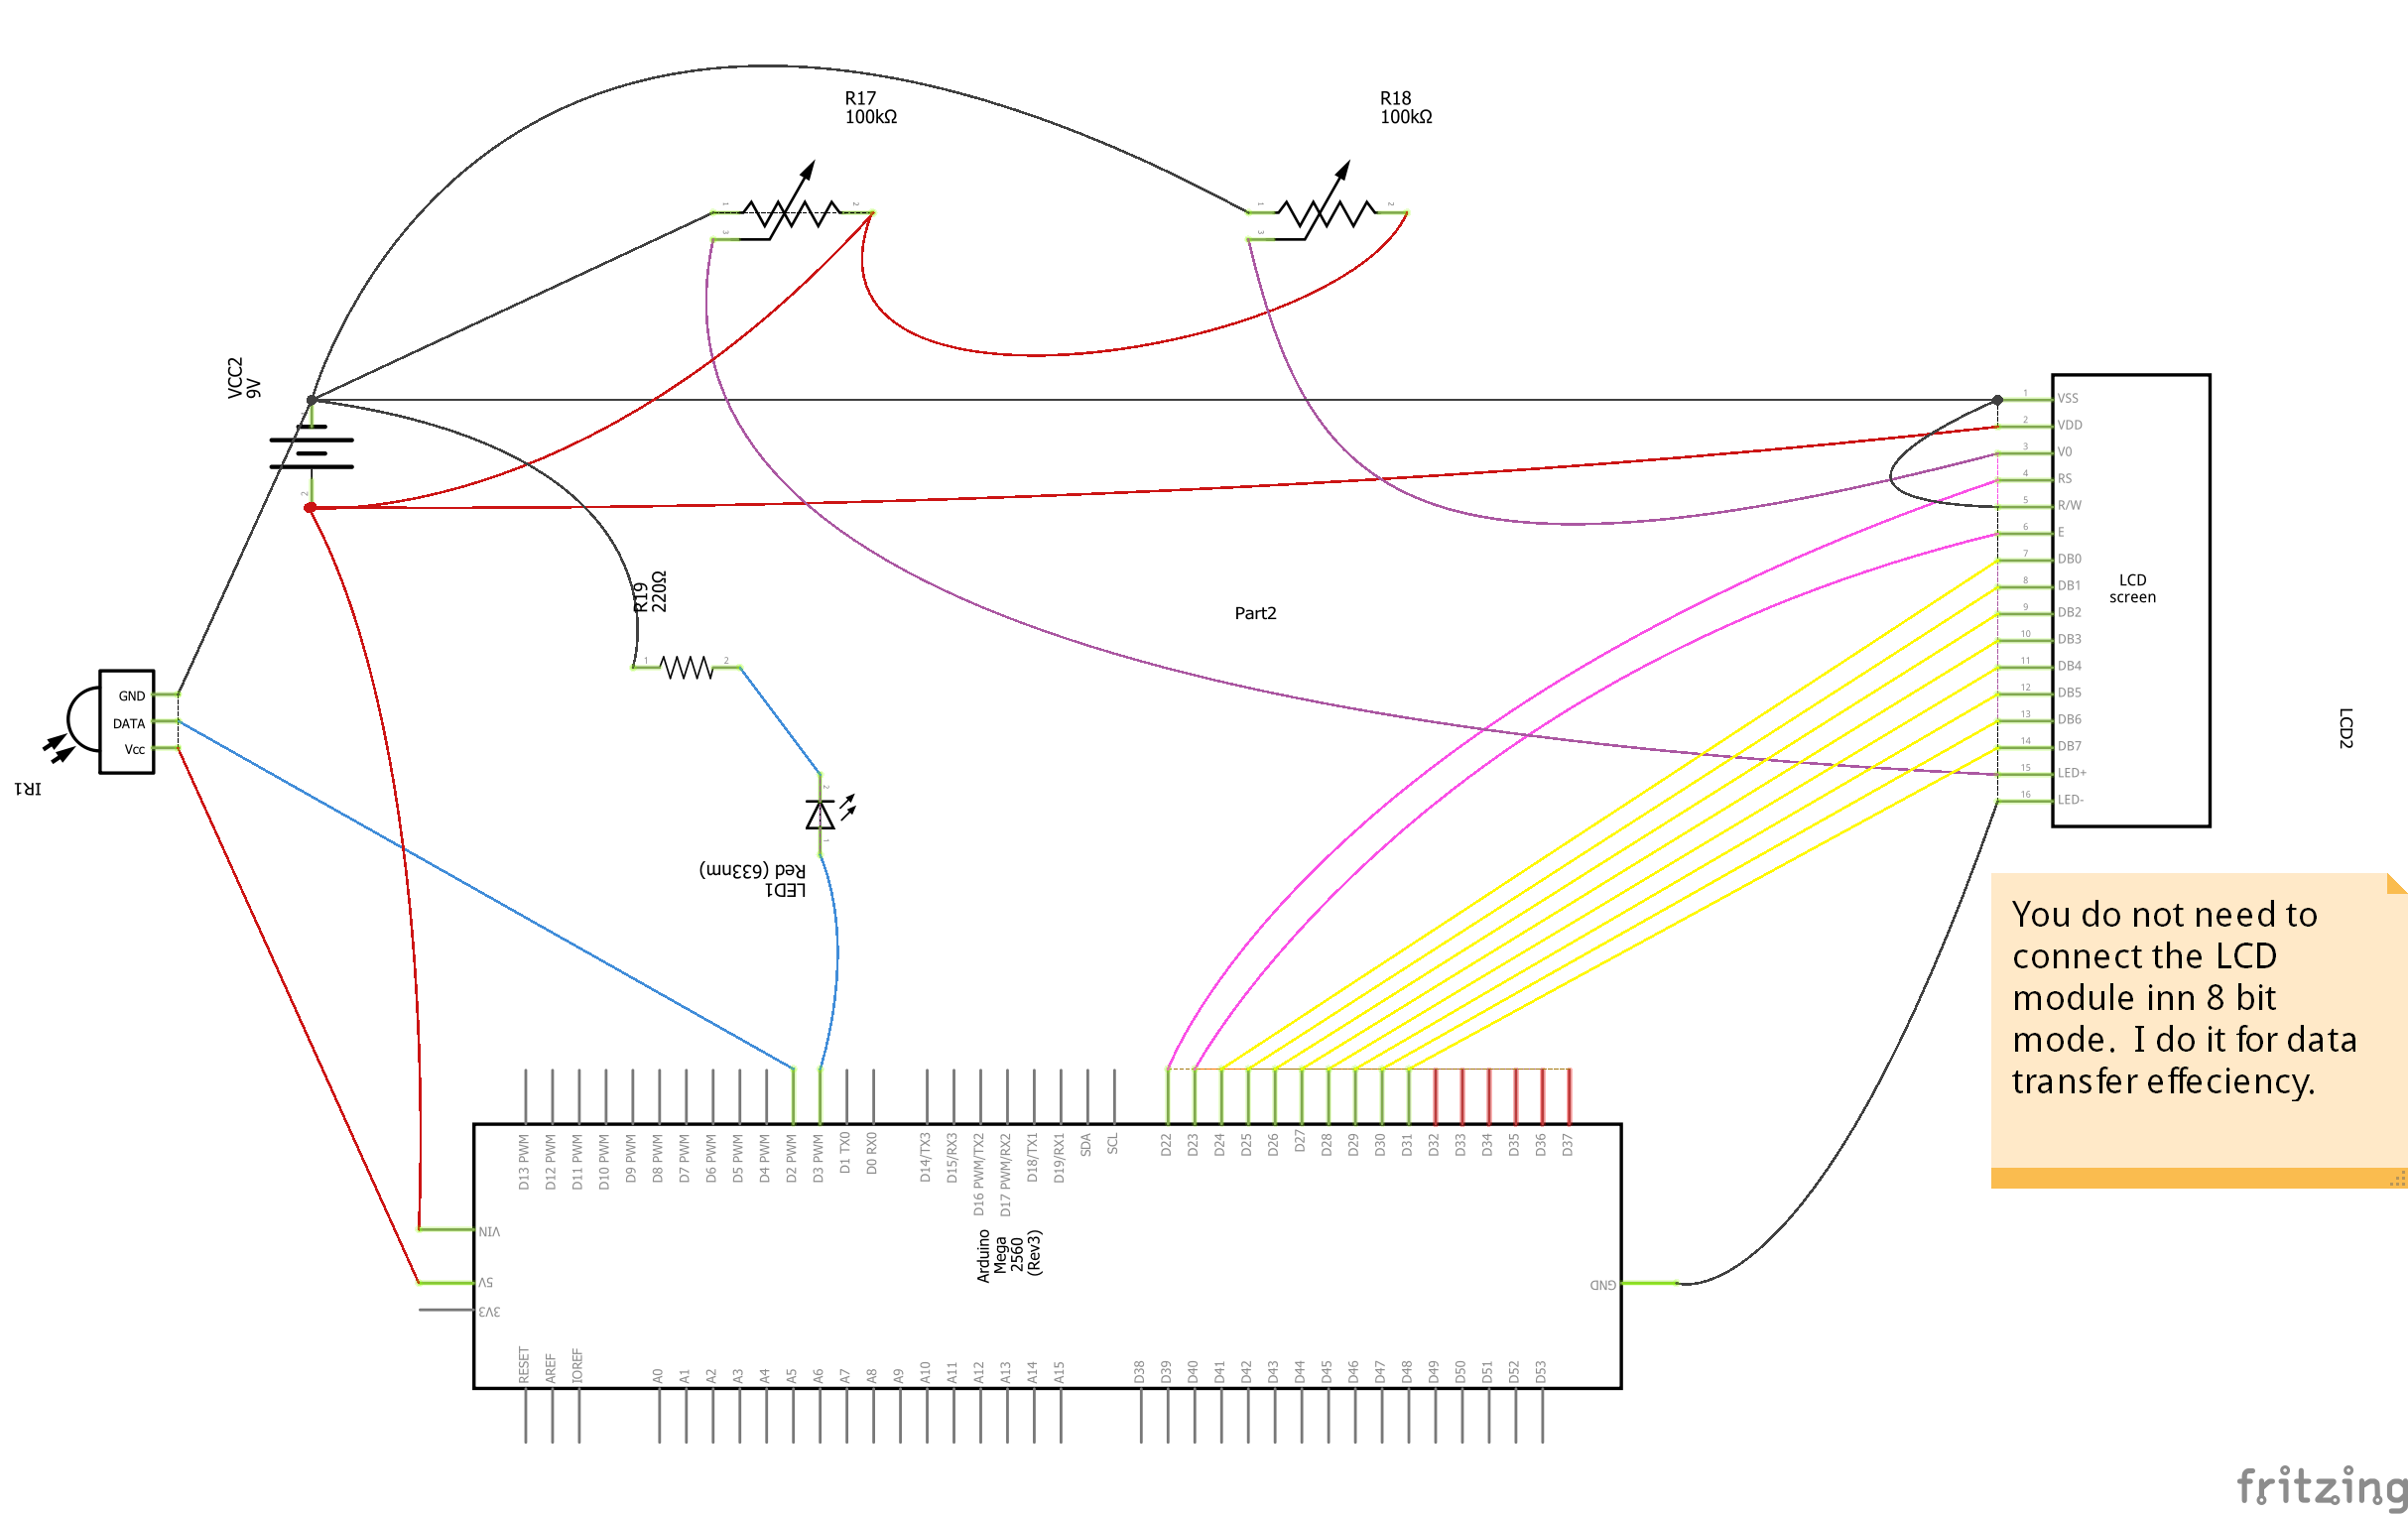
- Receive the IR signal from one of the joysticks.
- Set a slight delay to allow the IR device to decipher the signal, for these joysticks it was around 15 to 20 milliseconds.
- Await the joysticks "End of Transmission" code. This set sends out a third IR pulse at the end, and it is always the same. It is an end of activity signal of sorts.
Watch the video to see what I am talking about:
Now in the near future, and after robots take over the world.
I will have my secret robot control device to get em good. :)I tested this setup with all of the below pictured Infrared remotes and devices.
ALL of them worked first try.
All of these devices were able to be decoded first try.
I will update the code for this shortly.


Comments