

Hardware components | ||||||
 |
| × | 1 | |||
 |
| × | 1 | |||
 |
| × | 1 | |||
 |
| × | 1 | |||
 |
| × | 1 | |||
We will talk about the project step by step, trying to cover all of its aspects.
We divided the project into two basic parts: the Audio module where you should connect the module with a computer to use the terminal(e.g. Realterm) and use the CLI command "playfile" and the second one is the SD-card module where the wave file is saved.
This process is divided into 6 steps:...
1)Writing the CLI command.
2)Send a message to the SD card module to check if it contains the wave file.
3)Sending a message confirmation message to the audio module.
4)Adjust DMA and DAC and timer settings.
5)Start streaming between two modules.
6)Reset themselves to receiving messages again.
Note: you need to build fixed topology, for more info you can visit the website:
https://hexabitz.com/docs/how-to/make-a-pre-built-array-topology-file/
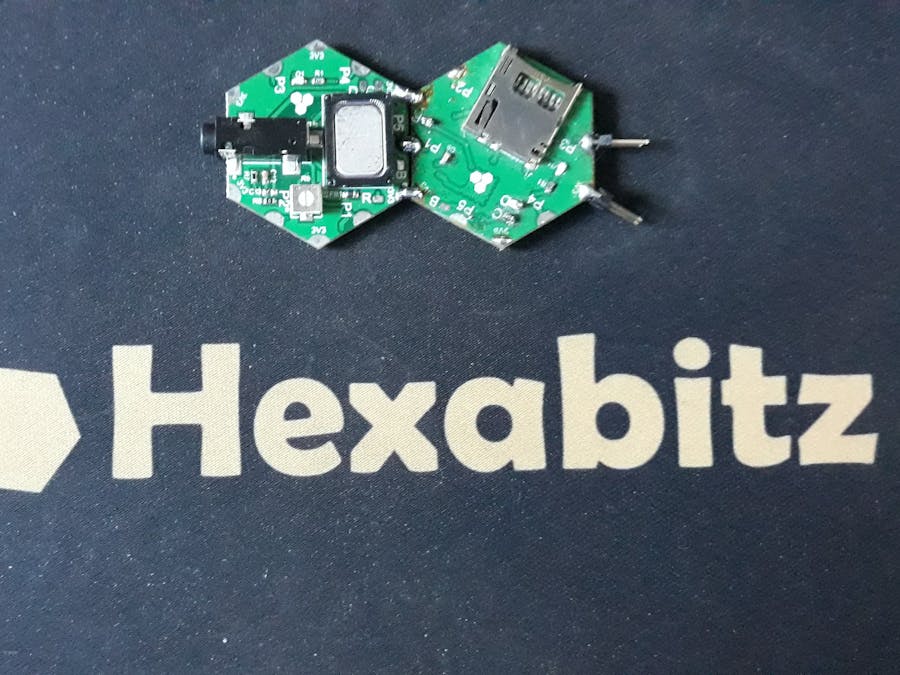
https://hexabitz.com/product/audio-speaker-and-headphone-jack-h07r3x/
in this step, you can use CLI command "playfile (wave file name)" as shown below
This module sends the name of the wave file that you want to play, it sends a message that contains the name of the wave file, then the SD card module checks the card and make sure that it contains the required wave file, then it sends a confirmation message that contains the sample rate and number of bytes.
When the confirmation message arrives, the audio module adjusts the DAC & DMA settings. After completing the wave file transmission process, the module resets itself in order to receive and send messages from (and to the)SD-Card or any other module correctly.
if everything works correctly you will see this message "the file was played successfully"
and if the file name was wrong or the SD-card does not contain the file, you will see this massage "wrong Name"
https://hexabitz.com/product/micro-sd-memory-card-h1br60/
as we mentioned before this module receive a message from the audio module that contains the name of the wave file and check if it contains that certain wave file doing by parsing the header of the wave file
you can visit this website to understand more about the wave file and its header.
http://soundfile.sapp.org/doc/WaveFormat/
Audio wave file specifications:This application assumes that the.WAV file to be played has the following format:
• audio format: PCM (an uncompressed wave data format in which each value
represents the amplitude of the signal at the time of sampling)
• sample rate: may be 8000, 16000, 22050 or 44100 Hz
• bits per sample: 8-bit (audio sample data values are in the range [0-255])
• number of channels: 1 (mono)
WAVE file format:The.WAV file format is a subset of the Resource Interchange File Format (RIFF) specification used for the storage of multimedia files. A RIFF file starts with a file header followed by a sequence of data chunks. A.WAV file is often just a RIFF file with a single "WAVE" chunk consisting of two sub-chunks:
1. an FMT chunk, specifying the data format
2. a data chunk, containing the actual sample data.
The WAVE file format starts with the RIFF header: it indicates the file length.
Next, the FMT chunk describes the sample format, it contains information about the format of the wave audio (PCM /...), the number of channels (mono/stereo), the sample rate (number of samples per seconds, e.g. 16000), and the sample data size (e.g. 8 bit / 16 bit). Finally, the data chunk contains the sample data.
After the module receives the second message from the audio module, it sets the timer to a specific frequency, as it has its own frequency. This module supports the Sample Rate from 8000 to 44100 Hz and after the completion of the transmission process, the module will reset itself in the event of receiving other messages.
Audio wave player implementationThe Audio wave player application is based on the SPI, DMA, TIM16, and DAC peripherals.
At startup, the application first uses the SPI to interface with the microSD card and parses its content, using the FATfs file system, looking for available .WAV files in the user folder. Once a valid .WAV file is found, it is read back through the SPI, and the data are transferred using the CPU to a buffer array located in the RAM. The DMA is used to transfer data from the port to DAC peripheral.
Before the audio data can be played, the header of the WAV file is parsed so that the sampling rate of the data and their length can be determined.
The task of reproducing audio is achieved by using sampled data (data contained in the.WAV file) to update the value of the DAC output, these data are coded in 8 bits (with values from 0 to 255),
The DAC Channel1 has no trigger at regular intervals,
The.WAV files are read from the microSD card already formatted with a FATfs file system.
here in this project, we use an external speaker. However, you can use the internal one and the audio jack to connect the module to a headphone.


Comments