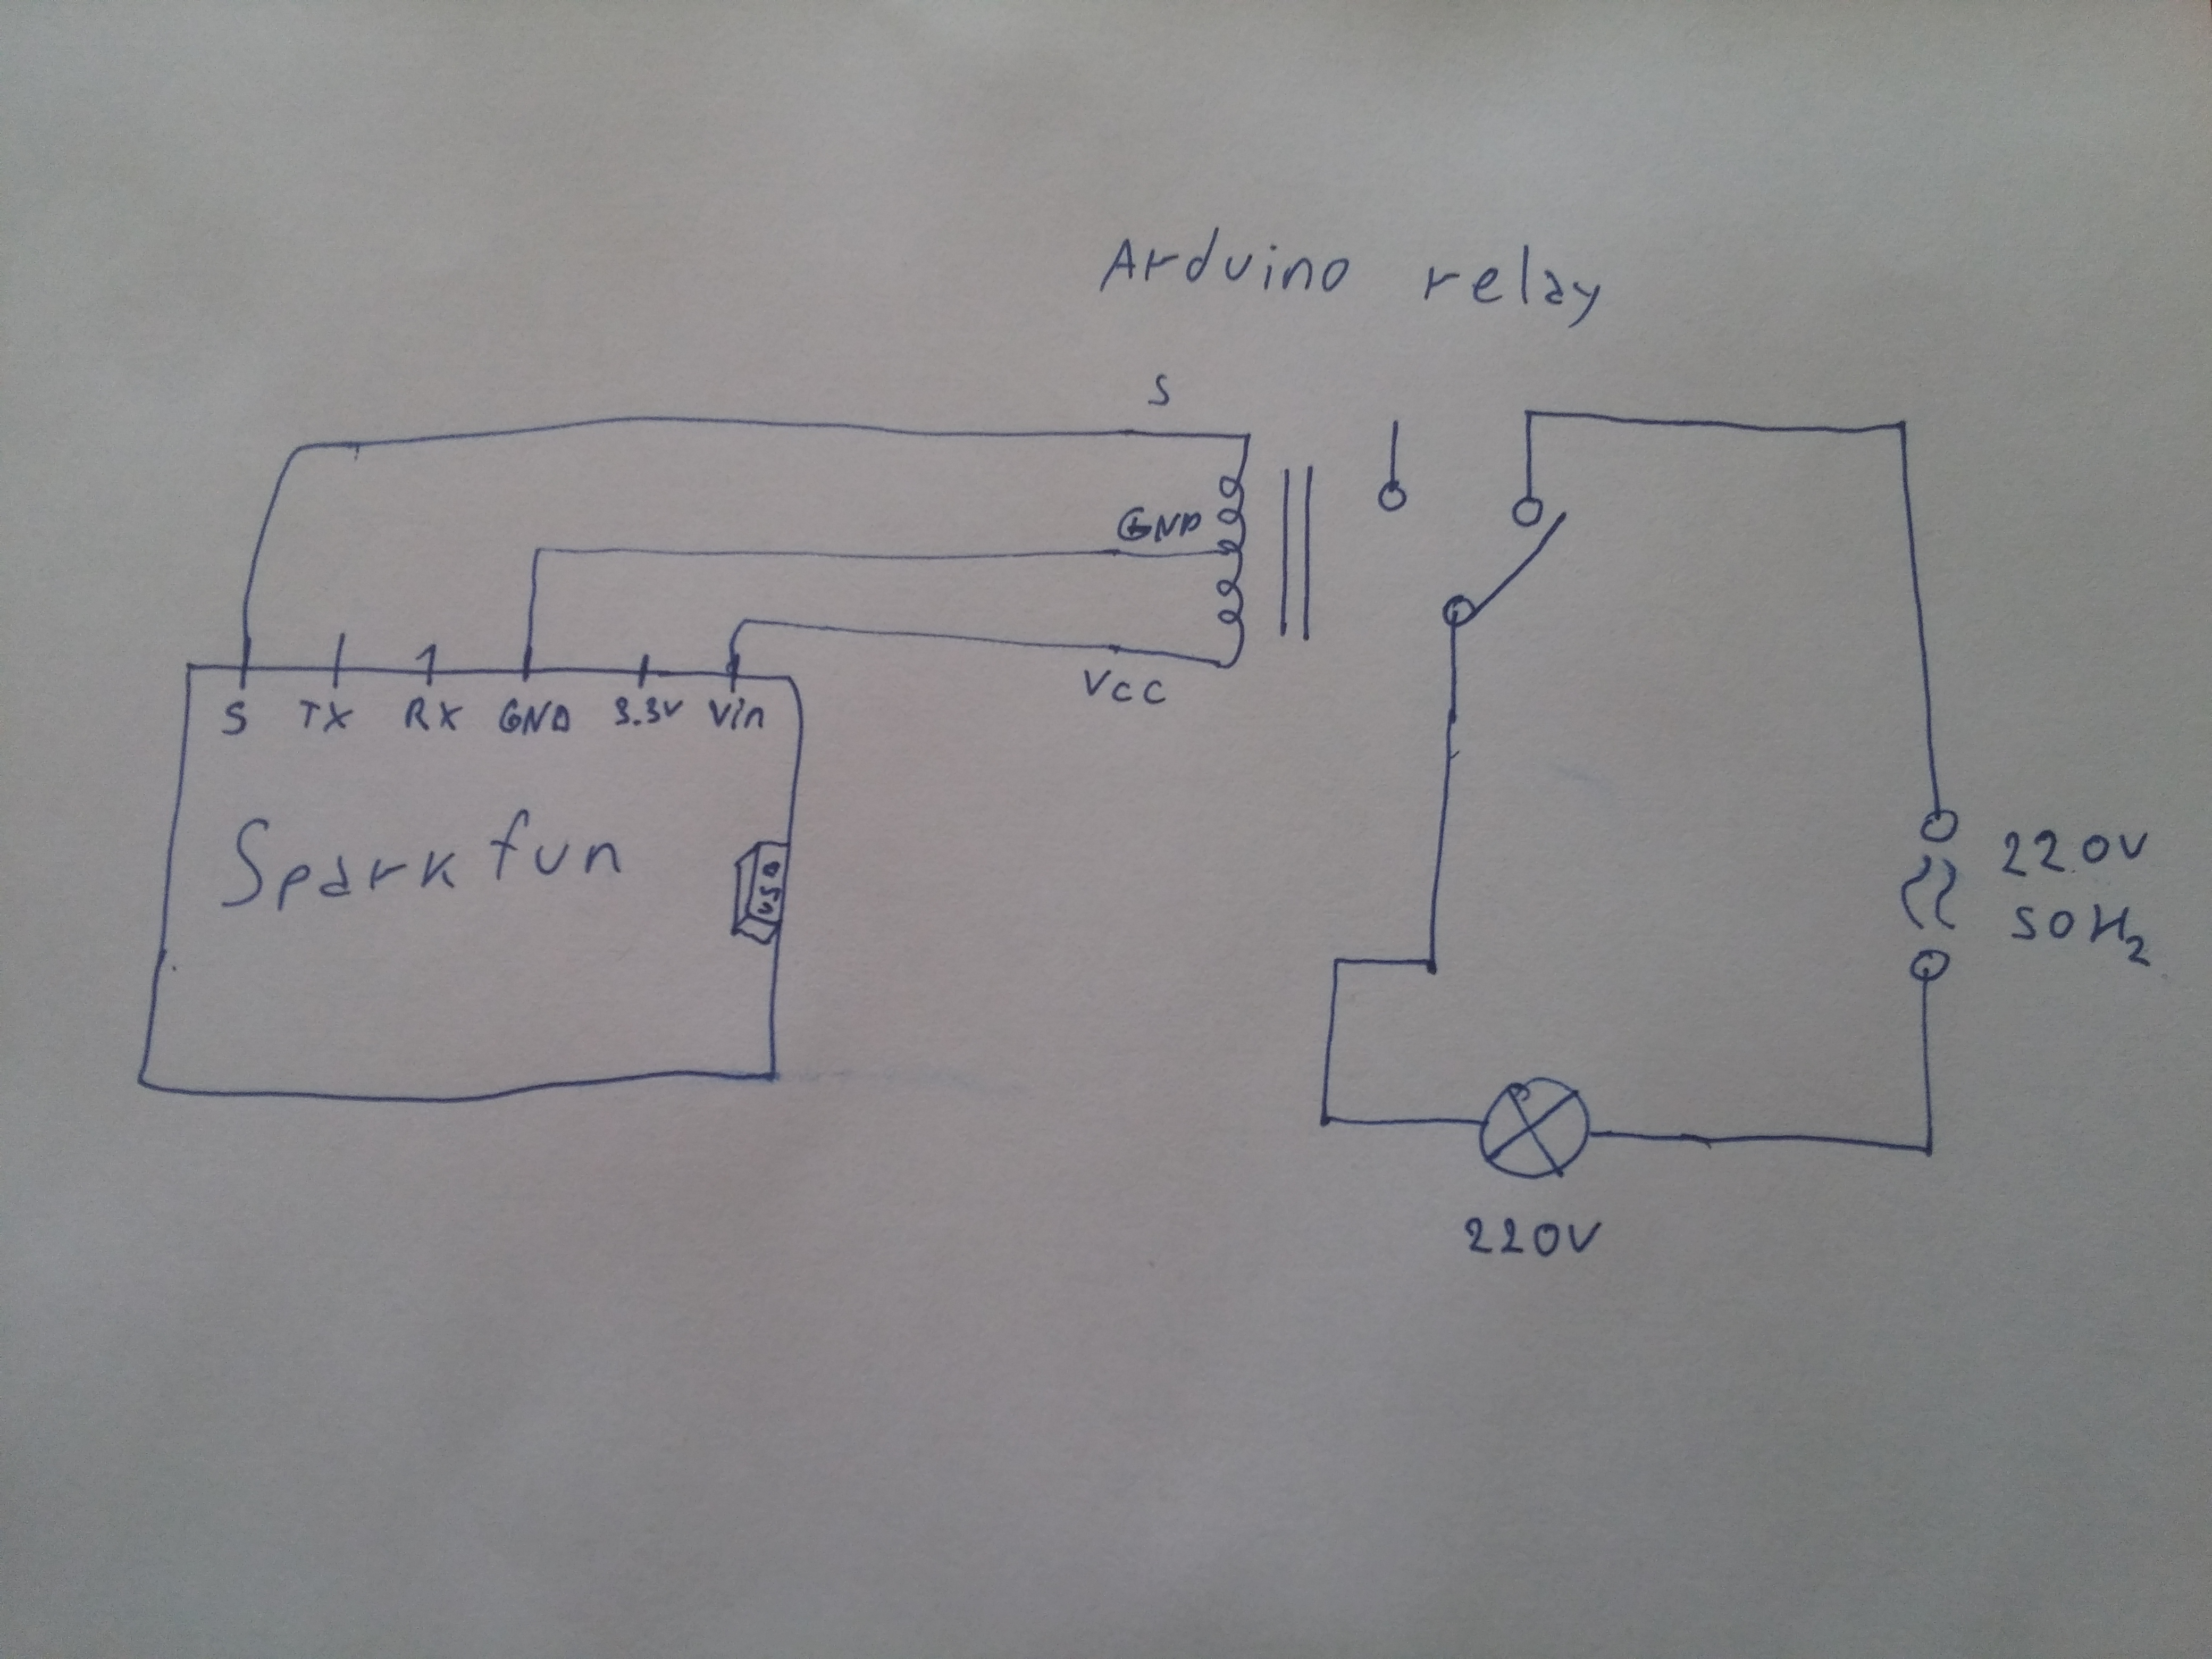
#define BLYNK_PRINT Serial
#include <ESP8266WiFi.h>
#include <BlynkSimpleEsp8266.h>
#include <Adafruit_NeoPixel.h>

char BlynkAuth[] = "Your Auth Token";
char WiFiNetwork[] = "Your WiFi Network";
char WiFiPassword[] = "Your WiFi Password";

#define WS2812_PIN 4
#define BUTTON_PIN 0
#define LED_PIN    5
Adafruit_NeoPixel rgb = Adafruit_NeoPixel(1, WS2812_PIN, NEO_GRB + NEO_KHZ800);

BLYNK_WRITE(V0)
{
  if (param.getLength() < 5)
    return;

  byte red = param[0].asInt();
  byte green = param[1].asInt();
  byte blue = param[2].asInt();

  uint32_t rgbColor = rgb.Color(red, green, blue);
  rgb.setPixelColor(0, rgbColor);
  rgb.show();
}

void setup()
{
  Serial.begin(9600);
  rgb.begin();
  pinMode(BUTTON_PIN, INPUT);
  pinMode(LED_PIN, OUTPUT);

  Blynk.begin(BlynkAuth, WiFiNetwork, WiFiPassword);
}

void loop()
{
  Blynk.run();
}


_3u05Tpwasz.png?auto=compress%2Cformat&w=40&h=40&fit=fillmax&bg=fff&dpr=2)
Comments