


Hardware components | ||||||
 |
| × | 1 | |||
 |
| × | 1 | |||
 |
| × | 1 | |||
 |
| × | 1 | |||
| × | 1 | ||||
 |
| × | 4 | |||
| × | 1 | ||||
Software apps and online services | ||||||
 |
| |||||
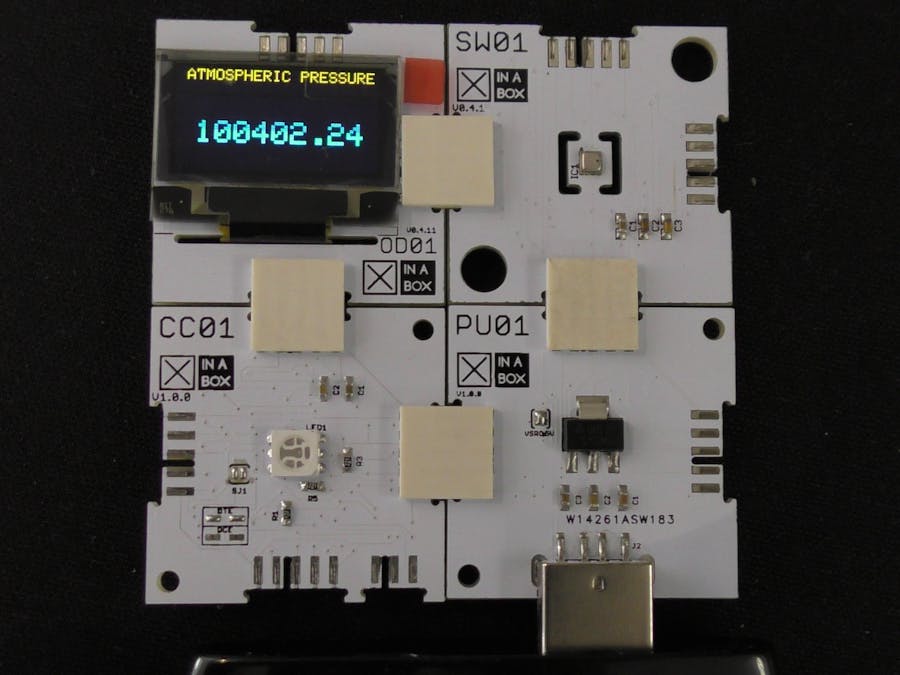
I built this project to measure the atmospheric pressure in my location with the SW01 multi-functional sensor. It can measure temperature, atmospheric pressure, humidity and altitude. I've used an ATmega328P based ☒CHIP, the CC01, coupled with the sensor and an OD01 OLED display to complete the project.
Step 1: Download Necessary FilesYou will need the following libraries and software:
- xSW01 - Multi-functional sensor
- xOD01 - OLED display library
- Arduino IDE - Development environment
Click here to see how to install the libraries.
Once you've installed the Arduino IDE, open it up and select the "Arduino Pro or Pro Mini" as the board to upload your program to. Also make sure the ATmega328P (5V, 16MHz) processor is selected. See image below.
Click the programmer ☒CHIP, IP01, and the ATmega328P based CC01 ☒CHIP together using XC10 bus connectors as shown below. In order to upload to the CC01 you'll need to place the switches in the 'A' and 'DCE' positions respectively.
Next, combine the sensor, SW01, and the OLED display, OD01, as shown below. Simply click them together. It's impossible to get it wrong.
Insert the unit into the USB port on your computer. Download or copy and paste the code below into your Arduino IDE. Compile and upload the code to your board. Once uploaded your program should start running. You may read the comments within the code to grasp the syntax. The below image shows the atmospheric pressure once the upload has completed.
Remove the unit from your computer. Disassemble the unit and reassemble it using PU01 instead of IP01. See below.
Now take your 5V USB portable power supply such as a power bank or similar and insert the new assembly into it. You can now observe the atmospheric pressure on the OLED display and measure the pressure in any location.
This project took under 10min to assemble and another 10min to program. The ☒CHIPs just click together making it very convenient.


Comments