


Hardware components | ||||||
| × | 1 | ||||
 |
| × | 1 | |||
| × | 1 | ||||
This is a re-write of my Windows-IoT project that basically does the same thing. I wanted to use my Raspberry Pi for more complicated projects and wanted to play around with the ESP8266 chip. Here is a link to the original project:
https://www.hackster.io/LaurenBuchholz/restful-weather-5bc747
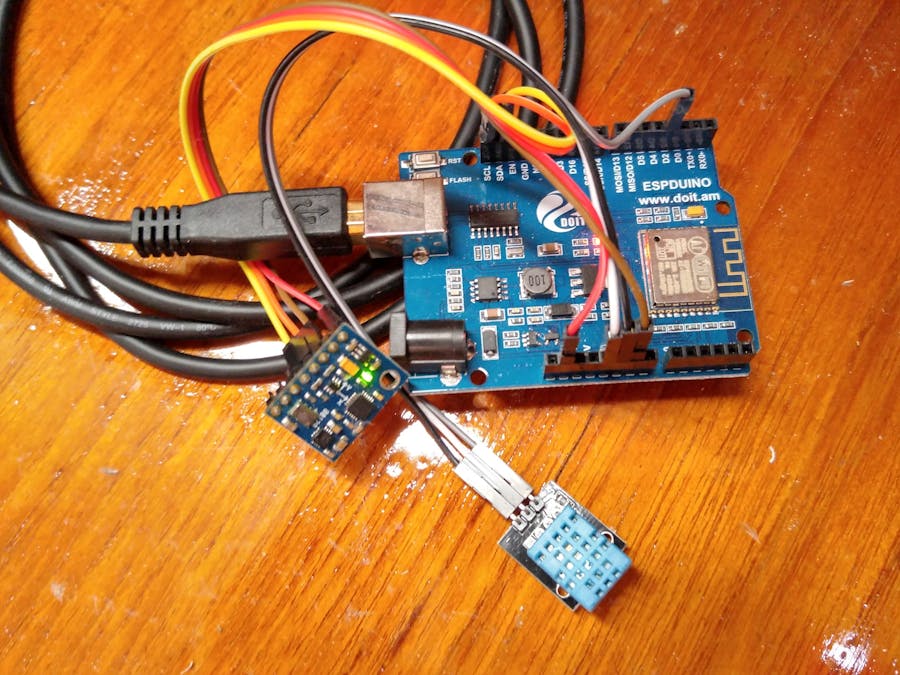
This setup takes a temperature and Pressure reading from a GY-86 generic 10-DOF module. I also read the altitude from it, but am not doing anything with the other sensors on in (magnometer, accelerometer etc) I read both temperature and pressure from the MS5611 chip, and them a second lower precision temp and humidity from a DHT11 sensor. It then takes this information and uploads it to the Adafruit.IO web service. I am using an Arduino compatible ESP-8266 board called a Espduino. It is basically a ESP-8266 wrapped in a Arduino Uno R3 board. It does not use the standard Atmega CPU, so you will need to install a custom board via manually as the latest ESP8266 board in the GUI does not officially support this boat. Basically go to https://github.com/esp8266/Arduino and follow the directions. It seems to be a pretty nice board, I think I paid less than $10USD including shipping which is about the same as the Pi WIFI dongle! It also uses significantly less energy that my RasPi based solution.
Here is the live feed coming off my boat:
https://io.adafruit.com/buchhla/nokomis-environment-logger-esp8266
Here is the wiring diagram for how it goes together.
The Arduino code talks to the Adafruit.IO service via MQTT and you can then build a dashboard to display the data however you would like.
Honestly, the hardest part about this project was just getting the Arduino IDE setup to use this board manually by pulling the latest via github. I think I actually spent more time designing the fritzing components for both the ESPDuino and the GY-86 than I did writing the code itself!
Steps to build this are pretty simple, but the ESPDuino does require an extra step to get it into flash mode for those of you used to working with a more normal Uno R3.
- Install Arduino IDE
- Go to Arduino directory
- Clone 'https://github.com/esp8266/Arduino' into hardware/esp8266com/esp8266 directory (or clone it elsewhere and create a symlink)
- git clone https://github.com/esp8266/Arduino.git esp8266
- Download binary tools (you need Python 2.7)
- cd esp8266/tools
- python get.py
- Restart Arduino
At this point, you should see ESPDuino as a board in the Arduino IDE. Select that and the correct port.
- At this point, you can wire up the ESPDuino and the two sensors as shown in the fritzing diagram.
- To actually upload the code to the ESPDuino, you need to put it into FLASH mode.
- To do this, Press the FLASH button, and while keeping it pressed in, remove the USB cable and reconnect it. This will enter the unit into FLASH mode.
- Upload the Arduino Sketch using the IDE.
- Once the upload is done, press the reset key on the ESPDuino and it should start running the sketch.
- Login to IO.Adafruit.com and verify the messages were received correctly.


Comments