/*
LilyPad ProtoSnap Plus Activity 2: Basic Color Mixing
SparkFun Electronics
https://www.sparkfun.com/products/14346

Create primary and secondary colors on the built-in RGB (Red/Green/Blue) LED

Follow the tutorial at: https://learn.sparkfun.com/tutorials/lilypad-protosnap-plus-activity-guide#2-basic-color-mixing

This code is released under the MIT License (http://opensource.org/licenses/MIT)

******************************************************************************/

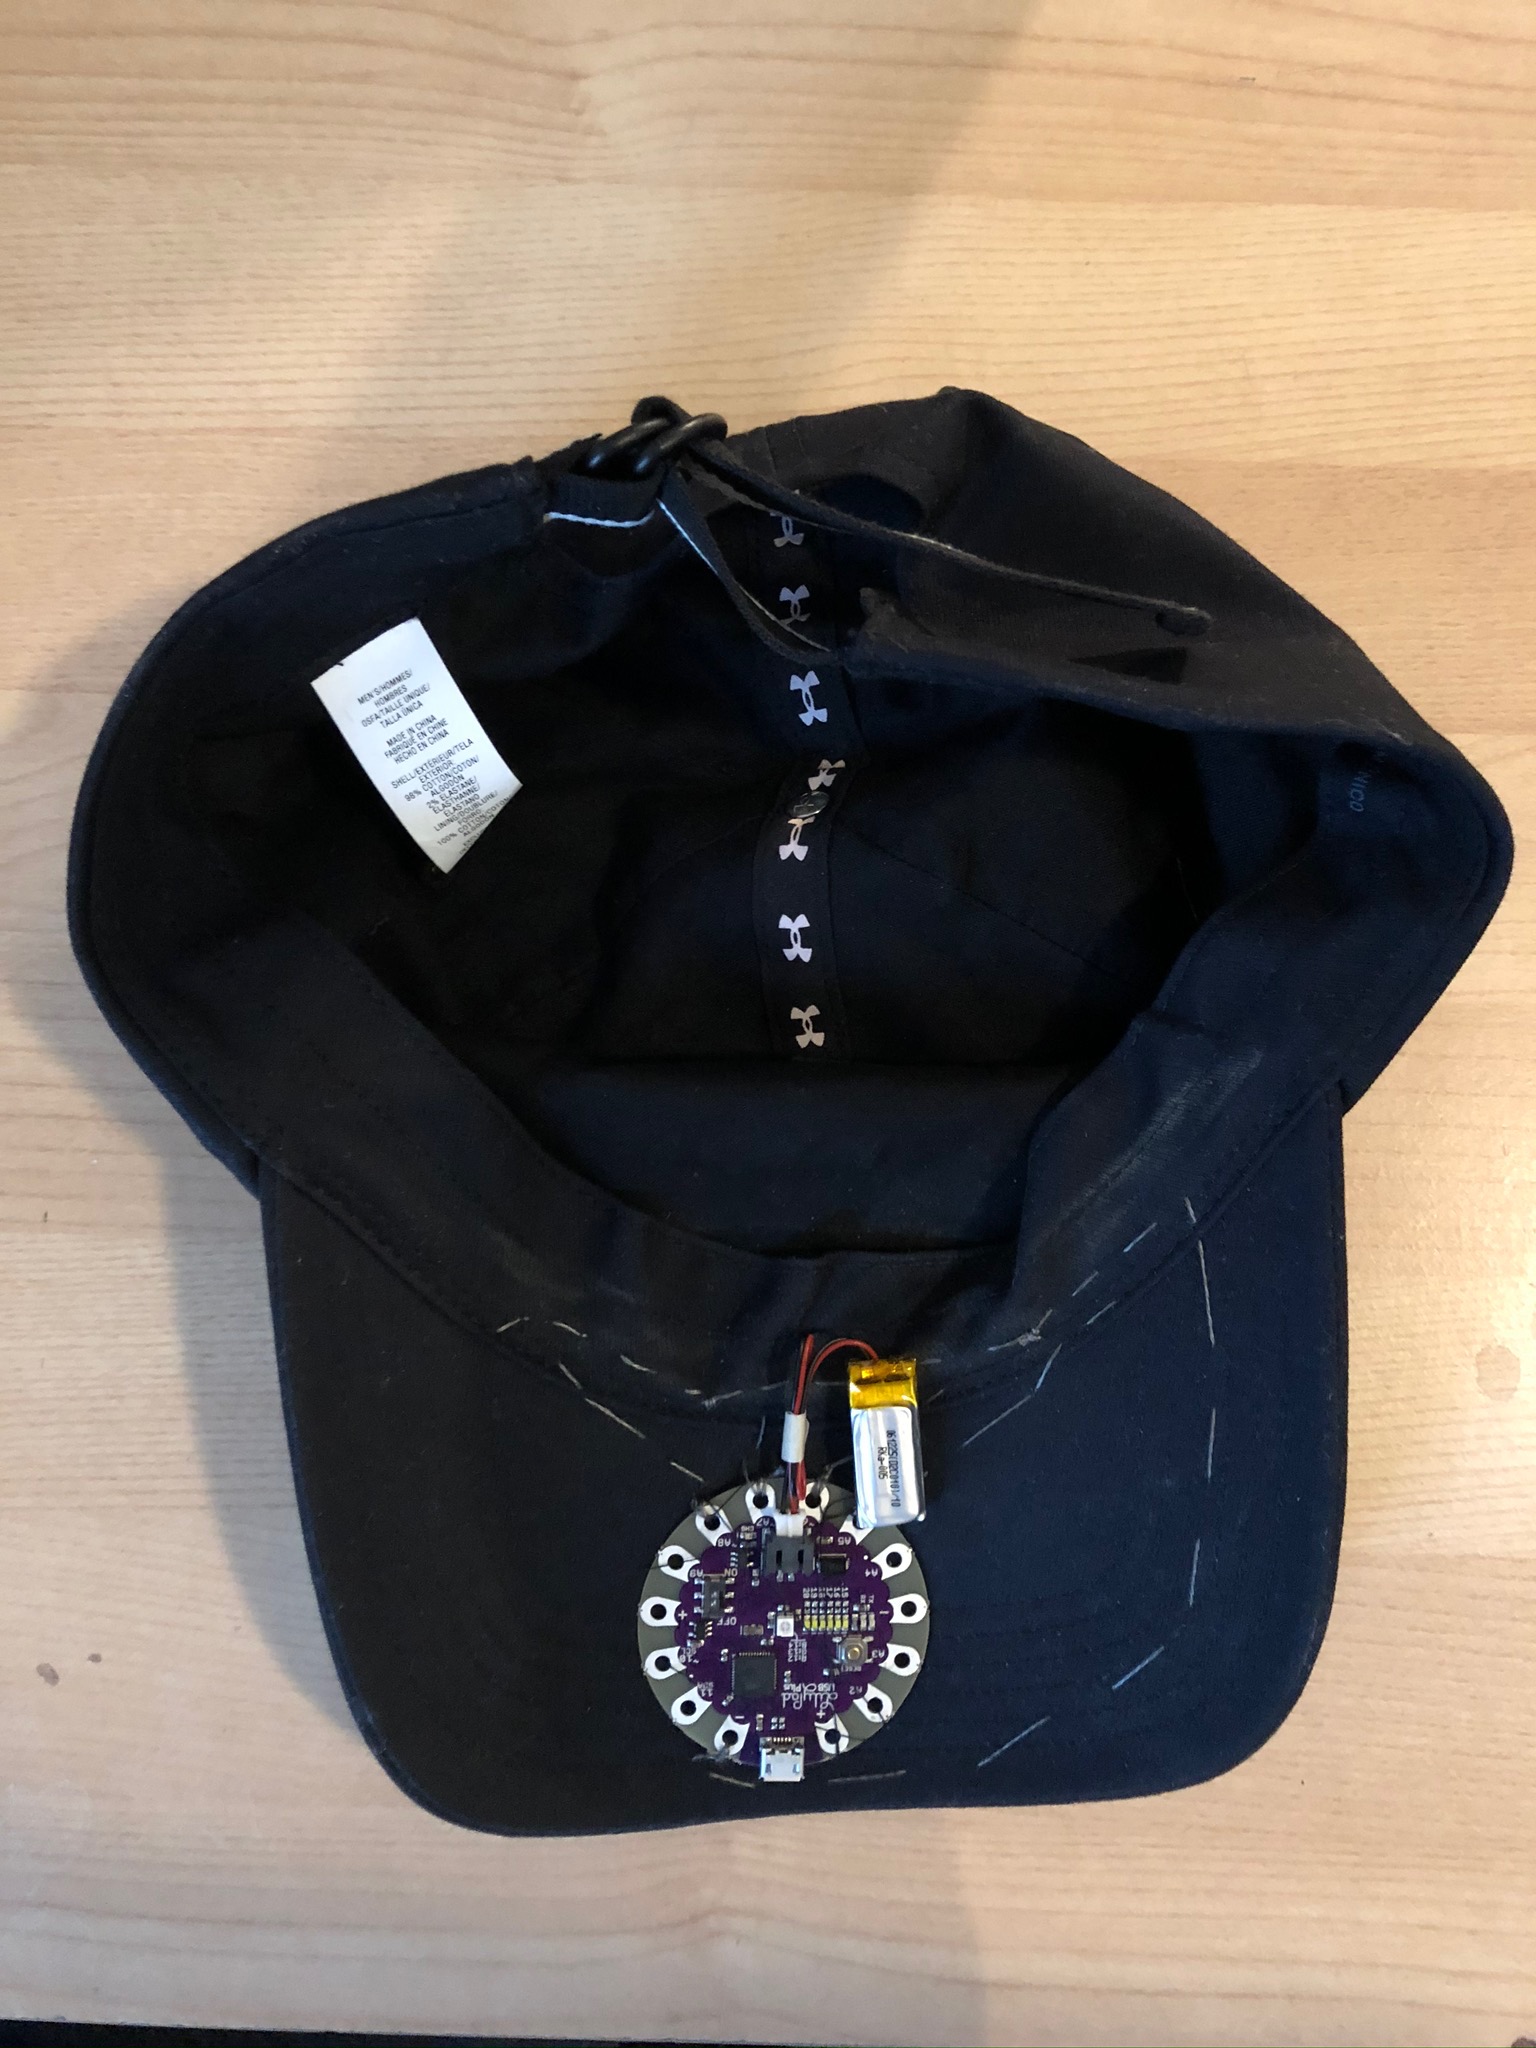
// The LilyPad USB Plus has a built-in RGB (Red / Green / Blue) LED.
// In this activity we'll use digitalWrite to tun the three LEDs on and off
// in various combinations to create eight primary and secondary colors.

// Create integer variables for our LED pins:

// The built-in LED:

int RGB_red = 12;
int RGB_green = 13;
int RGB_blue = 14;
int RGB_yellow = 15;

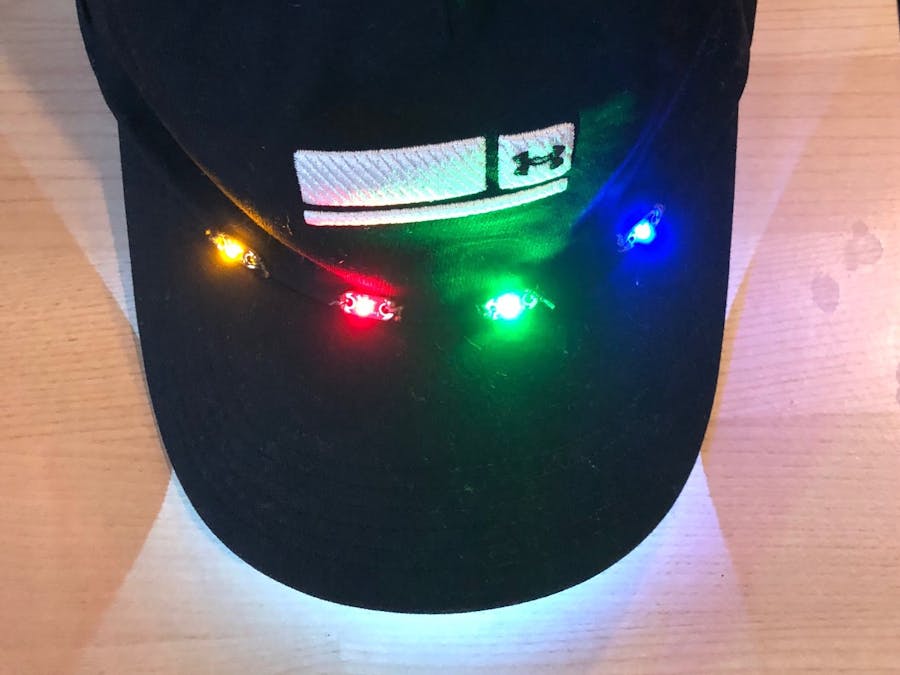
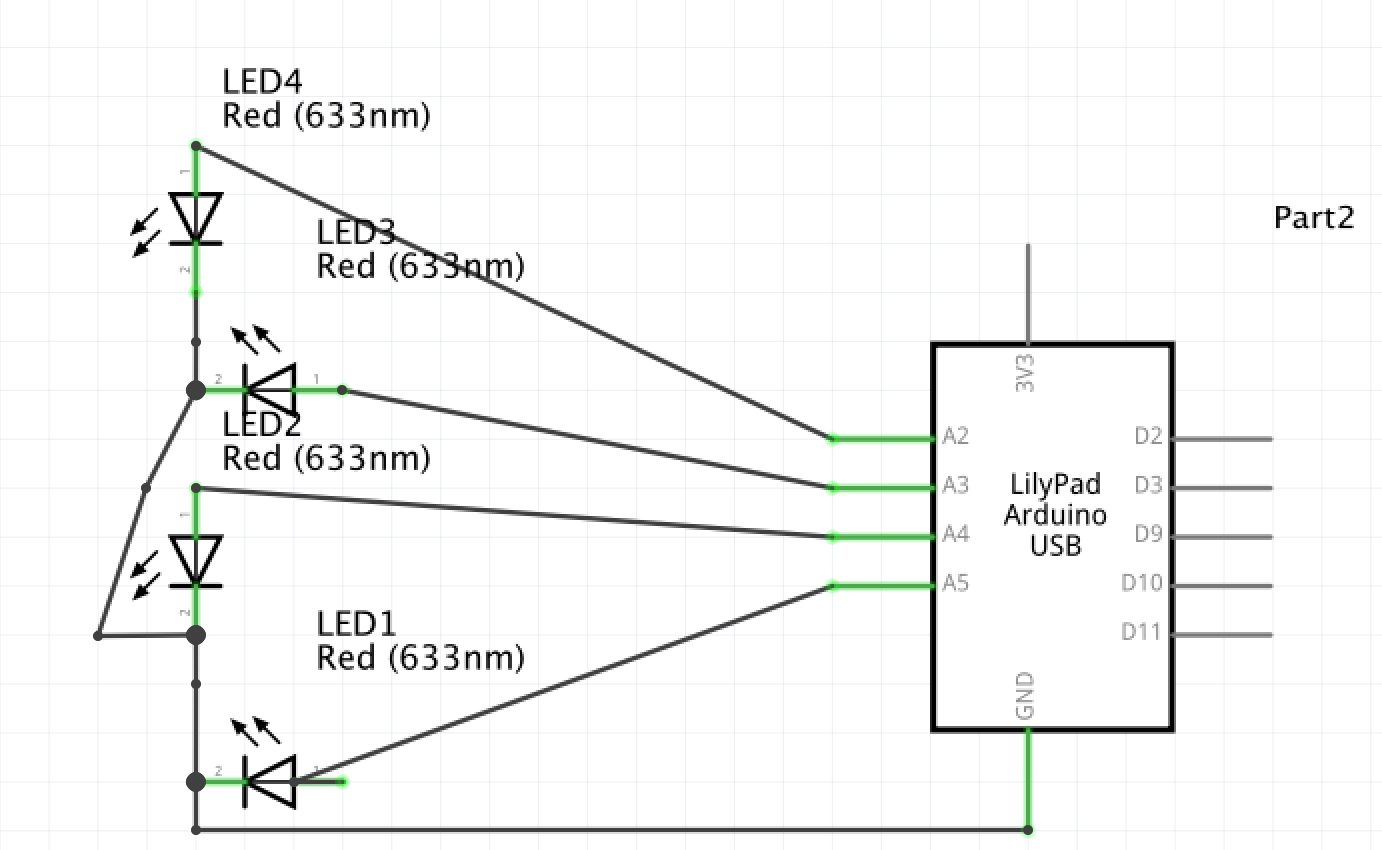
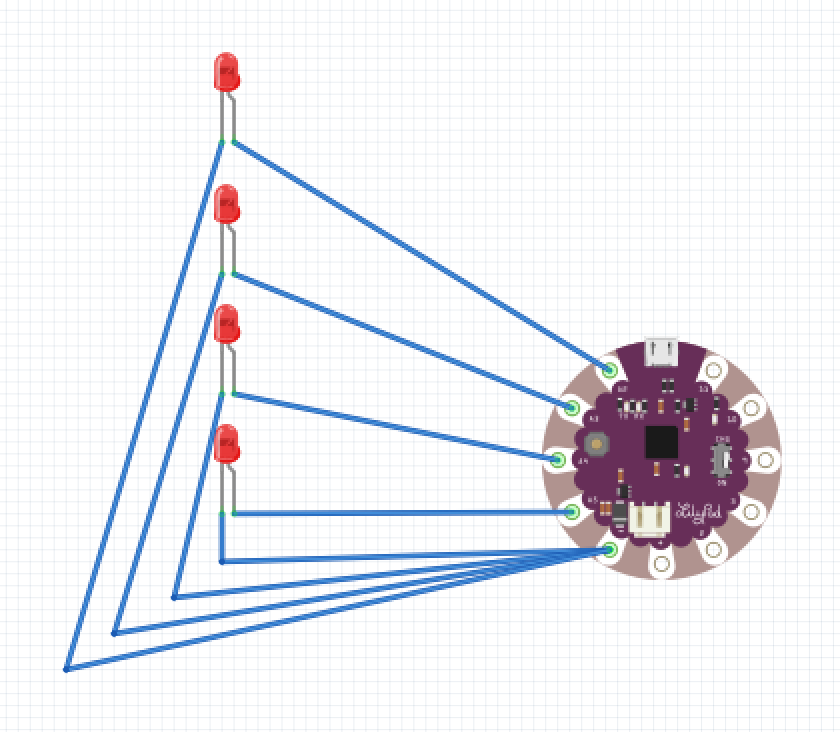
// The colored LEDs along the bottom edge of the board:

int redLED = 6;
int greenLED = A7;
int blueLED = A8;
int yellowLED = A5;

void setup()
{
  // Make all of our LED pins outputs:

  pinMode(RGB_red, OUTPUT);
  pinMode(RGB_green, OUTPUT);
  pinMode(RGB_blue, OUTPUT);
  pinMode(RGB_yellow, OUTPUT);
  pinMode(redLED, OUTPUT);
  pinMode(greenLED, OUTPUT);
  pinMode(blueLED, OUTPUT);
  pinMode(yellowLED, OUTPUT);
}

void loop()
{

  // This code will step through the six primary and secondary colors, plus white and black.

  // For each of these colors, we'll turn the necessary RGB LEDs on or off.
  // We'll also turn on the same LEDs on the bottom edge, so you can see what's being mixed.

  // Black (all LEDs off)

  // RGB LEDs:

  digitalWrite(RGB_red, LOW);
  digitalWrite(RGB_green, LOW);
  digitalWrite(RGB_blue, LOW);
  digitalWrite(RGB_yellow, LOW);

  // Bottom-edge LEDs

  digitalWrite(redLED, LOW);
  digitalWrite(greenLED, LOW);
  digitalWrite(blueLED, LOW);
  digitalWrite(yellowLED, LOW);
  delay(0);

  // Red (red LED on)

  digitalWrite(RGB_red, HIGH);
  digitalWrite(RGB_green, LOW);
  digitalWrite(RGB_blue, LOW);
  digitalWrite(yellowLED, LOW);

  digitalWrite(redLED, HIGH);
  digitalWrite(greenLED, LOW);
  digitalWrite(blueLED, LOW);
  digitalWrite(yellowLED, LOW);
  delay(1000);

  // Yellow (red and green LEDs on)

  digitalWrite(RGB_red, HIGH);
  digitalWrite(RGB_green, HIGH);
  digitalWrite(RGB_blue, LOW);
  digitalWrite(yellowLED, LOW);

  digitalWrite(redLED, HIGH);
  digitalWrite(greenLED, HIGH);
  digitalWrite(blueLED, LOW);
  digitalWrite(yellowLED, LOW);
  delay(1000);

  // Green (green LED on)

  digitalWrite(RGB_red, LOW);
  digitalWrite(RGB_green, HIGH);
  digitalWrite(RGB_blue, LOW);
  digitalWrite(yellowLED, LOW);

  digitalWrite(redLED, LOW);
  digitalWrite(greenLED, HIGH);
  digitalWrite(blueLED, LOW);
  digitalWrite(yellowLED, LOW);
  delay(0);

  // Cyan (blue and green LEDs on)

  digitalWrite(RGB_red, LOW);
  digitalWrite(RGB_green, HIGH);
  digitalWrite(RGB_blue, HIGH);
  digitalWrite(yellowLED, LOW);

  digitalWrite(redLED, LOW);
  digitalWrite(greenLED, HIGH);
  digitalWrite(blueLED, HIGH);
  digitalWrite(yellowLED, LOW);
  delay(1000);

  // Blue (blue LED on)

  digitalWrite(RGB_red, LOW);
  digitalWrite(RGB_green, LOW);
  digitalWrite(RGB_blue, HIGH);
  digitalWrite(yellowLED, HIGH);

  digitalWrite(redLED, LOW);
  digitalWrite(greenLED, LOW);
  digitalWrite(blueLED, HIGH);
  digitalWrite(yellowLED, HIGH);
  delay(0);

  // Magenta (red and blue LEDs on)

  digitalWrite(RGB_red, HIGH);
  digitalWrite(RGB_green, LOW);
  digitalWrite(RGB_blue, HIGH);
  digitalWrite(yellowLED, HIGH);

  digitalWrite(redLED, HIGH);
  digitalWrite(greenLED, LOW);
  digitalWrite(blueLED, HIGH);
  digitalWrite(yellowLED, HIGH);
  delay(10);

  // White (all LEDs on)

  digitalWrite(RGB_red, HIGH);
  digitalWrite(RGB_green, HIGH);
  digitalWrite(RGB_blue, HIGH);
  digitalWrite(yellowLED, HIGH);

  digitalWrite(redLED, HIGH);
  digitalWrite(greenLED, HIGH);
  digitalWrite(blueLED, HIGH);
  digitalWrite(yellowLED, HIGH);
  delay(1000);
}


_3u05Tpwasz.png?auto=compress%2Cformat&w=40&h=40&fit=fillmax&bg=fff&dpr=2)


Comments