
Hardware components | ||||||
_ztBMuBhMHo.jpg?auto=compress%2Cformat&w=48&h=48&fit=fill&bg=ffffff) |
| × | 1 | |||
 |
| × | 1 | |||
 |
| × | 1 | |||
 |
| × | 1 | |||
Software apps and online services | ||||||
 |
| |||||
| ||||||
Hello with the hope of being healthy and staying healthy...
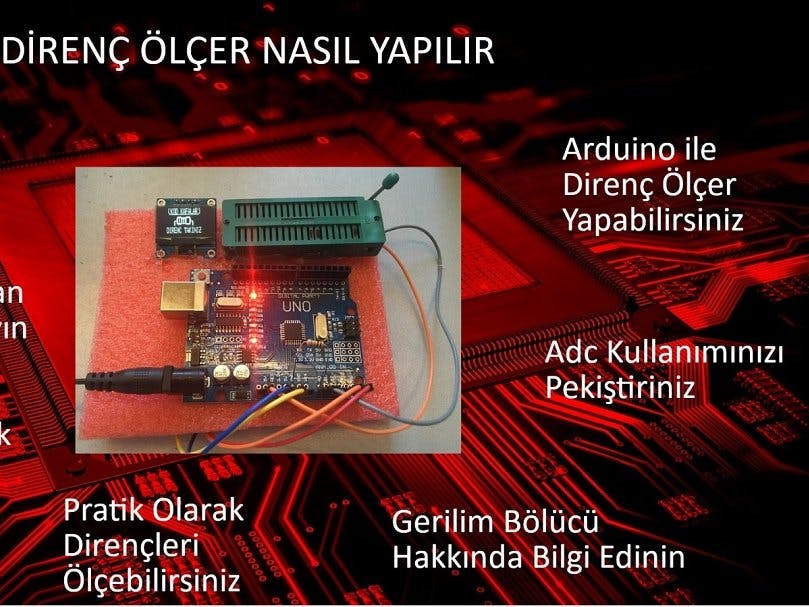
In the days we stayed at home, we made a project about how to make a resistance meter in order to make new projects and increase our productivity at home and we recorded the steps for you.
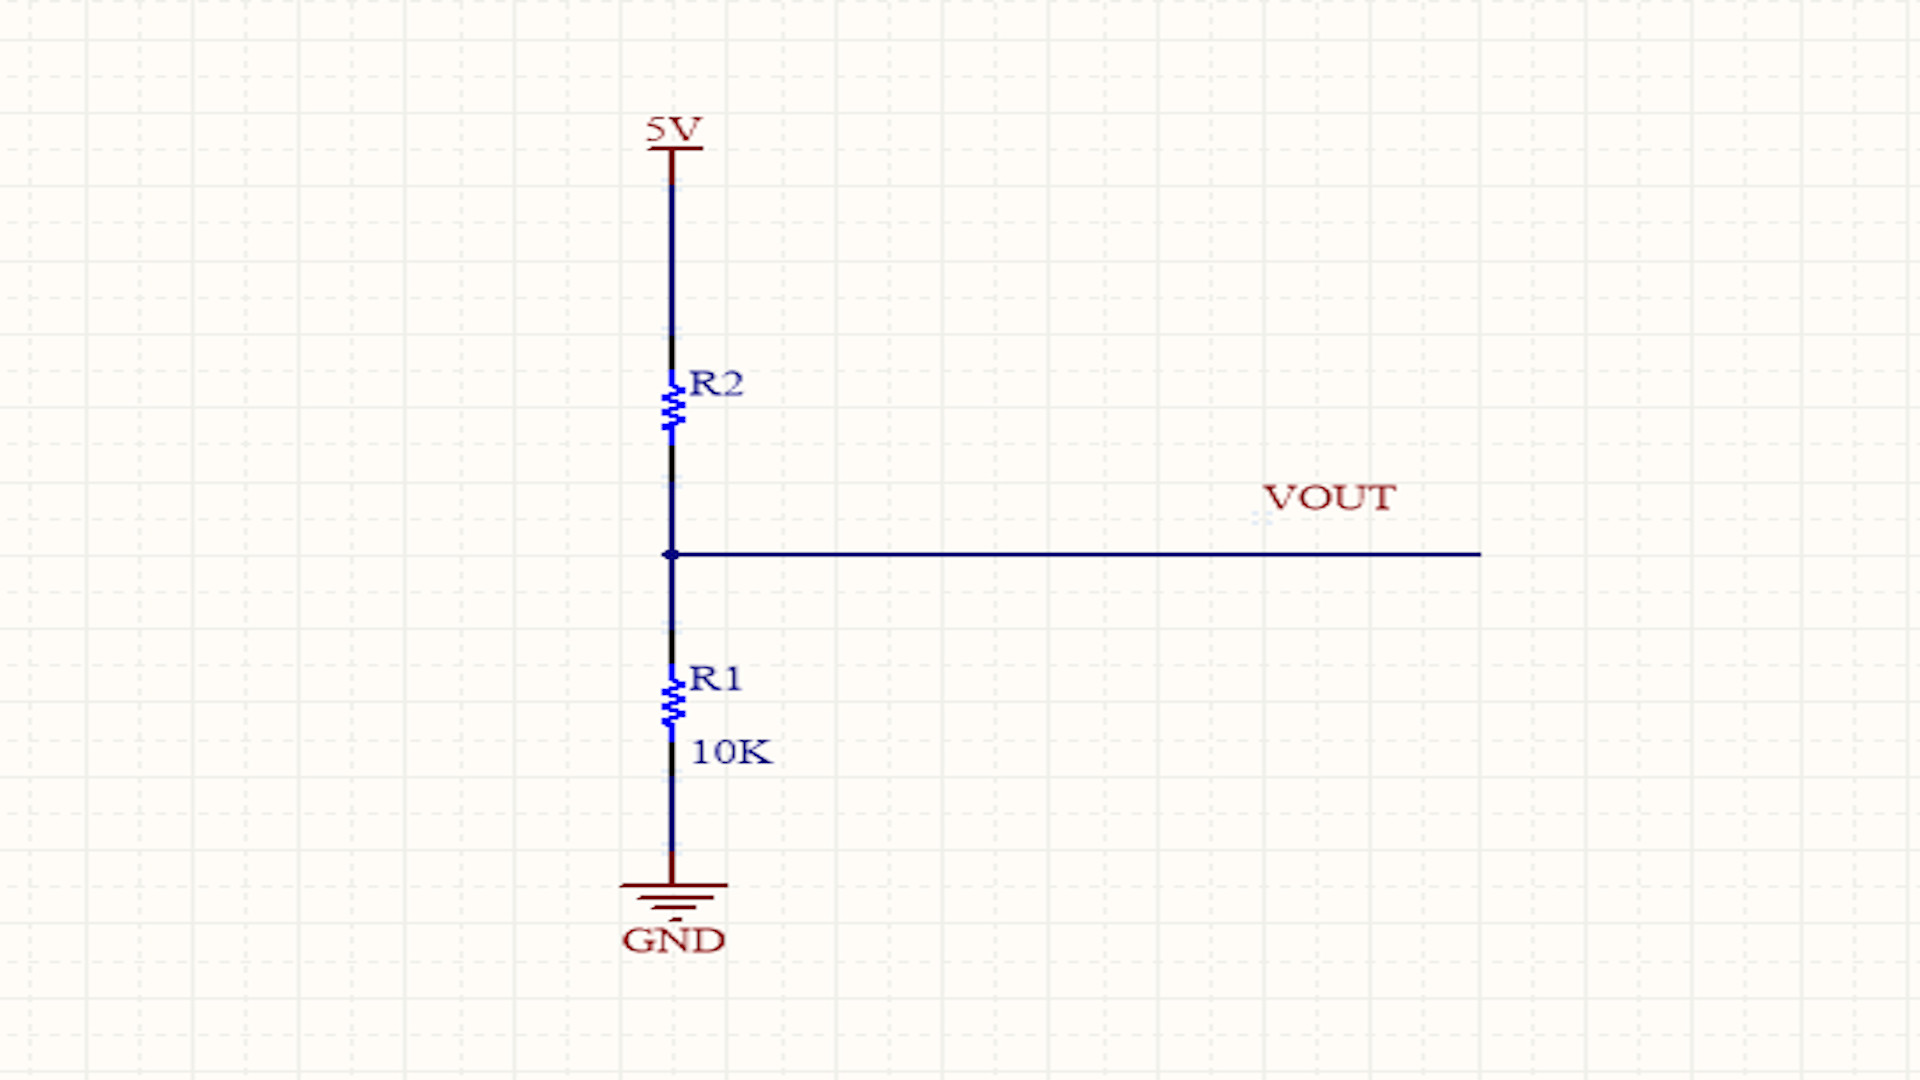
In this project, we will learn how to use an Oled display LCD while learning ADC (Anolog digital converter) of Microcontrollers.
In order to set an example in our project, a resistance meter measuring instrument was made. I am sure that you also have dozens of resistors on your desk or tool bags that you do not know the value of.
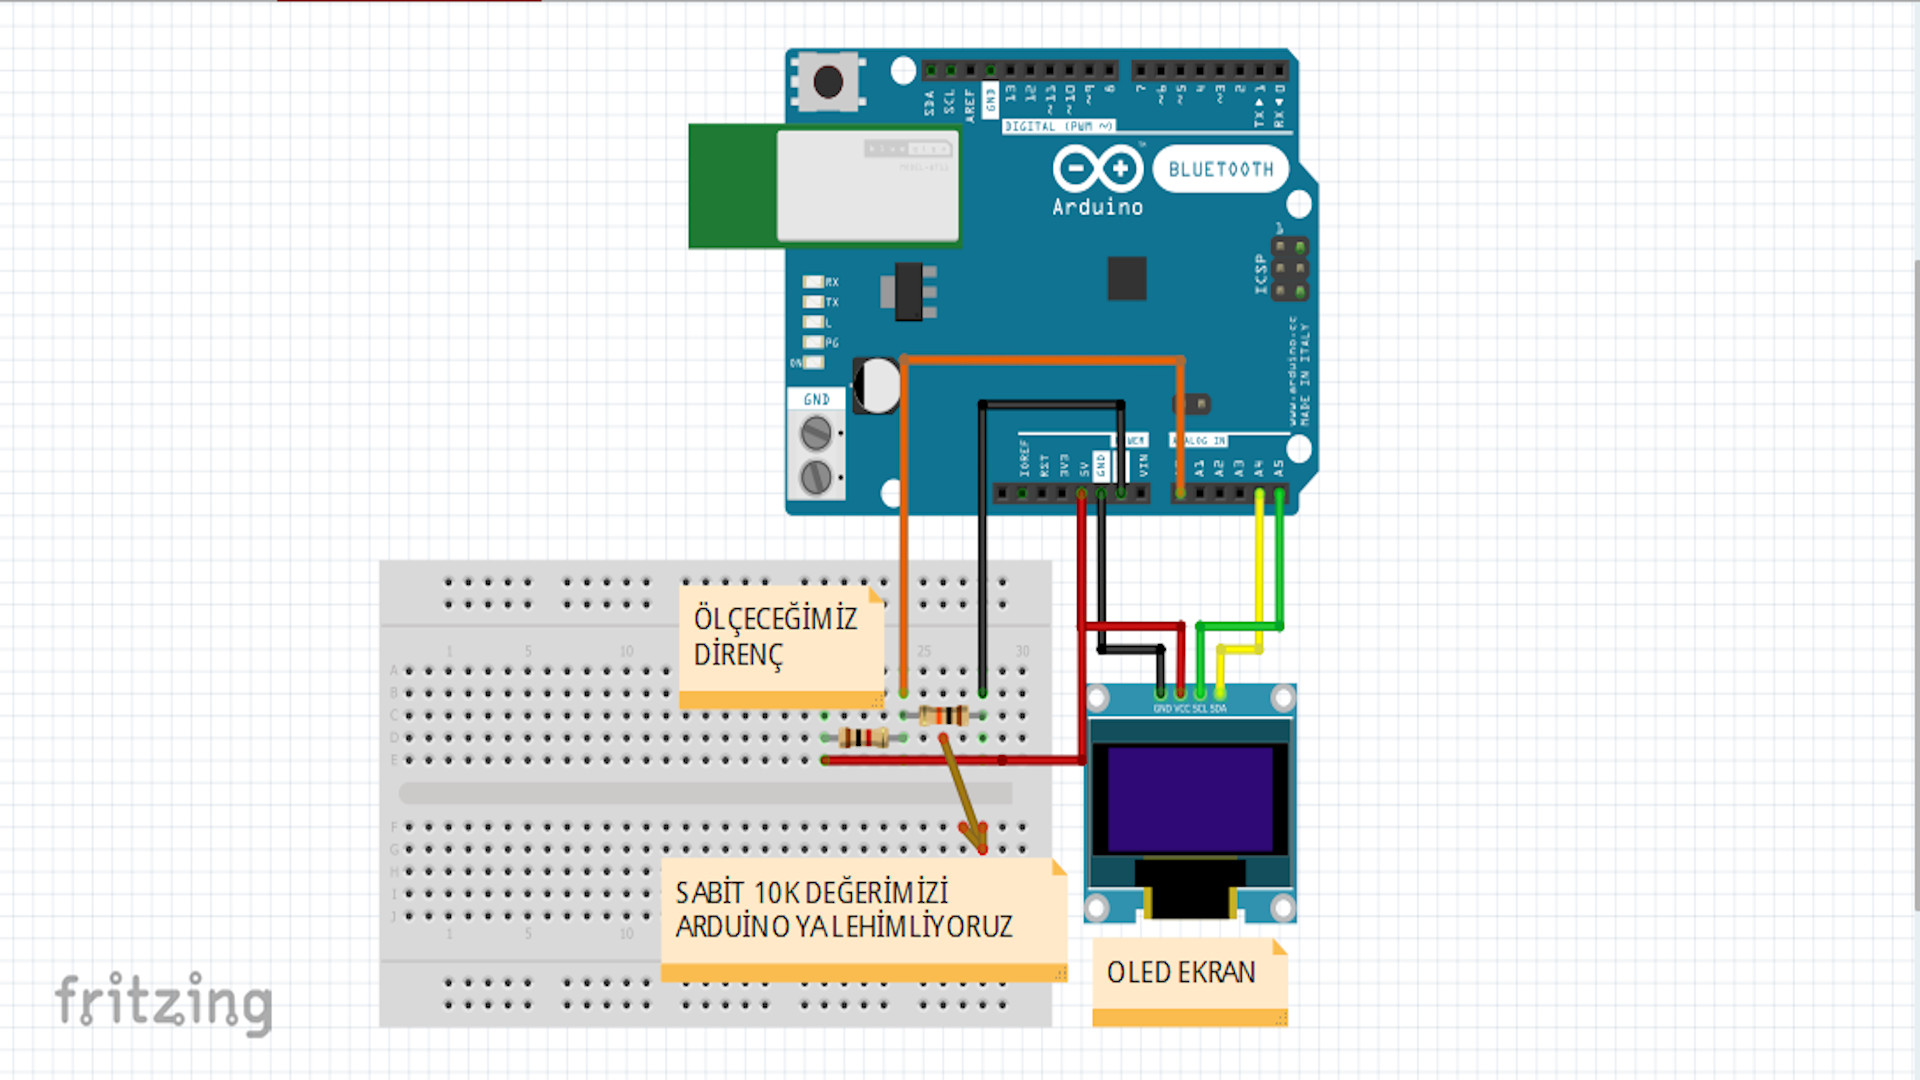
The code and circuit diagram of the project are given in the links below, and if there is a download error or if you have a problem, you can get support from us by writing a comment.
When you open the.rar files given in the links, you will find the code and scheme provided. It writes what you should pay attention to in these files. In order for the project to work properly, please follow the written steps completely.
FOLDERS;
CODE; https: https: https://dosyam.org/PwX01Fbn
CIRCUIT DIAGRAM ; https://dosyam.org/fhtrlal is
For detailed written explanation
Our Hackster.io profile; https: //www.hackster.io/-kod-umunk until...
If you want to take a look at the projects before;
1-) Fingerprint reading Project with Arduino = https: //www.youtube.com/watch? V = G61and...
2-) How to Make Contactless Voltage Detector: https: //www.youtube.com/watch? V = Xw2KV...
3-) How Electric Projects Are Not Tested: https: //www.youtube.com/watch? V = 4yazQ...
arduino oled screen library https://github.com/adafruit/Adafruit_SSD1306


Comments