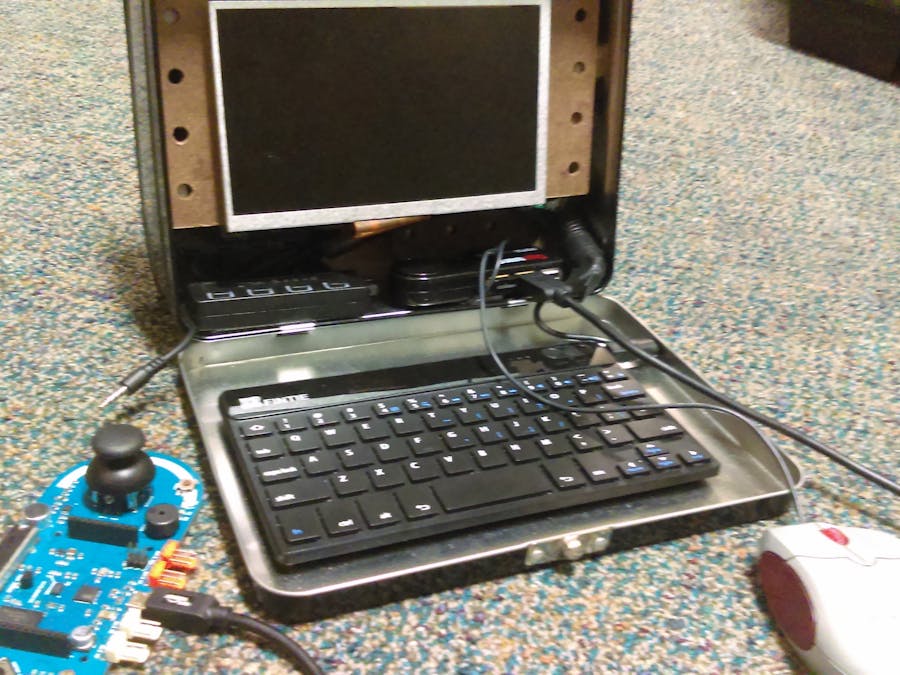
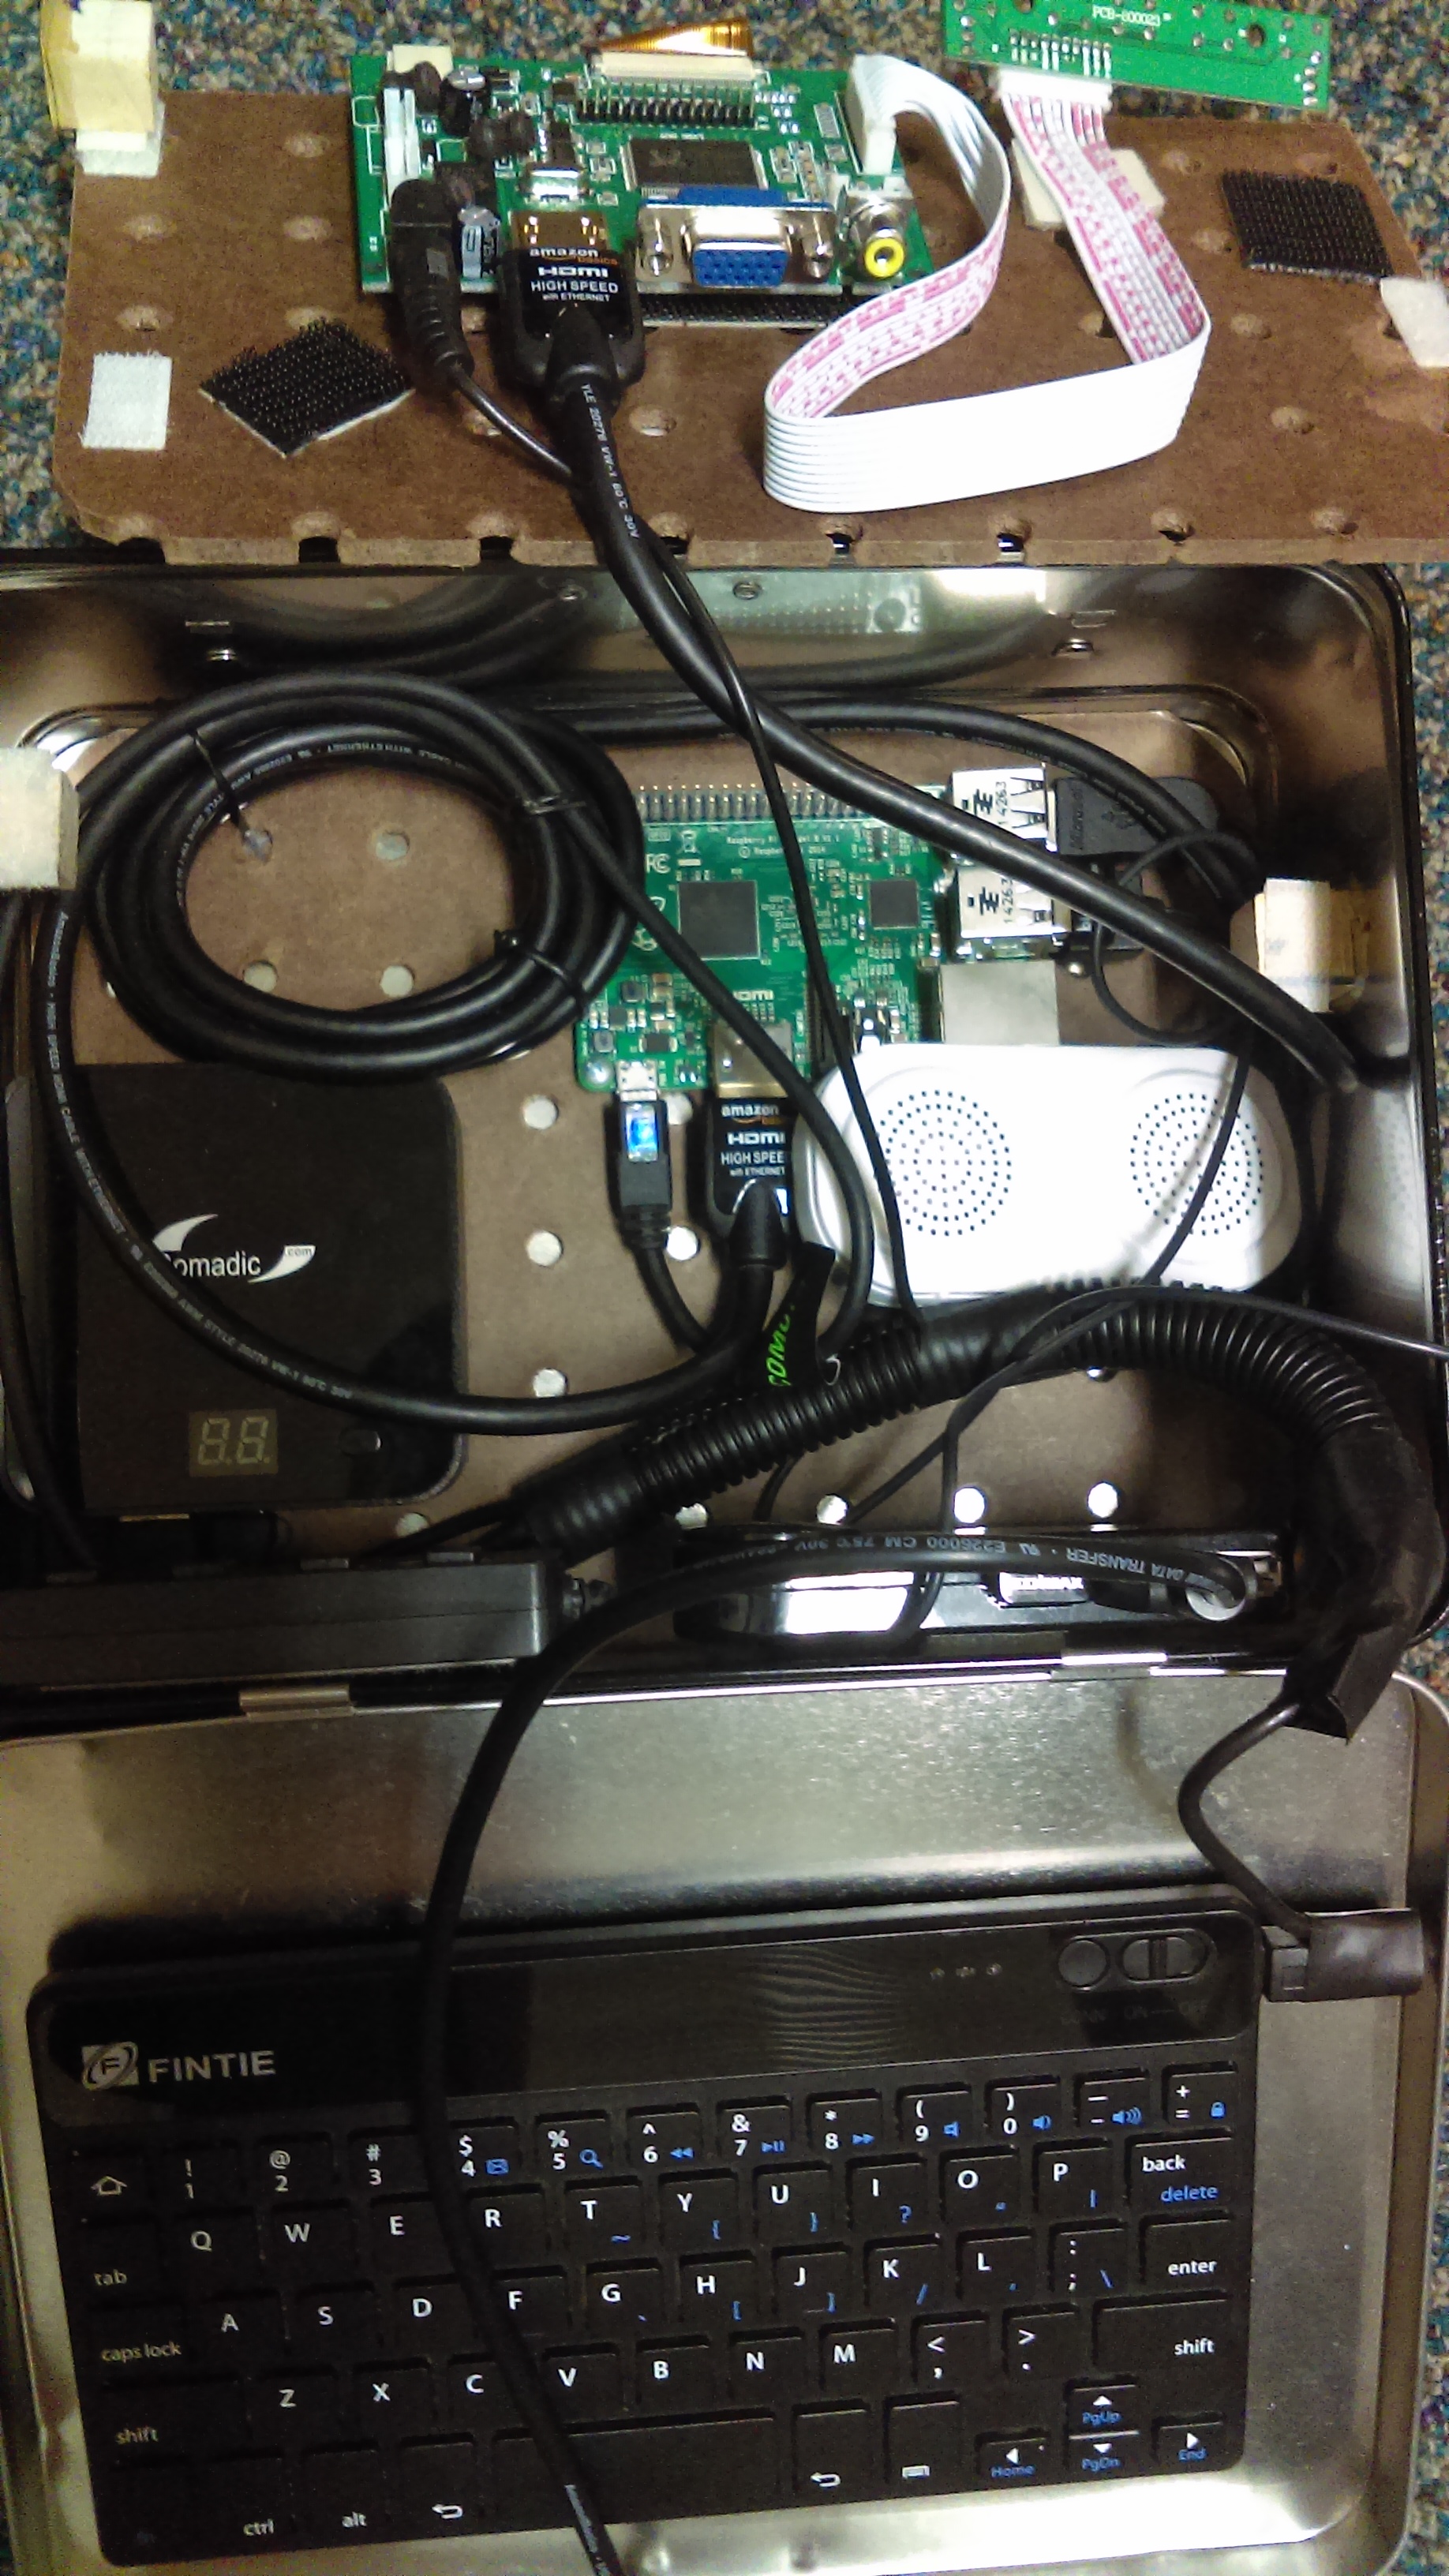
Josh Makatura
Published

Star Wars Lunch Box Data Aquisition

I used a Raspberry Pi 2 to make a mini data acquisition system that fits inside of a lunchbox.

IntermediateShowcase (no instructions)12 hours8,491
Star Wars Lunch Box Data Aquisition

Things used in this project

Hardware components

Raspberry Pi 2 Model B
×1
Arduino Esplora
Arduino Esplora
×1
Gomadic Rechargeable Battery Pack
×1
Microsoft Computer USB Mouse
×1
Fintie Keyboard
×1
Star Wars Lunch Box
×1
USB-A to B Cable
USB-A to B Cable
×1
Nextion NX8048T070 - Generic 7.0" HMI TFT LCD Touch Display
Itead Nextion NX8048T070 - Generic 7.0" HMI TFT LCD Touch Display
×1
32GB Micro-SD Card
×1

Story

Read more

Schematics

Lunch Box Computer Wiring

Code

Esplora Code

Java
This is the code required for the Raspberry Pi 2B to be able to read each sensor on the Esplora.
#include <Esplora.h>

void setup()
{
  Serial.begin(9600);
  Serial.println("STARTING!");
  Serial.println("-----------------------------------------------");
}

void loop()
{
  int sensorValue = Esplora.readLightSensor();
  
  float voltage = sensorValue * (5.0/ 1023.0);
  
  Serial.println("LIGHT_SENSOR: ");
  
  Serial.print(voltage);
  Serial.println("");
  
  int f = Esplora.readTemperature(DEGREES_F);
  Serial.println("TEMPERATURE: ");
 Serial.print(f);
 Serial.println("");
 
 
 int x = Esplora.readAccelerometer(X_AXIS);
 int y = Esplora.readAccelerometer(Y_AXIS);
 int z = Esplora.readAccelerometer(Z_AXIS);
 Serial.println("ACCELEROMETER");
 Serial.println("X: ");
 Serial.print(x);
 Serial.println("");
 
 Serial.println("Y: ");
 Serial.print(y);
 Serial.println("");
 
 Serial.println("Z: ");
 Serial.print(z);
 Serial.println("");
 Serial.println("-----------------------------------------------");
  delay(5000);
}

Credits

Josh Makatura

Josh Makatura

1 project • 3 followers

Comments