

Hardware components | ||||||
_ztBMuBhMHo.jpg?auto=compress%2Cformat&w=48&h=48&fit=fill&bg=ffffff) |
| × | 1 | |||
 |
| × | 1 | |||
| × | 1 | ||||
| × | 1 | ||||
| × | 1 | ||||
| × | 1 | ||||
 |
| × | 1 | |||
Software apps and online services | ||||||
| ||||||
 |
| |||||
Hand tools and fabrication machines | ||||||
 |
| |||||
| ||||||
|
| |||||
With the Internet of Things, there are many opportunities to play with new technologies and come up with innovative devices that compliment the new technologies. This is one of them.
There are six components to this project:
- Board Design and Production
- Final Board Design and Soldering Tips
- Arduino Programming and Testing
- Setting Up the Node-Red Dashboard
- Wiring Up the Solar Panels and Batteries (if required)
- Wiring Up the Relays
- 3D Print a box for Your Setup
The images below are of the Arduino shield. The first image is of the original one that is shown in the photos. The second one is a revamped design. I've added a higher amperage and higher voltage regulator. The first voltage regulator is good for 300mA maximum 18 volts DC and the second is good for 1.5 Amps and 30VDC which is more in line with powering off of a larger 24 volt solar array.
I also moved the screw connectors forward and gave myself more space as it was tight fitting the relay screw connectors into their place. I also thickened up the relay PCB connections to take up to 5 amps comfortably.
The final design not only powers the unit, it is also monitoring its own power input. I had the boards produced by PCBway. Sign up at PCBway.com and do a quick quote. Upload the Gerber File and 7 days later you will have 5 boards to play with.
Tip #1 when soldering the SMD parts ..Solder your SMD parts First
* when using solder as opposed to solder paste solder 1 pad place your part heat the solder and let cool before moving your tweezers
* when cooled solder the other side optimum temp for this process is 300 degrees
Tip#2 Buy some low temp solder paste for the power chip and deposit 2 thin lines across the pads . *See pictures put the Board in a small oven at 350 degrees until you see the paste turn to solder ..Remove and check board before it cools. Keep an eye on the process
Make sure you trim all the inner pins down a bit so they don’t contact the helium boards.
Arduino Programming and TestingSetting Up the Node-Red DashboardTHE NODE RED SETUP ON THE RASPBERRY PI
OUTPUT FROM MY POWER SUPPLY
As you can see from the above picture and below picture the output is really close to real world values.
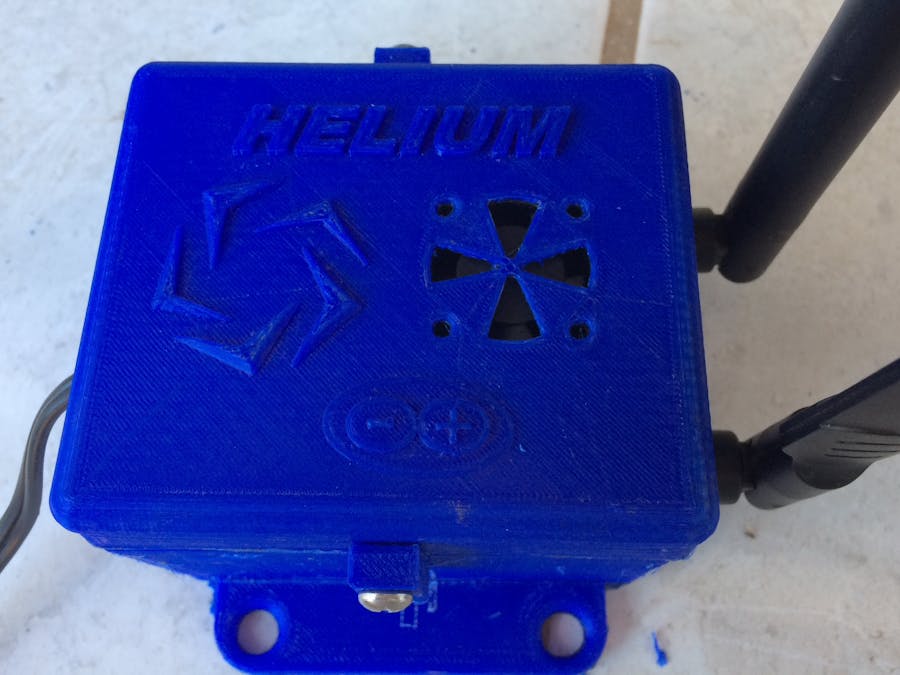
3D Printed Box
I had to learn how to draw with Fusion360 before I drew out this box ..There are really good tutorials on how to get started with this program. It is free to use if you are a "Student".. The box isn't tested yet as soon as my 3D printer comes in, I will print and test it and post the final design files for use in your project.
Wiring Up the Solar Panels and Batteries (if required)
I soldered the Jumper wire and the Battery hook up wire to make it more permanent and trouble free.
Bill of Materials: arduino_shield
Assembly List
1 Screw terminal - 2 pins pins 2; hole size 1.0mm,0.508mm; package THT; pin spacing 0.1in (2.54mm)
1 Camdenboss CTB0158-2 pins 2; hole size 2.7mm; package THT; pin spacing 0.2in (5.08mm); variant 90° 2 connector; part # CTB0158-2
1 0KΩ Resistor package 2010 [SMD]; tolerance ±5%; resistance 10KΩ
1 Ceramic Capacitor package 0805 [SMD, multilayer]; capacitance .1uF; voltage 6.3V
1 10kΩ Resistor package 0805 [SMD]; tolerance ±5%; resistance 10kΩ
2 Electrolytic Capacitor package 100 mil [THT, electrolytic]; capacitance 10µF; voltage 50.3
2 270Ω Resistor package 0805 [SMD]; tolerance ±5%; resistance 270Ω
1 V_REG_LD1117VXX package 78xxl; voltage 5V; chip LD1117VXX
Note :Not all Voltage regulators are equal use this one...
IC REG linear 5Volt 1.5 Amp TO220-3 Digi key number 295-13996-5-ND
1 Generic female header - 5 pins pins 5; form ♀ (female); hole size 1.0mm,0.508mm; row single; package THT; pin spacing 0.1in (2.54mm)
1 Rectifier Diode type Rectifier; package 300 mil [THT]; part # 1N4001
1 DS18B20 1-Wire Temperature Sensor part # DS18B20
2 Generic female header - 8 pins pins 8; form ♀ (female); hole size 1.0mm,0.508mm; row single; package THT; pin spacing 0.1in (2.54mm)
1 Generic female header - 10 pins pins 10; form ♀ (female); hole size 1.0mm,0.508mm; row single; package THT; pin spacing 0.1in (2.54mm)
1 Generic female header - 6 pins pins 6; form ♀ (female); hole size 1.0mm,0.508mm; row single; package THT; pin spacing 0.1in (2.54mm)
1 Camdenboss CTB0158-6 pins 6; hole size 2.7mm; package THT; pin spacing 0.2in (5.08mm); variant 90° 6 connector; part # CTB0158-6
1 LTC2945 technology 400mA Step-Up DC/DC ; package msop-12; variant variant 1; chip LTC2945
6 Pad layer copper1
2 RELAY package relay-jzc; variant pth4
1 Generic double row female header - 6 pins pins 6; form ♀ (female); hole size 1.0mm,0.508mm; row double; package THT; pin spacing 0.1in (2.54mm)
1 DIP SWITCH package dipswitch-02; channels 1


_3u05Tpwasz.png?auto=compress%2Cformat&w=40&h=40&fit=fillmax&bg=fff&dpr=2)
Comments