

Hardware components | ||||||
| × | 1 | ||||
| × | 6 | ||||
| × | 1 | ||||
 |
| × | 1 | |||
| × | 1 | ||||
| × | 1 | ||||
Software apps and online services | ||||||
| ||||||
| ||||||
 |
| |||||
Hand tools and fabrication machines | ||||||
 |
| |||||
 |
| |||||
 |
| |||||
Excited about pin badges I wanted to convert everything as a pin XD, I heard about DEFCON badges and how they use a standar connector to share their cool projects, the next pin had to be compatible.
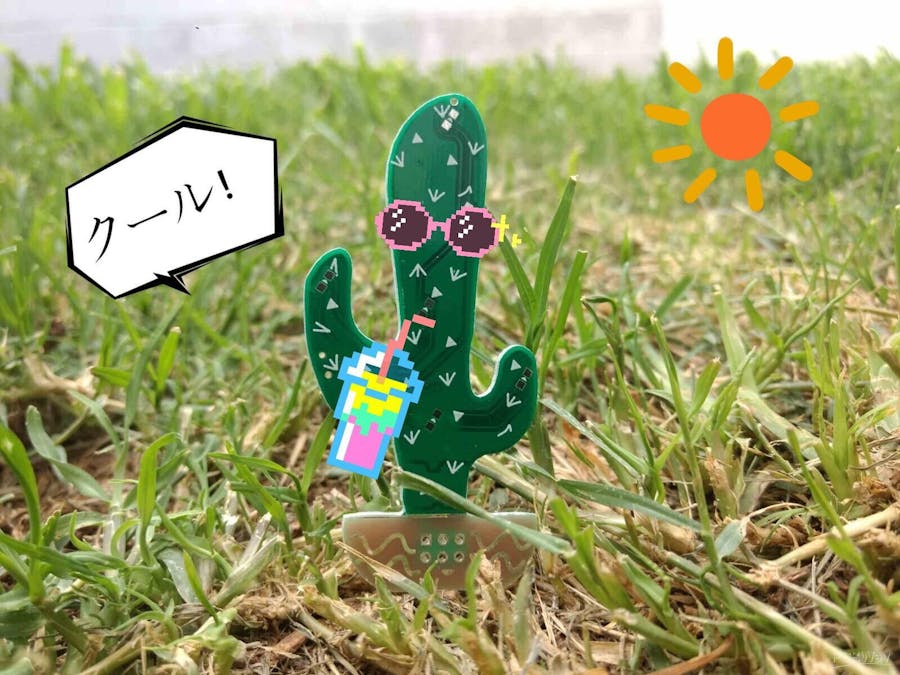
I did not know what to do, so after watching many mini cactuses on my way, it was clear just little hard to select one, there are a lot varieties, the right one to me was the Saguaro cactus, one of most representative cactus of Sonora's desert in Mexico.
Enable comments on YouTube video.
FunctionalityThe pin badge had to be interactive so it has a touch button, this is mabe by CVD technique.
When the device is turn ON, it auto calibrate the sensor and starts a animation loop, touching the button change the flashing loops, these animations are storage at ROM.
The LEDs are controlled by charliplexing, so few pins weres used.
The Saguaro Cactus can be used as a standalone pin badge, ornament or SAO badge.
I designed little micro USB to SAO badge power adapter, this way could test the badge cause I don't own any for now, this adapter help me to power the badges without using batteries.
Main Features- PIC12LF1840 MCU
- 1 mechanical switch to select power source 3v battery CR1220/SAO 1.69 badge
- 1 touch button
- 1 push button (not populated )
- 6 LEDs
- SAO badge compatible
- Standalone pin badge
- USB desktop ornament
Hand draw cactus and imported to inkscape.
The schematic was captured on Autodesk EAGLE,
6 LEDs on 3 GPios using charlieplexing technique, 1 LED on at time.
PCB hatch area works as touch sensor, R4 resistor to protect GPIO.
PIC12LF1840 operating voltage from 1.8 to 3.6v.
Battery operated from cr1220/25 battery, so this have to be low power.
This board also include a push button "S1", same use as touch sensor, not populated but was there in case the touch sensor were defective.
Import your SVG files(vector image) to Autodesk Fusion 360, scale it and make it PCB.
When done, just pull the pcb profile from EAGLE, have to link 360&eagle.
LEDs 1206 package are on top, else components on bottom layer.
Manual routing to get some fun, avoid passing the touch sensor trough power / clock lines, leave a clean path.
To get the brown pot the soldermask & copper were avoided, this exposes the pcb core, mainly FR4.
The spikes are triangles and arrows, all were hand draw and duplicated on inkscape.
I have a some of them, send me a message or check at Tindie Store.
I'm on twitter, you can see what's going on @IObrizio.
I hope you enjoy this gadget! :-D
Thank you, best regards!


_t9PF3orMPd.png?auto=compress%2Cformat&w=40&h=40&fit=fillmax&bg=fff&dpr=2)


Comments