


This is made using the list below, the reason for the "Air Freshener" is that there is a small depression that housed the button that will deform the finger by just enough to allow the stable reading of the blood flow, it's also large enough to house the power bank and USB/TTL interface with the natural angle of the display mounted on the rim.
ESP8266 - Use any prebuilt module with access to ADC, but Remove the LDR and Support Circuitry if fitted.
Alternatively this could all be constructed using an ESP8266-12E, wire and Pin Through Hole Components as in the case here, the additional components are 220uF cap * 2, LM1117-3v3, CP2102 breakout with a cheap 2300mAh power bank.
Parts Required:ESP8266 of whatever variety your budget or solder skills allow.
Pulse Sensor in the link below.
1 * 2K2 and 1 * 1K Resistor.
OLED Display in the link below.
The 2K2 resistor should be placed inline between the Pulse sensor Output and the ADC input, the 1K should be placed between ADC and Ground the pulse sensor Must be powered @ 3V.
The Software Required:The Arduino IDE 1.65 or above.
The ESP8266 Board Support files from the GitHub.
http://github.com/esp8266/Arduino
The original Pulse Sensor Amped Sketch files from the GitHub.
Link in the Contributors...
The sketch modified for the ESP and Ticker Library also Processing file for screen display.
http://github.com/environmentmonitor/
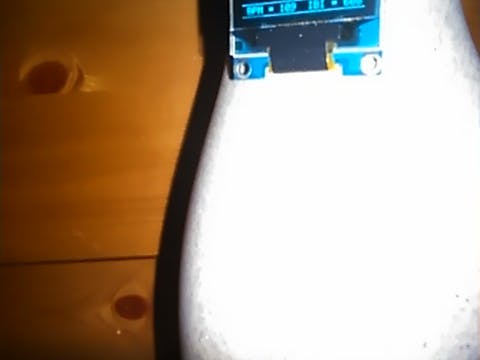
View the output....


Comments