

Hardware components | ||||||
| × | 1 | ||||
Software apps and online services | ||||||
 |
| |||||
| ||||||
1 / 3
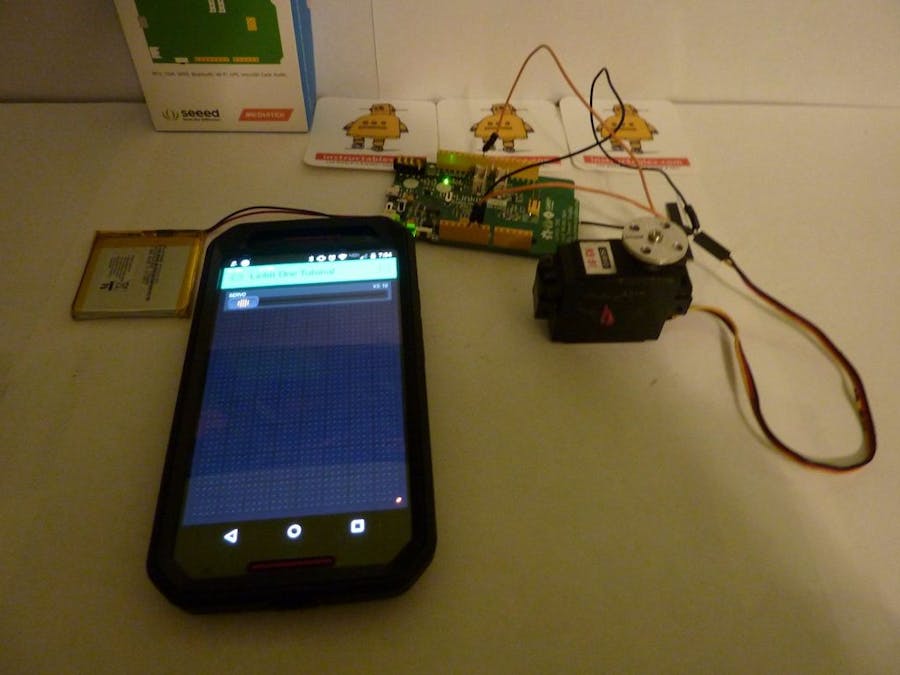
There are many uses for servos now-a-days and there are even more uses for WiFi servos! This project will demonstrate how to use a LinkIt One Board to Control a Servo using Blynk.
Step 1: Upload CodeIf you don't know how to upload code to the LinkIt One board click here. Here is the code I used:
//Code Created By FunguyPro www.funguypro.tk
#define ARDUINO 150 //#define BLYNK_PRINT Serial //Uncomment for Serial Data
#include  #include  #include  #include
Servo servo;
// You should get Auth Token in the Blynk App. // Go to the Project Settings (nut icon). char auth[] = "YOURAUTHCODE";
#define WIFI_SSID "YourSSID"     // Your network SSID (name) #define WIFI_PASS "YourPASS"     // Your network password (use for WPA, or use as key for WEP) #define WIFI_AUTH LWIFI_WPA      // choose from LWIFI_OPEN, LWIFI_WPA, or LWIFI_WEP
void setup() {   Serial.begin(9600);   Blynk.begin(auth, WIFI_SSID, WIFI_PASS, WIFI_AUTH);   servo.attach(9);   delay(500);   servo.write(90); }
BLYNK_WRITE(3) { servo.write(param.asInt()); }
void loop() {   Blynk.run(); }
1 / 3
If you don't know how to use Blynk click here.
Step 3: Need Help?Click Here.
Comments