

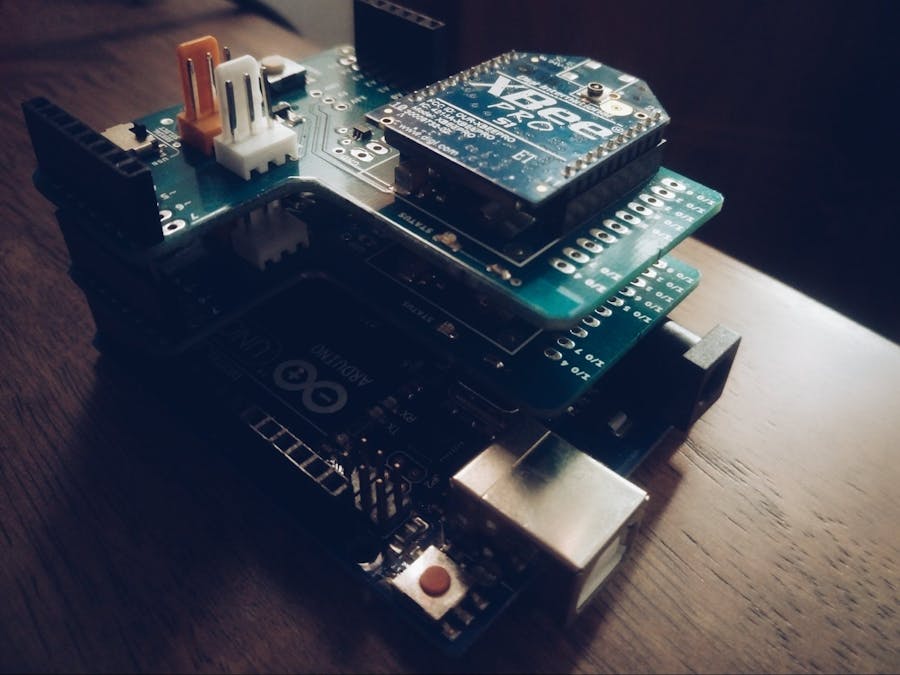
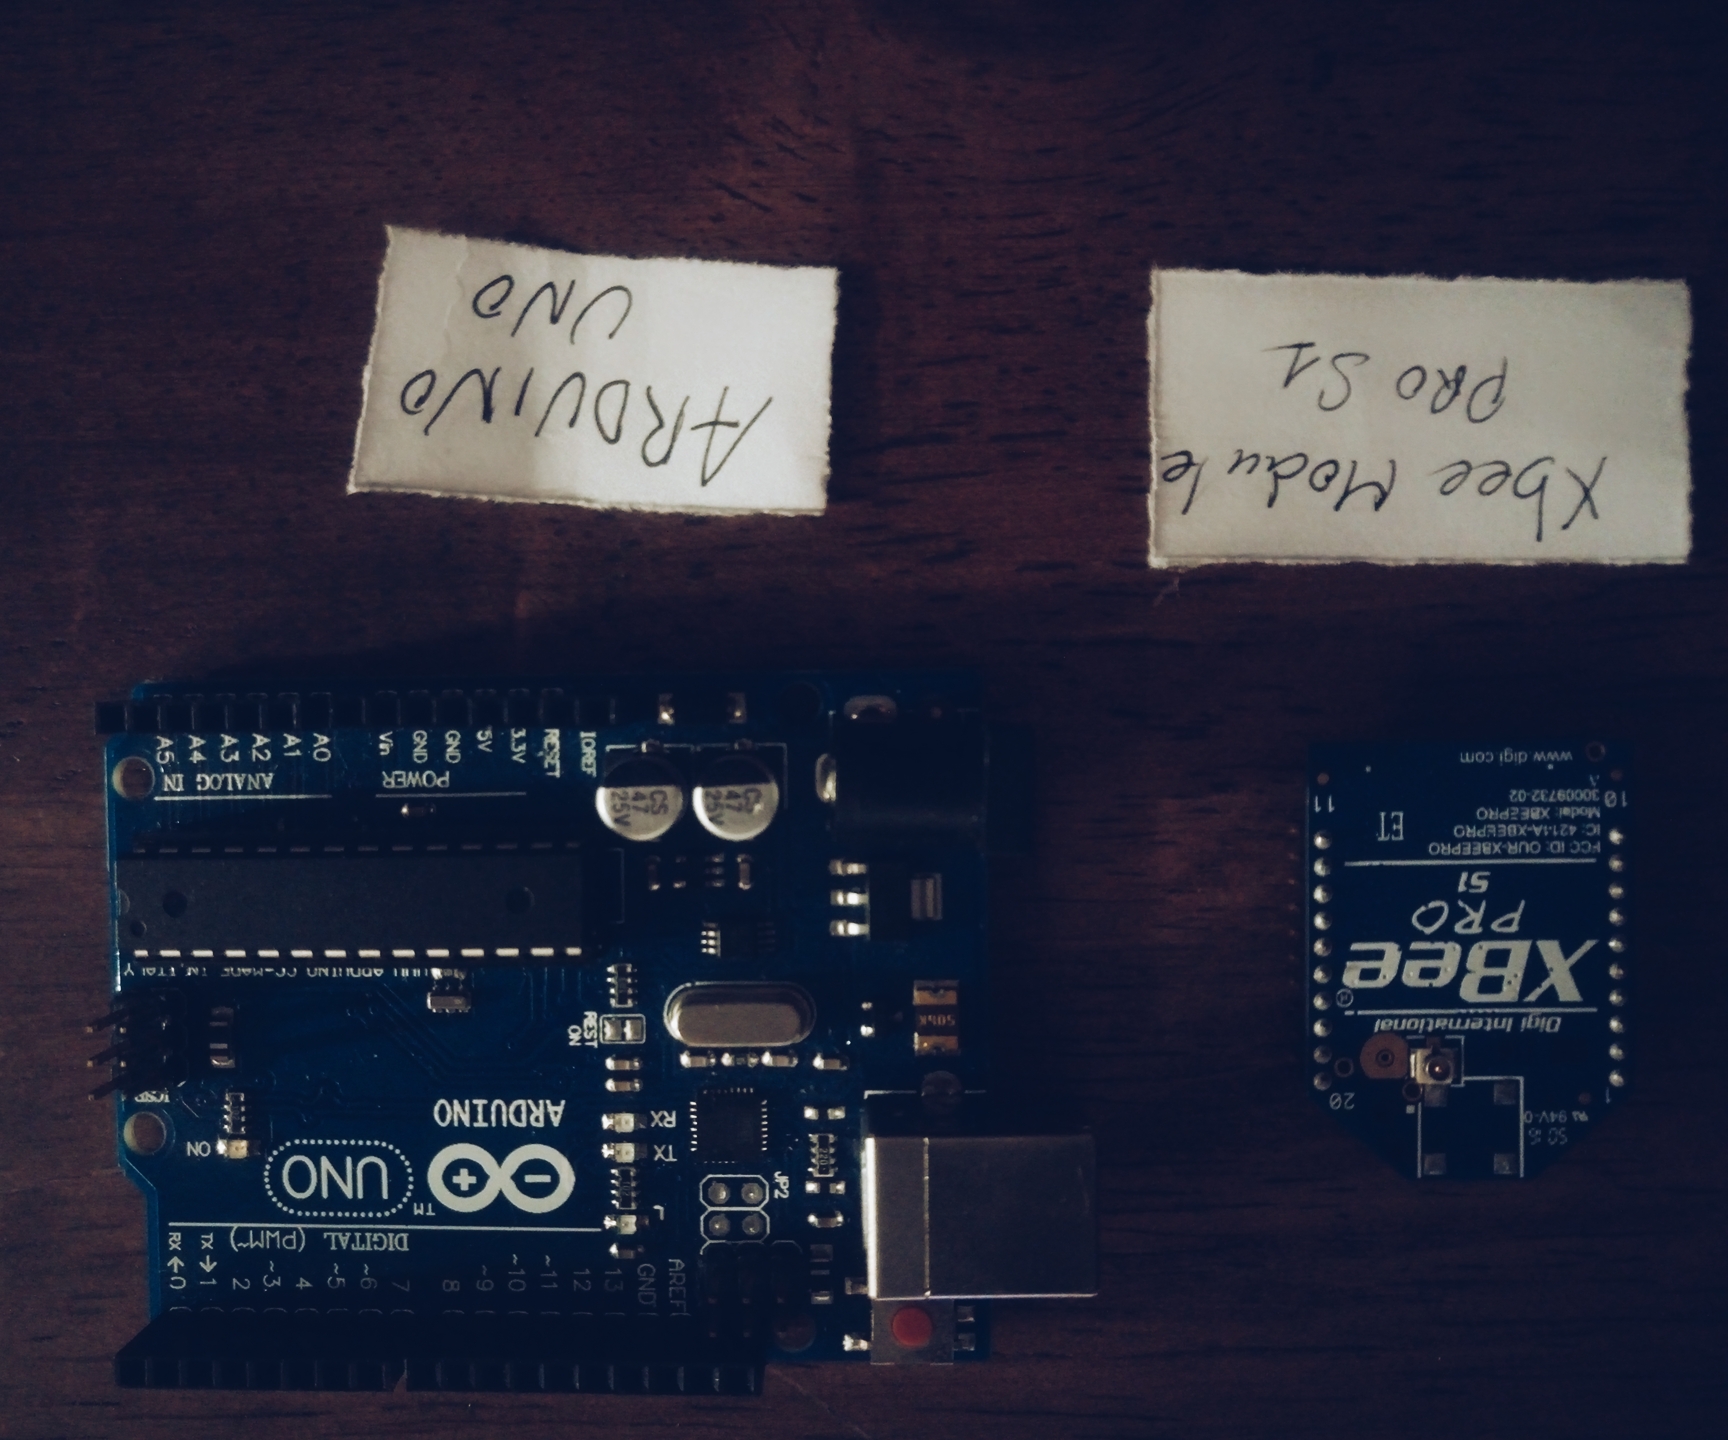
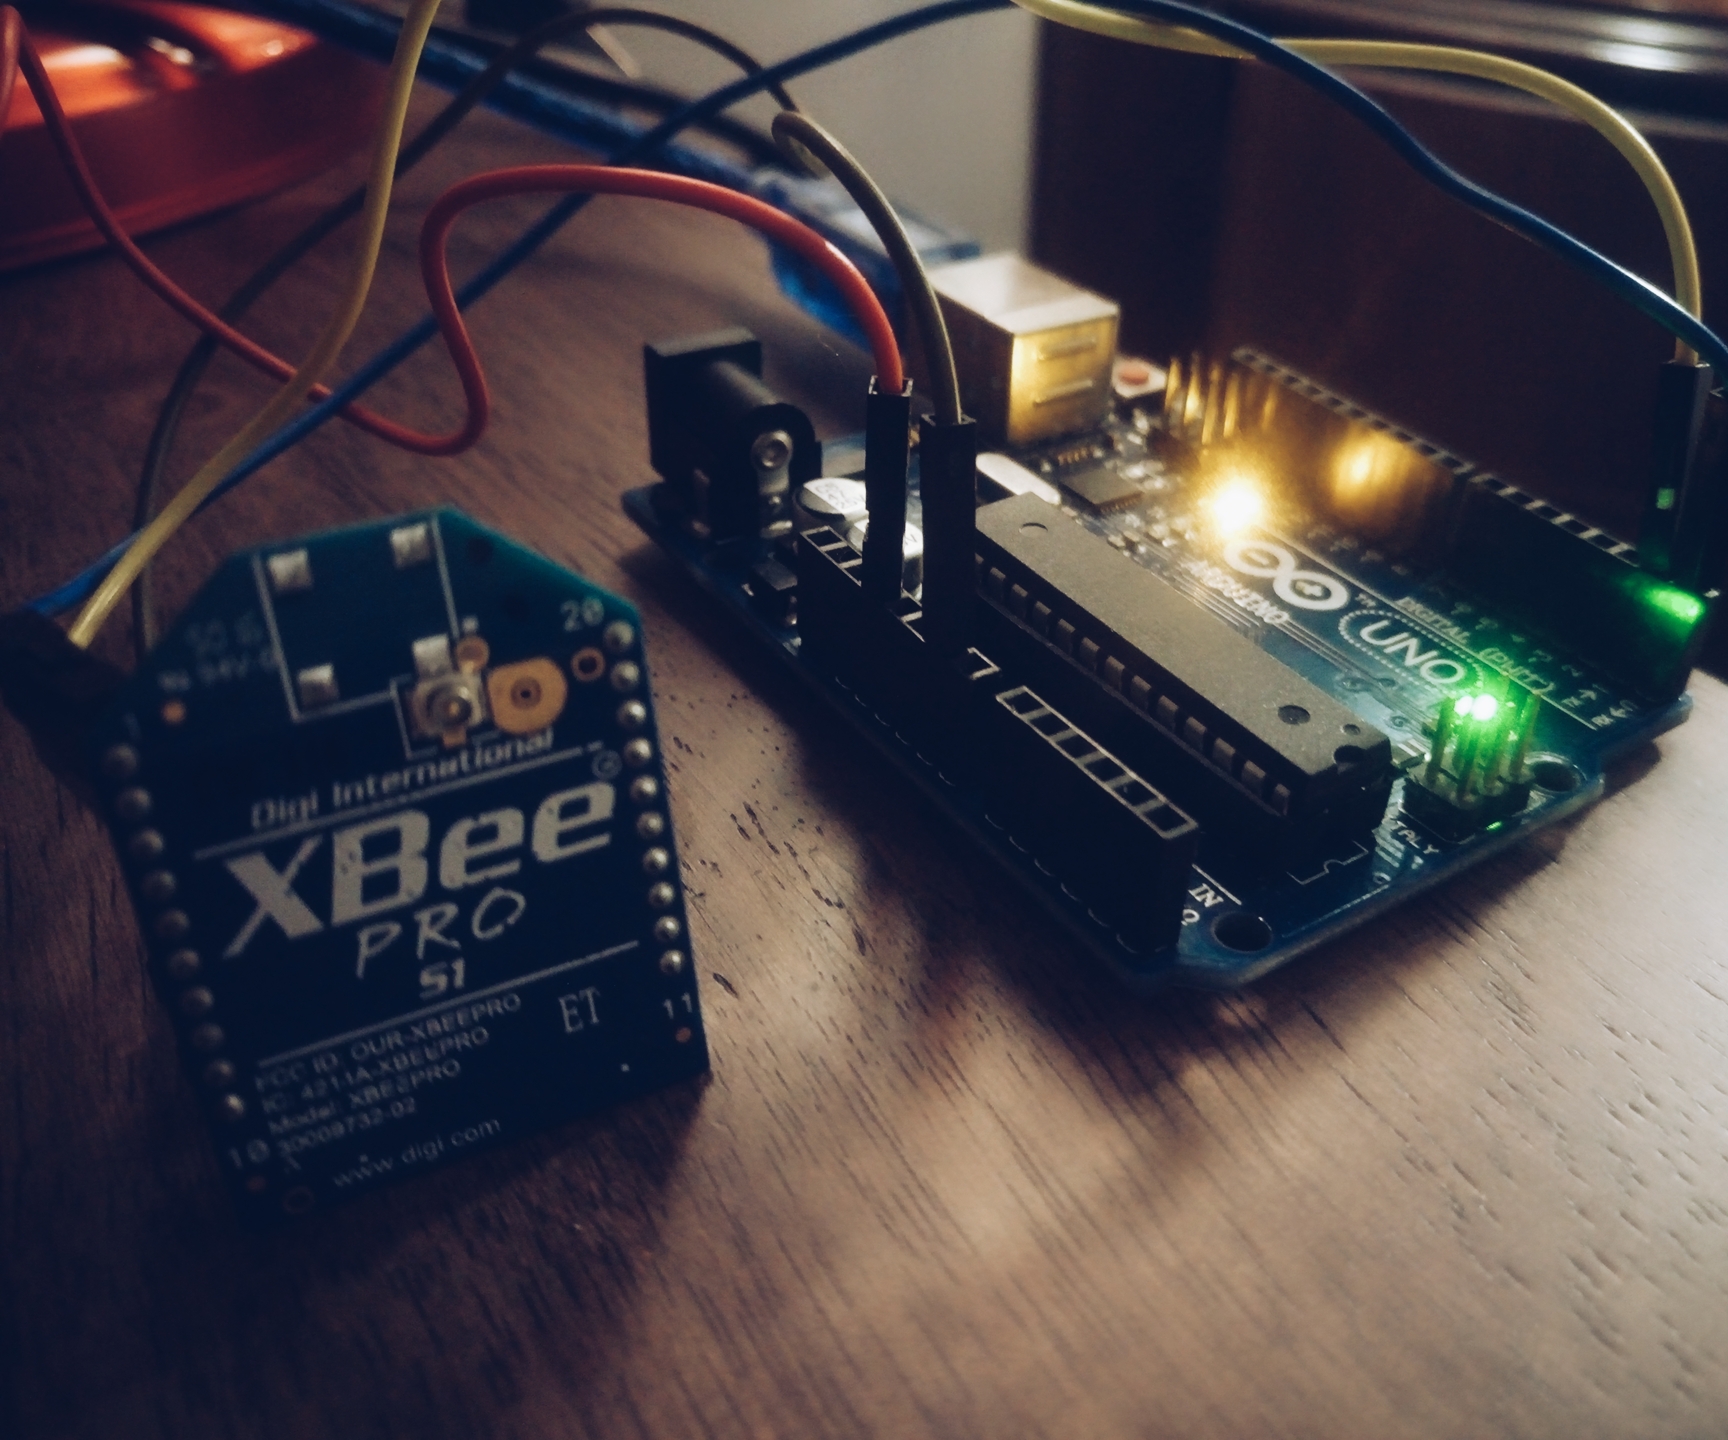
Hardware components | ||||||
_ztBMuBhMHo.jpg?auto=compress%2Cformat&w=48&h=48&fit=fill&bg=ffffff) |
| × | 1 | |||
| × | 1 | ||||
Software apps and online services | ||||||
 |
| |||||
| ||||||
Hand tools and fabrication machines | ||||||
 |
| |||||
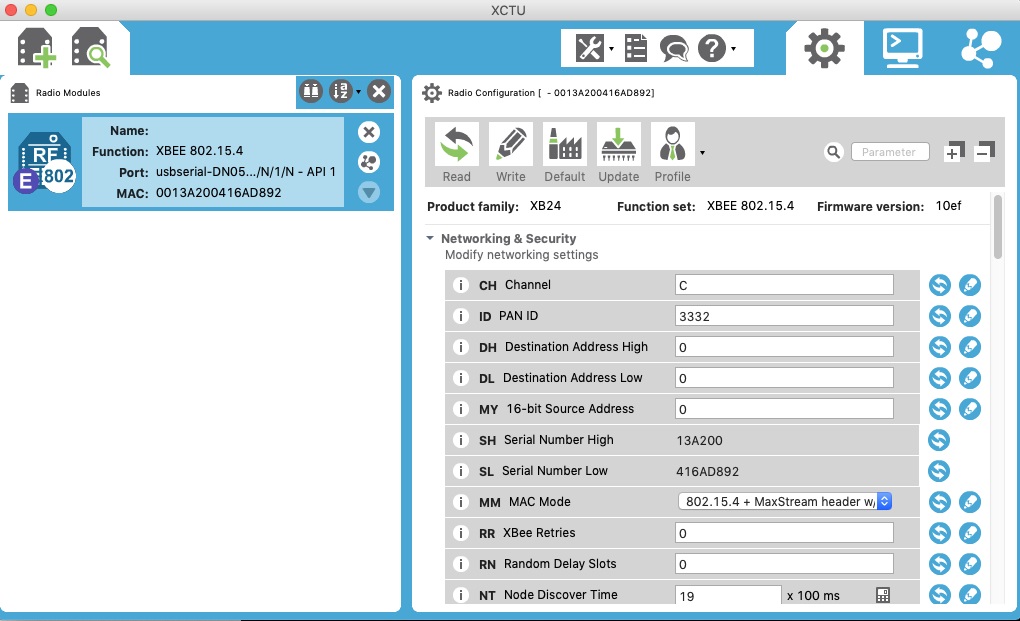
XBee is an RF module mainly used as a radio communication transceiver and receiver. It is mesh communication protocols, also XBee supports peer-to-peer as well as point to multi-point network communications wirelessly with the speed of 250 kbits/s, to operate XBee you need a transmitter and a receiver.
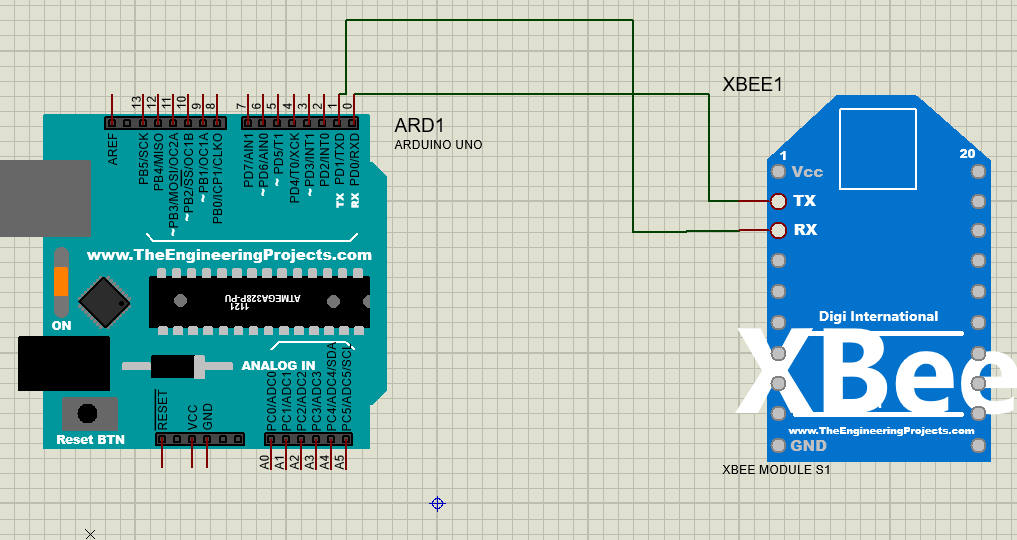
Proteus Circuit Diagram
Gnd Xbee - Gnd Arduino
Vcc Xbee - 3.3V Arduino
Tx - Rx pin D0 Arduino
Rx - Tx pin D1 Arduino
Vcc Xbee - 3.3V Arduino
Tx - Rx pin D0 Arduino
Rx - Tx pin D1 Arduino
Installing X-CTU
https://www.digi.com/resources/documentation/digidocs/90001526/tasks/t_download_and_install_xctu.htm
_SKxRIyNn6b.jpg)
After Uploading The Code
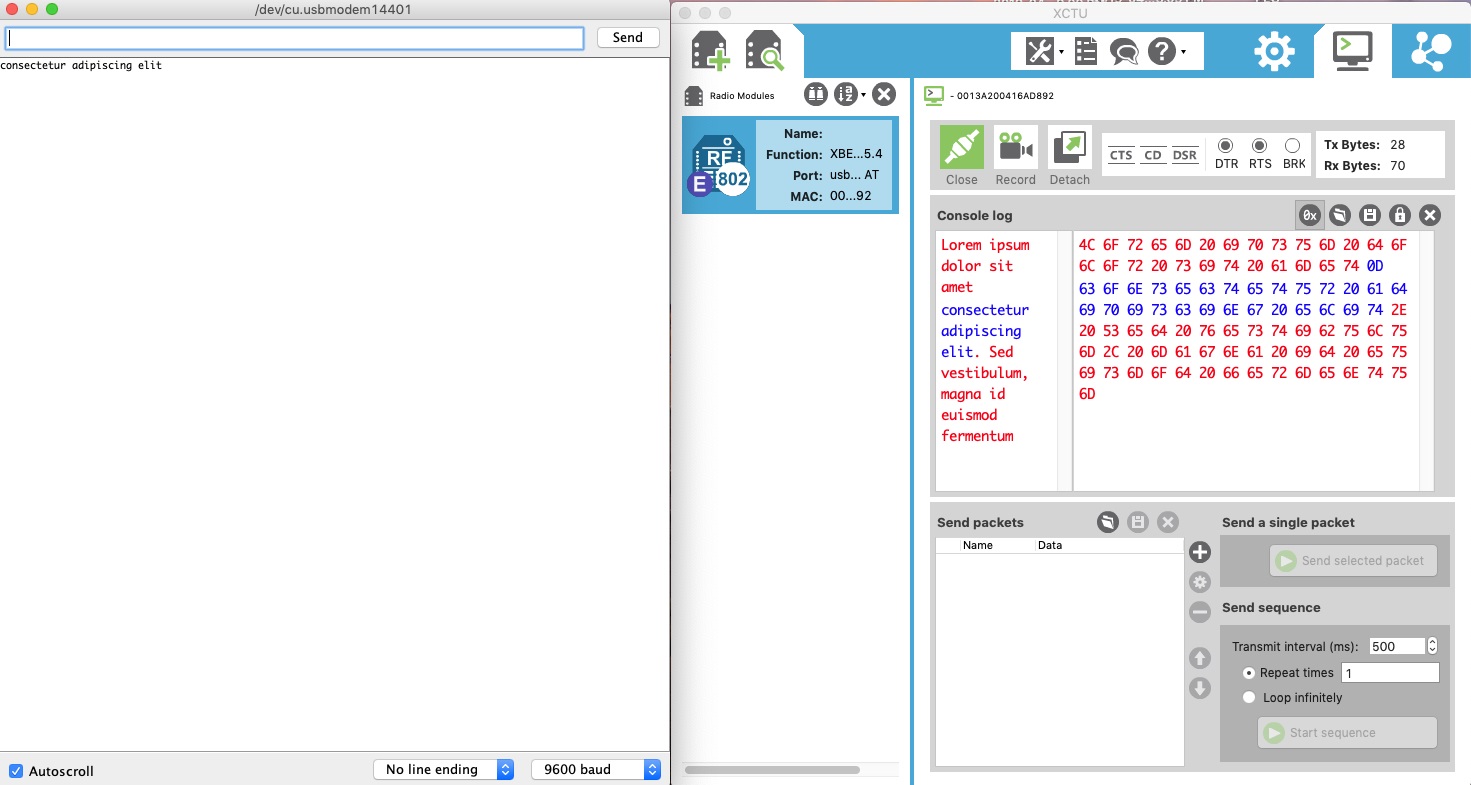
1/ Open the Arduino's Serial Monitor. Make sure the baud rate is set to 9600.
2/ On your X-CTU click on console mode.
3/ Type something in the console view, it should show up on the Serial Monitor.
4/Now try typing something into the Arduino's Serial Monitor , then press send ,it should show up in the console view.
2/ On your X-CTU click on console mode.
3/ Type something in the console view, it should show up on the Serial Monitor.
4/Now try typing something into the Arduino's Serial Monitor , then press send ,it should show up in the console view.


_SKxRIyNn6b.jpg)
Comments