
If you don't feel like learning anything or get stuck go here. It has the pin mapping already completed. Make sure to read the warnings and instructions in the hardware section.
BackgroundThis is a simple guide to setting you Edison up to function similarly to the Uno. Reasons for doing so include familiarity with the Arduino programming environment and language and the use of sensors with Existing libraries. Make sure to read the warnings and instructions in the hardware section.
DrawbacksWhile you will have attached headers and calculated pin conversions please note the Edison mini-breakout has a 1.8v operating voltage. You need logic level shifters if you plan to use it with 3.3v or 5v sensors and devices.
Also, not all libraries supported on the Uno work with the Edison.
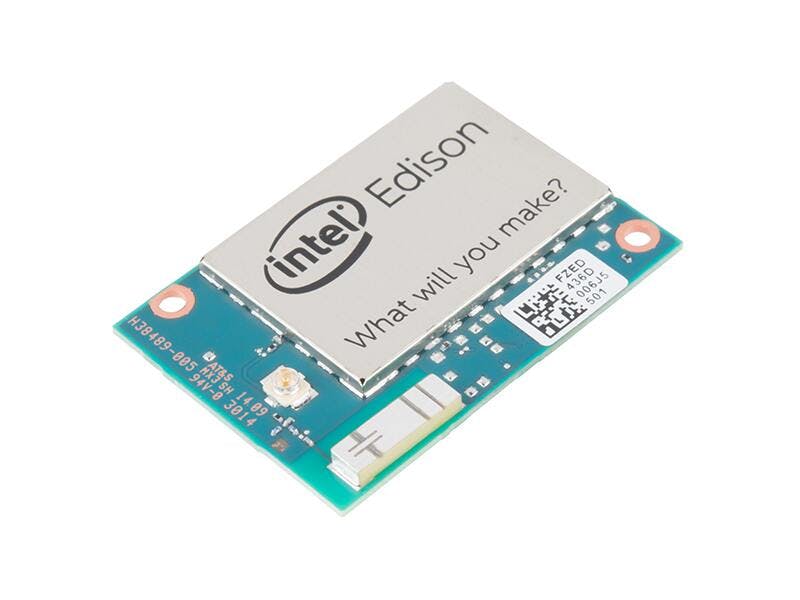
Pin CalculationsOn the Edison each pin has a Linux number. This is important because this is on the compute module itself, not one of the breakouts. In addition, the mini-breakout has pins labeled as Jxx-xx. The number after the J is the row or interface and the second number is the pin number inside that. We will be dealing with J17-J20, 4 rows of pins with 14 pins apiece. They are found on the back of the mini-breakout board in a rectangular formation.
Before you get out your soldering iron for the sake of knowledge you should calculate the pins yourself.
You need two documents to calculate the pins.
Arduino-Edison Hardware Guide (page 8)
Mini-Breakout-Edison Hardware Guide (page 9&10)
Now, calculating the pins is very simple. Open up a spreadsheet.
Name the first column "Arduino pin", the second "Linux pin" and the third "mini-breakout equivalent".
For each entry in the Arduino-Edison Hardware Guide put the Arduino pin in the first column and Linux pin in the second. Now, take each Linux pin number and look for the corresponding entry in the Mini-Breakout-Edison Hardware Guide and write the number such as J17 Pin 15 in the third column.
Unscrew the compute module from the mini-breakout board and carefully remove it.
Break the headers so that you have 2 pieces 1 long, 5 pieces 2 long, 1 piece 3 long, 1 piece 4 long, and 1 piece 5 long.
Stick the short end of the header through the appropriate hole so that the long end and plastic piece are on the bottom of the breakout board. Carefully solder the header into place. Repeat for all headers and header groups remaining using your table to figure out where to put them.
Make sure the single headers are not inserted askew, if they are the other headers will not fit into place correctly.
Make sure the solder does not bridge to other pads or pins. This may cause the Edison to be damaged beyond repair.
Your project is complete!
Comments