

If you’ve ever seen a tiny receipt printer and thought, “Hey, I kinda want one of those on my desk”, that’s basically what this ESP32 project is. We’re hooking up a mini thermal printer to an ESP32 and making it print text. No ink, no cartridges. Just heat and paper.
The cool part? These printers use regular thermal paper and don’t need much code at all. You just send serial data and boom, instant printed output.
This is How a Thermal Printer Actually WorksThere' no need for ink as a special print head inside the printer heats up specific spots on the thermal paper. The paper reacts to that heat and turns dark wherever the head touches it. That’s your “print.”
So the printer is basically:
- A heated print head
- A tiny motor to pull the paper
- A serial interface (UART) to receive data
That’s why the only real things we need here are power and some text data.
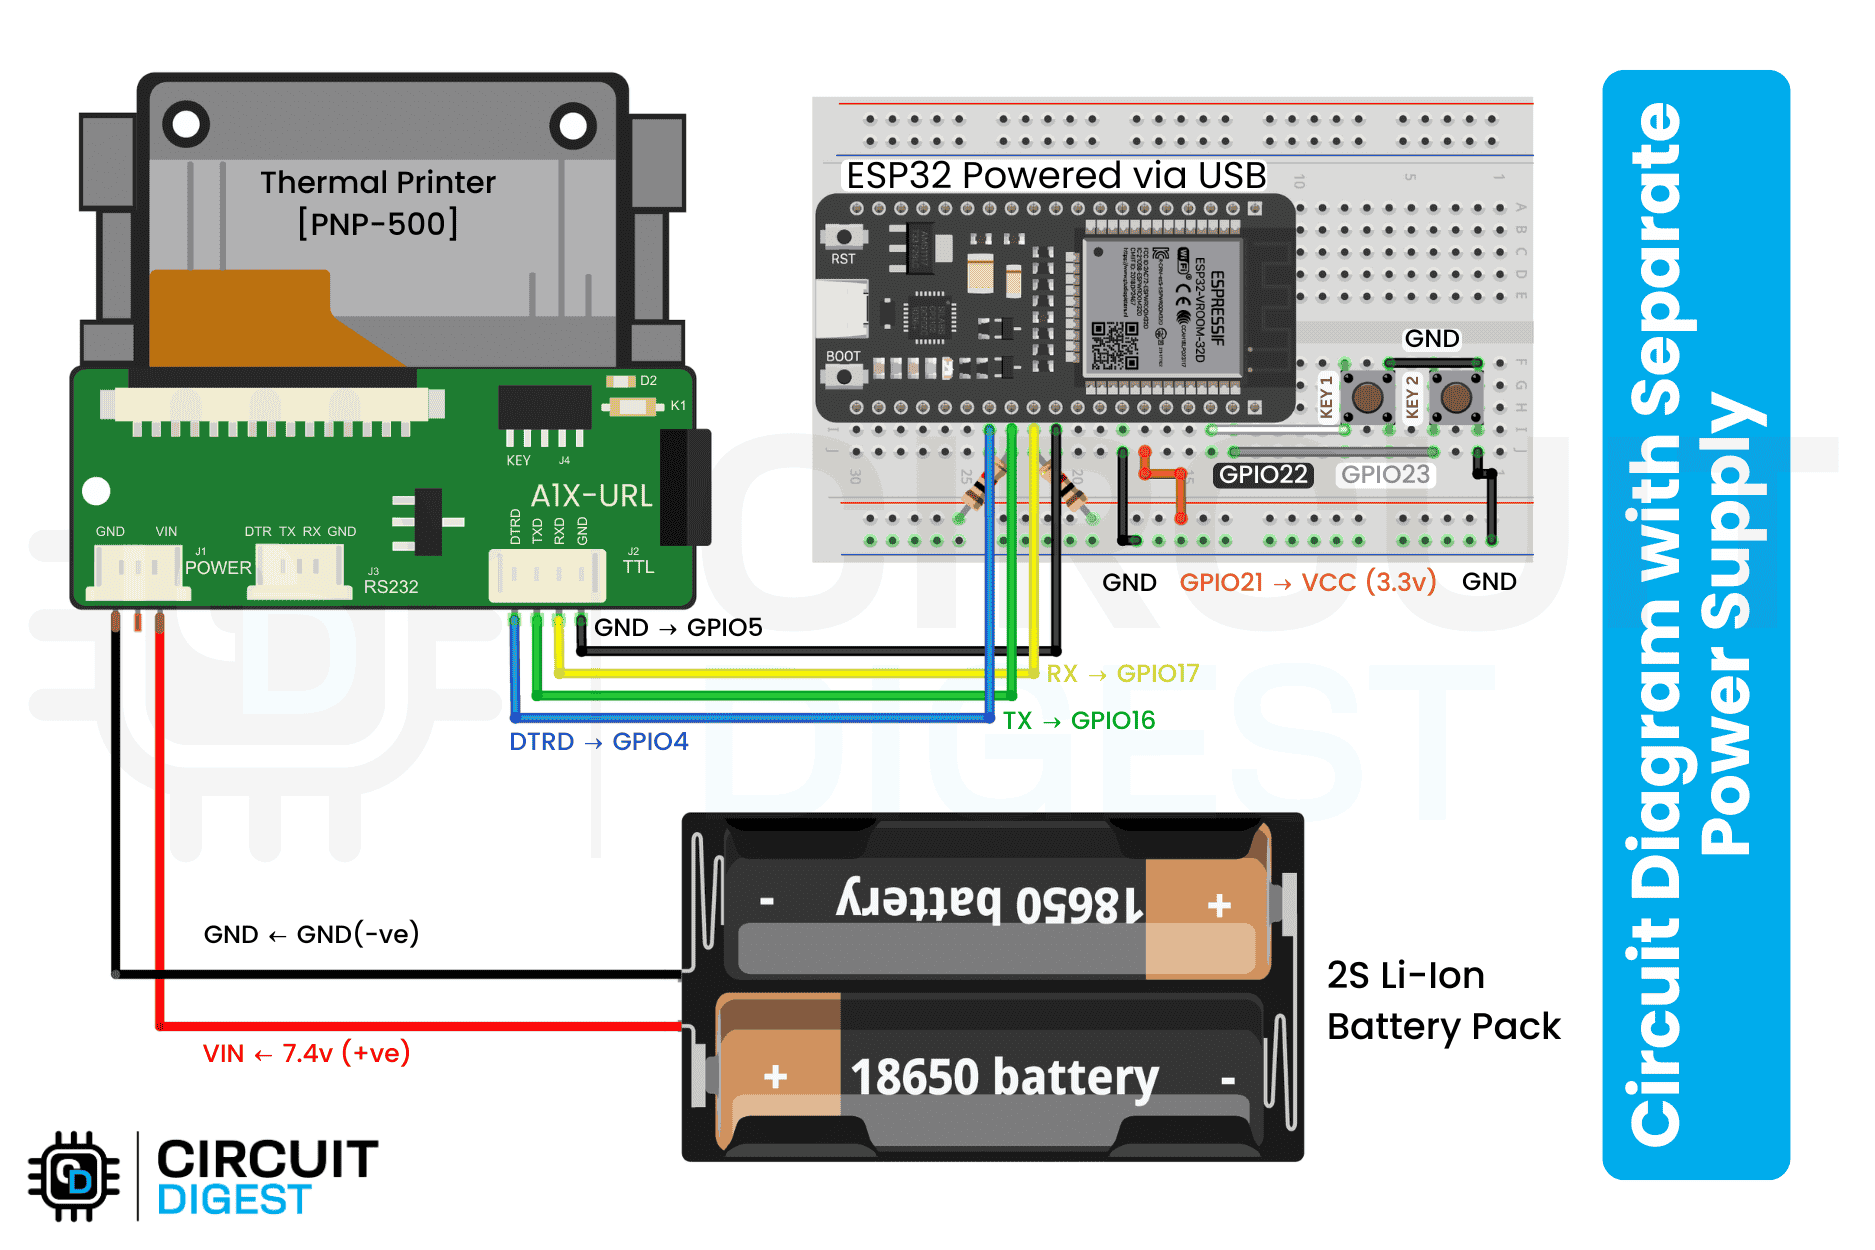
Wiring It Up (Super Simple)Make the following connections:
- Printer TX → ESP32 RX (GPIO16)
- Printer RX → ESP32 TX (GPIO17)
- Printer VCC → 5V Supply
- Printer GND → ESP32 GND
Once it’s powered, the printer’s status LED should turn on. That means it’s all ready to receive data.
What the Code DoesThe code does three basic things:
- Initializes Serial2 at 19200 baud
- Sends a title header
- Prints a short message to test the printer
You don’t need any external libraries for basic text. Just Serial2.print() commands. Graphics and QR codes are possible later, but this demo is only text.
Code Snippet:
void setup() {
  Serial.begin(115200);

  // Initialize Serial2 for the thermal printer
  Serial2.begin(19200, SERIAL_8N1, 16, 17);

  // Give the printer a second to initialize
  delay(1000);

  Serial2.println("*** ESP32 THERMAL PRINTER DEMO ***");
  Serial2.println("Hello, World!");
}

void loop() {
  // Nothing here for now
}
Important Note on Power:
Do not attempt running the printer off the ESP32’s onboard 5V pin.
The thermal head draws a lot of current when printing. The text will look faded or incomplete.
Use a separate 5V/2A supply and make sure both grounds are tied together. That gives clean and consistent output.
What You’ll See (Expected Output)Right after the ESP32 boots, you should see something like:
*** ESP32 THERMAL PRINTER DEMO ***
Hello, World!
If the text is clear and fully printed, pat yourself on the back. Everything’s wired correctly and the code is talking to the printer.
What You Can Do Next- Display sensor data (temperature, humidity, etc.)
- Print WiFi credentials or IP address at boot
- Make a mini notification printer for your desk
- Or just use it for random jokes, honestly, why not?
For a far more detailed walkthrough (including how to print images and QR codes with the same thermal printer): ESP32 Thermal Printer

Comments