ArminSchweizer
Published © GPL3+

High Voltage Converter And Flashtube (Part 2)

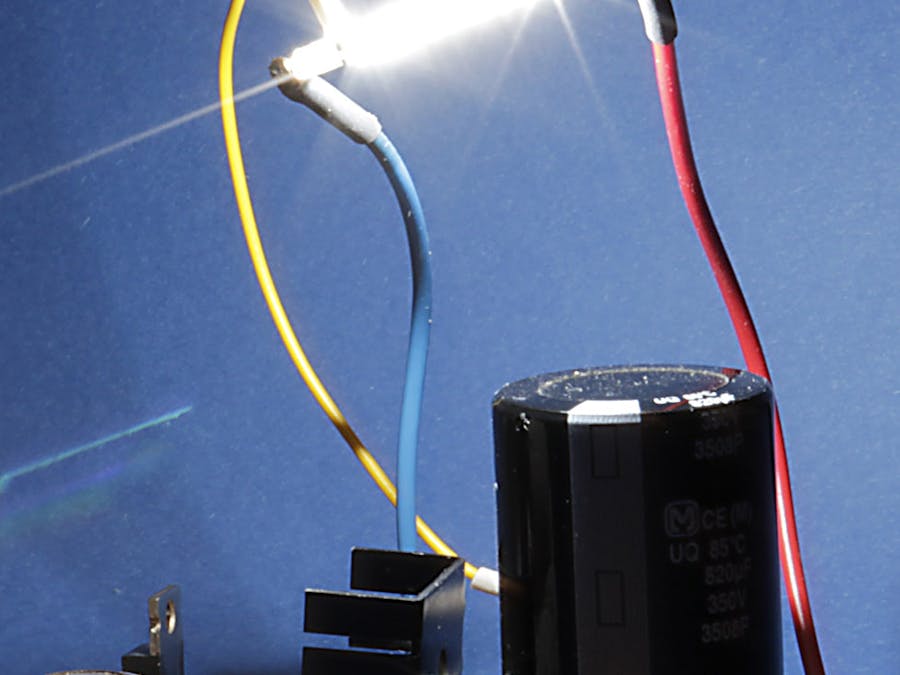
Showing a simple way to use a flashtube with high voltage generated using Arduino.

AdvancedProtip2,211
High Voltage Converter And Flashtube (Part 2)

Things used in this project

Hardware components

Arduino Micro
Arduino Micro
×1
Resistor 470 KiloOhm
×1
Resistor 1M ohm
Resistor 1M ohm
×2
Resistor 27 KiloOhm
×1
Resistor 100 ohm
Resistor 100 ohm
×1
Resistor 680 KiloOhm
×1
Transistor BC 550 C
×1
Transistor BC 560 C
×1
Thyristor S 2516 MH
×1
Flash-Tube FT 3234 S
×1
Ignition Transformer C - E3E - 1.2
×1
Capacitor 47 nF 350 V, Ceramic
×1

Story

Read more

Schematics

High-Voltage electronic flash-tube

Simple Circuit for electronic flash-tube making use of high voltage generated with Arduino

Electronic flash-tube circuit

describes how the hardware of the electronic flash-tube works

Code

Electronic Flash-Tube used with Arduino

C/C++
This is an example (part 2) on how a flash-tube can use high voltages generated by the Arduino
/*
  High-Voltage Converter and Flash-Light
  ======================================

  Control a DC-DC converter to generate High Voltage for Flash and trigger flashlight once the required 
  working-voltage is reached. This project uses an Arduino Micro (5V power) with Aref connected to a voltage 
  of 4.096 Volts. Pin numbers refer to the Arduino Micro Pin numbering

  Revision History
  ----------------
  2017-06-12 wasc High voltage generation code
  2017-07-09 wasc Added code for triggering flash-light 
  2017-07-28 wasc reformatted to fit with the published paper

  ------------------------------------------------------------------------------------------------------------------
*/


// define constants and variables with global scope in this module

// Part 1: High Voltage boost converter
const int PWM11 = 11;                  // this PWM (Timer-Counter 0) can be configured to run quite fast, see setup()
const int HighVoltageInput = 6;        // Analog 6 input (A6) is used to read the high voltage value
const int MaxPulseWidth = 255;         // Maximum value for the pulse width setting (hardware determined)
const int BoostPulseWidth = 210;       // Pulse width to be used in PWM when HV is generated 
const int SleepPulseWidth = 3;         // Pulse width to be used in PWM when HV has reached working value
const int MaxHighVoltageValue = 445;   // this is the value to set the expected High Voltage 
                                       // 110 = approx. 50V
                                       // 220 = approx. 100V
                                       // 445 = approx. 200V
                                       // 560 = approx. 250V
const int HVhysteresis = 10;           // To ensure sufficient trigger pulse width for thyristor, trigger pulse will end 
                                       // only when high-voltage has decreased by hysteresis value

// part 2: electronic flash-tube
const int FlashPin = 7;                // Digital Pin 7 is used as output to fire the flash


// ----------------------------------------------SETUP-------------------------------------------------------------
// This function is executed one single time at the start of the microcontroller (HW&SW initialisation)
void setup() {

  // Set Arduino Micro Pin D11 as PWM-output and set the prescaler of Timer/Counter 0 to 1x to allow 65kHz
  pinMode( PWM11, OUTPUT);
  TCCR0B = 0x01;                // This will result in a frequency of about 65 kHz at PWM11
                                // This changes the predefined Arduino environment -- see hardware manual
                                // INFO: This changes also the delay() function which provides much shorter delays now!

  // use the 4.096 Volts reference at Aref pin
  analogReference( EXTERNAL );

  // set Digital Pin 7 as output
  pinMode( FlashPin, OUTPUT);
  digitalWrite(FlashPin, LOW);  // Just to be sure the Thyristor will not be triggered yet

}


// ------------------------------------------------------LOOP-------------------------------------------------------
// This function is executed repeatedly forever (make sure it can run through quickly and will not be stuck in a waiting loop)
void loop() {

  // define some variables to be used here
  int PulseWidth;                     // the pulse width to be set in the PWM, computed by algorithm below
  int HighVoltageValue;               // the ADC reading for the high voltage 0 = 0V to 1023 = 409.5V
  

  // This is the control section to control the generation of the high-voltage. A timer of the Arduino is used as PWM 
  // to generate the pulses for the simple boost converter. The microcontroller generates the pulses and controls the pulse 
  // width to generate the desired high voltage value.

  // measure the high voltage value with analog input
  HighVoltageValue = analogRead( HighVoltageInput );                  // will be used for setting the required pulse width of the PWM
                                                                      // as well as (in this sample code) to trigger the 
                                                                      // flash-light when working voltage is reached
  
  //now compute the required pulse width
  if (HighVoltageValue <= MaxHighVoltageValue) PulseWidth = BoostPulseWidth;  // Full Pulse width while high voltage is below target value.
  else PulseWidth =SleepPulseWidth;                                           // Once high voltage reaches target voltage, reduce 
                                                                              // pulse width so far as to disable the Power FET
                                                                       
  // now set the PWM to the desired pulse width
  analogWrite( PWM11, (MaxPulseWidth - PulseWidth) );         // Note: Pulse is inverted by hardware to ensure proper operation 
                                                              // when pin is tri-stated (e.g. at startup)

 
  // Trigger flash when expected high voltage is reached. This results in a 'traffic flashlight'. 
  // Here would be the place to trigger the flash for another reason, e.g. based on an photosensor signal, electrical contact etc.
  if (HighVoltageValue >= MaxHighVoltageValue )    digitalWrite(FlashPin, HIGH);                      // trigger flash when expected voltage is reached
  else if (HighVoltageValue < (MaxHighVoltageValue - HVhysteresis))  digitalWrite(FlashPin, LOW);     // stop trigger pulse only when the high voltage 
                                                                                                      // has decreased below the working voltage
                                                                                           
}


INFORMATION
Here we use Arduino's Digital Output 7 is used for the generation of the trigger pulse to fire the flash-tube. In this example code the pulse is started at the point in time when the expected working voltage of the flash-tube is reached. To ensure a sufficiently wide trigger pulse at the gate of the thyristor, the pulse will be turned off only at the point in time, where we can be sure, that the thyristor is fully conducting: This is the case, once the high voltage has been sinking by some volts (HVhysteresis):
if (HighVoltageValue >= MaxHighVoltageValue )    digitalWrite(FlashPin, HIGH);
else if (HighVoltageValue < (MaxHighVoltageValue - HVhysteresis))  digitalWrite(FlashPin, LOW);
This simple code results in a flash which is repeatedly firing (e.g. as you find it in traffic warning lights). By changing the code you can easily fire the flash under different circumstances, e.g. when an opto-coupler is activated etc.

Credits

ArminSchweizer

ArminSchweizer

4 projects • 1 follower

Comments