


Software apps and online services | ||||||
 |
| |||||
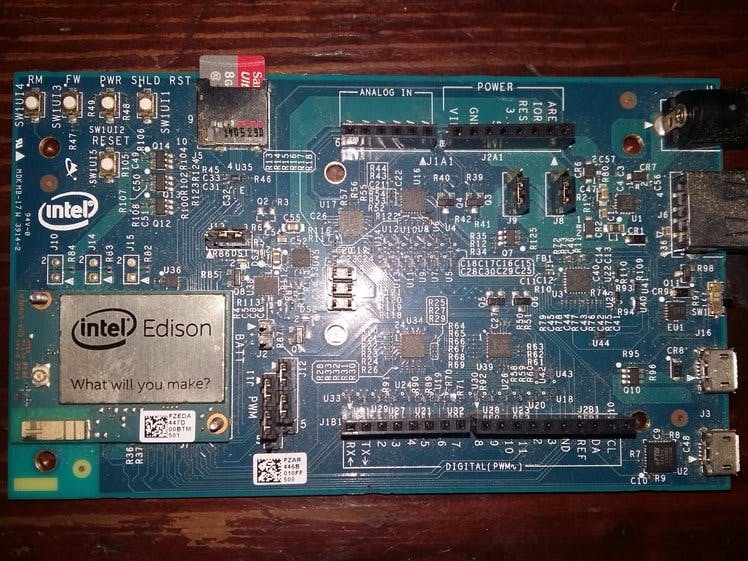
The following information will help you set up your SD card and use it to boot the Edison, for this tutorial we recommend an 8 - 16gb SD.
Setup Your EdisonBefore we can setup your SD card, you need to have your Edison already setup. The easiest way to do this is to download one of the official installlers from the Intel® Edison Downloads Page. At the time of writing this article the latest installers are:
First of all you need to format your SD card, for this section of the guide we will be using a Linux computer running Ubuntu and the GParted software.
Open up a terminal and install GParted if it is not already installed.
$ sudo apt install gparted
Insert your SD card into your computer and open GParted.
$ sudo gparted
Select the SD card by clicking on the dropdown menu in the top right of the GParted GUI.
Delete the partitions from your SD card by right clicking on them and selecting delete.
Create a new Primary Partition by right clicking, selecting new and filling out the information, make sure you have EXT4 selected as the filesystem.
When you have filled out the options, click Add and wait for the process to complete.
Download The Latest YoctoThe next step is to download the latest Yocto image for your Edison, to do this visit the following link:
Intel® Edison Module Downloads
Once on the page scroll towards the bottom in the software section and click on the link to download the latest Yocto Poky Image, once downloaded, unpack the contents to ~/Downloads/edison.
Mount & Move Files To The SD CardNext you need to move into the previously created edison folder:
$ cd ~/Downloads/edison
Then enter the following command to create the Rootfs directory:
$ mkdir Rootfs
Then mount the edison image to the Rootfs directory:
$ sudo mount ./edison-image-edison.ext4 Rootfs
Finally copy the files to your SD card, replacing YOUR_SD_CARD with the name of your mounted SD card.
$ sudo cp -a Rootfs/* /media/YOUR_SD_CARD/
Now you need to take your SD card and plug it into the Edison, run the following command to find the name of the SD:
# dmesg |tail -n 10
You should see an output similar to the one below:
 [53400.186825] mmc1: new high speed SDHC card at address 1234
    [53400.187781] mmcblk1: mmc1:1234 SA08G 7.28 GiB
    [53400.189731]  mmcblk1: p1
    [53412.585076] EXT4-fs (mmcblk1p1): recovery complete
    [53412.589107] EXT4-fs (mmcblk1p1): mounted filesystem with ordered data mode. O
This tells us that the SD card is “/dev/mmcblk1” and the partition we’ve created is "/dev/mmcblk1p1". Set the U-Boot environment variables (Ensure you copy the full line below):
 # fw_setenv mmc-bootargs 'setenv bootargs root=${myrootfs} rootdelay=3 rootfstype=ext4 ${bootargs_console} ${bootargs_debug} systemd.unit=${bootargs_target}.target hardware_id=${hardware_id} g_multi.iSerialNumber=${serial#} g_multi.dev_addr=${usb0addr}'
 # fw_setenv myrootfs_sdcard '/dev/mmcblk1p1'
 # fw_printenv uuid_rootfs
 #  fw_setenv myrootfs_emmc 'PARTUUID=UID FROM ABOVE STEP'
 #  fw_setenv myrootfs '/dev/mmcblk1p1'
 #  fw_setenv do_boot_emmc 'setenv myrootfs ${myrootfs_emmc}; run do_boot'
 #  fw_setenv do_boot_sdcard 'setenv myrootfs ${myrootfs_sdcard}; run do_boot'
 #  sudo reboot
At this point you will not be able to connect to the Intel® Edison with SSH and the device will not be connected to your network. Use the following steps to connect to your Edison.
You will need screen shell session manager, if you do not have it installed, use the following command:
$ sudo apt-get install screen
Next to connect to your Edison, use the following command (ttyUSB0) should be your Edison:
$ sudo screen /dev/ttyUSB0 115200
- Press enter twice and you will see the login screen.
- Enter root as the login.
- Press enter at the password prompt.
You need to enable SSH and setup your WiFi connections, take the following steps to accomplish this.
In your existing screen session that you created above, enter the following command:
# configure_edison --setup
- You will be prompted for a password. Use a secure password!
- You will be prompted for a unique name for your Edison.
- You will be asked if you want to set up WiFi, type Y and hit enter.
The device will then scan for all available WiFi networks, when prompted, enter the number that relates to the WiFi network you want to connect to, when asked to confirm, type Y and hit enter if the network is correct.
You will be prompted for your network password, enter your password and hit enter, the device will then connect to the network, you will then be provided with your IP and your local address for your device, you will now be able to access your device via SSH.
Verifying You Are Using Your SD CardTo verify that you are using your SD card, enter the following command:
# df -h
You should see the following output:
 Filesystem       Size  Used Avail Use% Mounted on
    /dev/root        7.2G  1.1G  5.8G  15% /
    devtmpfs         480M     0  480M   0% /dev
    tmpfs            481M     0  481M   0% /dev/shm
    tmpfs            481M  596K  480M   1% /run
    tmpfs            481M     0  481M   0% /sys/fs/cgroup
    tmpfs            481M  4.0K  481M   1% /tmp
    /dev/mmcblk0p10  1.3G  2.1M  1.3G   1% /home
    tmpfs            481M  6.1M  474M   2% /var/volatile
    /dev/mmcblk0p5  1003K   19K  913K   3% /factory
    tmpfs             97M     0   97M   0% /run/user/0
    /dev/loop0       767M   12K  767M   1% /media/storage
If everything has been successful, /dev/root should match the size of your SD card.
Last stepsThere are a few more steps to take so you can use the full space available on your SD card.
Enter the following command and remove the last line you see, this will disable the home mounting:
# nano /etc/fstab
Stop the SD card being automounted to /media/sdcard:
 # cd /etc/systemd
    # systemctl stop media-sdcard.mount
    # systemctl disable media-sdcard.mount
    # rm '/etc/systemd/system/default.target.wants/media-sdcard.mount'


Comments