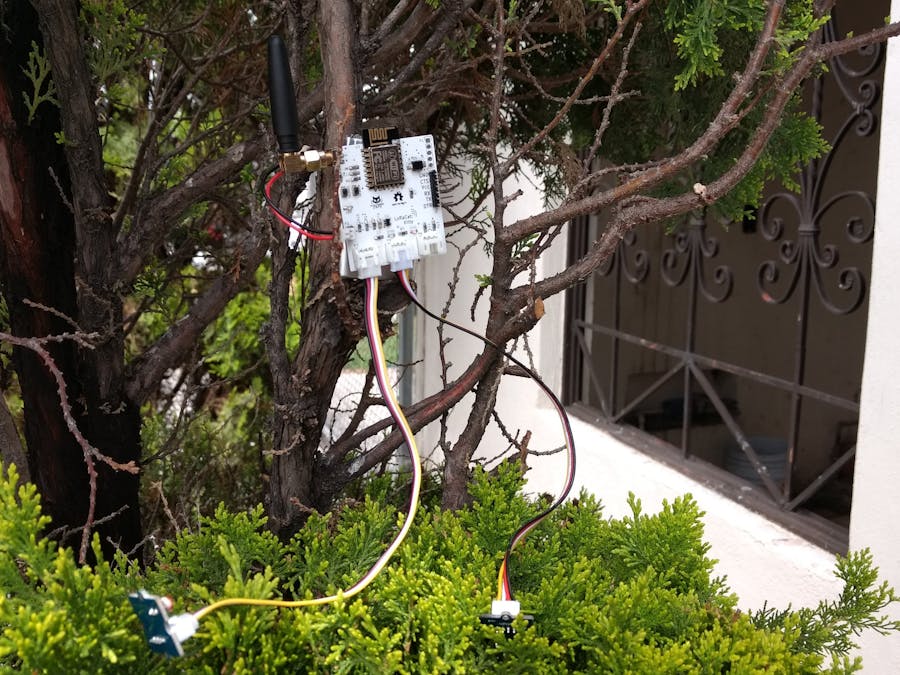
Hi Hackster.io friends. This time we will show you the easiest way to connect a device to The Things Network and a LoRaWan network with the LoRACatKitty - a device capable of connecting infinite sensors and actuators without welding or a breadboard because of its grove connectors.
SensorsFirst thing you will need is to choose one of the sensors of the SeeedStudio starter kit. This time we chose the easiest ones: the button and the light sensor - one is a digital input and the other is an analog input.
Once the sensors are selected we connect them to the board.
The Things NetworkNow its time to generate the application and the node in our The Things Networks console.
First thing you need to do is to create an application that contains all the nodes you will use. Once the application is created you can generate one or more nodes at the "register device" section.
Once the device is created, you can connect to the network in two ways: OTAA or ABP. In this example, we'll use the OTAA way; if you want to connect by ABP, you need to access to the settings section and select the ABP activation.
Now that you have your node, you must copy the configuration data for:
- OTAA: DevEUI, AppEUI and AppKey
- ABP: AppDevice Address, Network SessionKey and AppSessionKey
This data will be put on the Arduino sketch.
Originally LoRaCatKitty was created to be used with an Android application which allows you to insert the configuration data to access to the network and select just by dragging and dropping the selected sensor and read the data onscreen.
For now it isn't available, it won't be completed until the Kickstarter campaign reach its goal. If you want this characteristic, support our campaign.
For the moment we can easily use the Arduino IDE to program the board using the next sketch. You only need to change the next values with yours, previously generated in The Things Networks.
It's time to upload your sketch and open the serial monitor that displays the light level and the button state.
First thing you'll see is the device trying to connect to the LoRa network. You need to wait until it connects, if it doesn't connect, check your configuration data and try again.
Once connected to the LoRa network, it will show you via the serial monitor the sensor's state.
And now you should see your values in hexadecimal in the TTN platform.
Your connected!
The circuit should look like this:
Also you can see the battery level by the green and red LEDs over the board.
Now that you're connected to TTN you can use Cayenne, a platform created to design dashboards with graphs easily.
In order to use it, you must register at mydevice.com and activate the integration inside the TTN console with Cayenne. For more detail, you can visit this link.
Select now "add new device" -> "LoRa" -> "The Things Networks" --> "Cayenne LPP".
Put the DevEui of your node and "Add device". With that done, you'll have a screen like this - with your data, analog and digital input. Also you have the RSSI and the SNR of the Node Signal with the gateway.
ResultIf you have made it to this point, congratulations! Now you have a device connected to the LoRa network of The Things Network and a dashboard with cayenne where you can easily find your results.
It's time to put your LoRaCatKitty somewhere, where you can probe its simple functionalities.
If you have any issues, you can leave a comment.
Cheers and see you soon, makers!


Comments